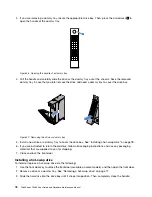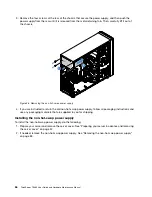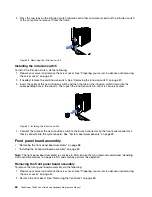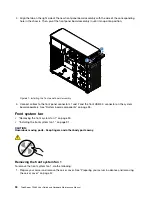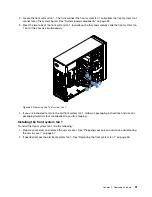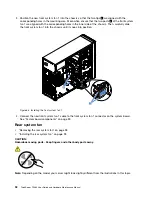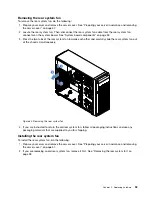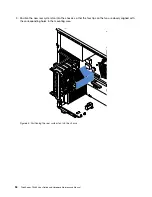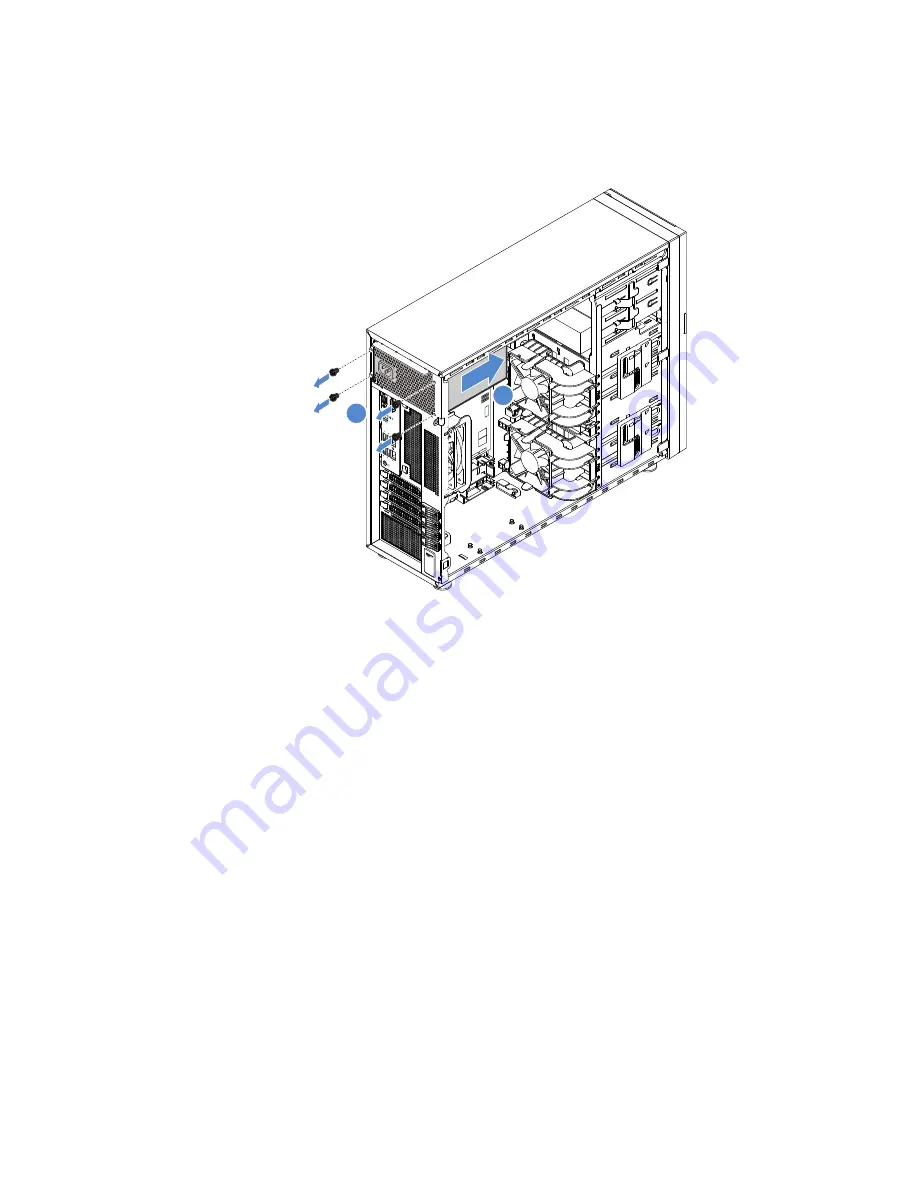
3. Remove the four screws at the rear of the chassis that secure the power supply, and then push the
power supply from the rear until it is released from the metal retaining tab. Then, carefully lift it out of
the chassis.
1
1
2
2
0
M
GM
T
3
4
ID
1
2
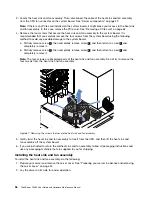
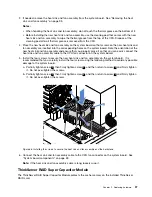
Figure 56. Removing the non-hot-swap power supply
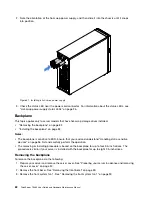
4. If you are instructed to return the old non-hot-swap power supply, follow all packaging instructions and
use any packaging materials that are supplied to you for shipping.
Installing the non-hot-swap power supply
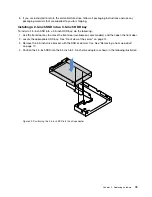
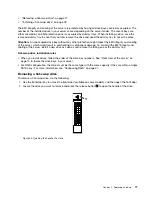
To install the non-hot-swap power supply, do the following:
1. Prepare your server and remove the server cover. See “Preparing your server in advance and removing
2. If needed, remove the non-hot-swap power supply. See “Removing the non-hot-swap power supply”
86
ThinkServer TS460 User Guide and Hardware Maintenance Manual
Содержание ThinkServer TS460
Страница 1: ...ThinkServer TS460 User Guide and Hardware Maintenance Manual Machine Types 70TQ 70TR 70TS and 70TT ...
Страница 14: ...xii ThinkServer TS460 User Guide and Hardware Maintenance Manual ...
Страница 18: ...4 ThinkServer TS460 User Guide and Hardware Maintenance Manual ...
Страница 52: ...38 ThinkServer TS460 User Guide and Hardware Maintenance Manual ...
Страница 68: ...54 ThinkServer TS460 User Guide and Hardware Maintenance Manual ...
Страница 138: ...124 ThinkServer TS460 User Guide and Hardware Maintenance Manual ...
Страница 144: ...130 ThinkServer TS460 User Guide and Hardware Maintenance Manual ...
Страница 148: ...134 ThinkServer TS460 User Guide and Hardware Maintenance Manual ...
Страница 159: ...Taiwan BSMI RoHS declaration Appendix C Restriction of Hazardous Substances RoHS Directive 145 ...
Страница 160: ...146 ThinkServer TS460 User Guide and Hardware Maintenance Manual ...
Страница 171: ......
Страница 172: ......


