Full Digital Color Doppler Ultrasonic Diagnostic Instruments (Vet) User’s Manual V1.01
- 46 -
You can review or crop the cine.
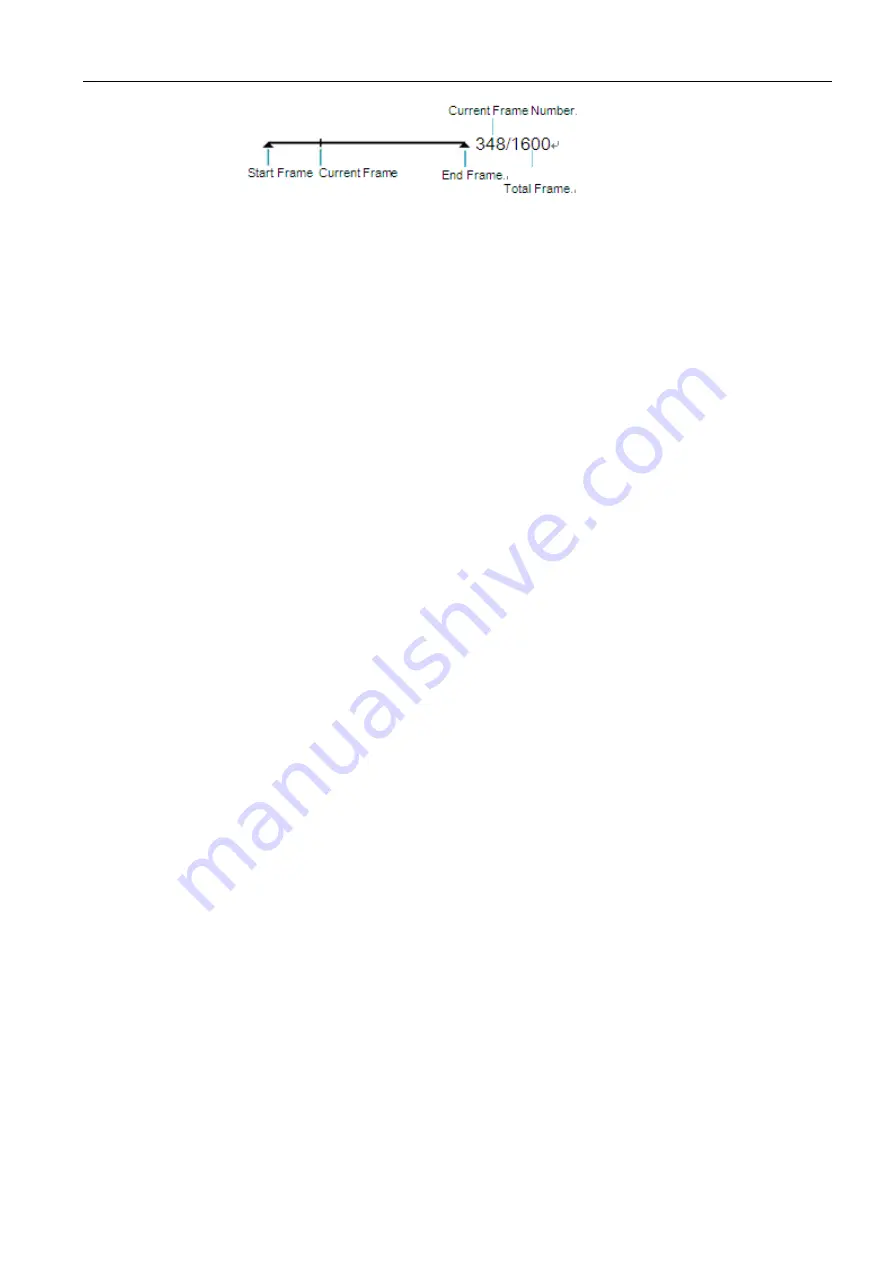
9.4.1 Reviewing the Cine
Reviewing it manually
You can review the cine frame by frame by using the trackball.
Reviewing it automatically
Press [Auto Play] menu item to playback the cine automatically and you can adjust the review speed
during playback. To stop playback, set the value of auto play as X0.
9.4.2 Cropping the Cine
Steps are as follows:
1.
Move the trackball to select the starting point, select [Set First Frame] by the
Select
knob to confirm.
2.
Move the trackball to select the end point, and select [Set End Frame] by the
Select
knob to confirm.
3.
Select [Auto Play] menu item by the
Select
knob to review the cropped cine.
9.5 Annotating the Image
The annotation feature provides free text type or add an annotation from the predefined annotation library.
Arrows and body marks are also provided to annotate the image. You can make annotations, arrows or
bodymark on the image in the frozen or real time scan.
9.5.1 Text Annotation
Steps are as follows:
1.
Press the
Comment
key on the control panel to activate the annotation. Annotation library appears on
the left of the screen.
2.
Select the desired annotation by using the trackball and press the
Set
key to add the annotation on the
image. You can also type an annotation into the annotation library.
3.
Press the
Set
key, and move the annotation to the desired position by using the trackball and then press
the
Set
key again to confirm.
4.
If necessary, repeat step 2 - 3 to add more annotations.
5.
Press the
Comment
key again to exit the annotation status.You can define the annotation in the Preset
screen. For details, refer to Section 6.5 Presetting the Annotations.
9.5.2 Arrow Annotation
Steps are as follows:
1.
Press the
Arrow
key on the control panel to activate the annotation.
2.
An arrow appears on the screen. Adjust the position of the arrow by using the trackball and press the
Set
key to confirm.You can also adjust the direction of the arrow by rotating the
Angle
knob.
3.
If necessary, repeat step 2 to add more annotations.
4.
Press the
Arrow
key again to exit the annotation status.
9.5.3 Bodymark Annotation
Steps are as follows:


