Jetter AG
Identification and Configuration | 7
User Manual – JetControl 365MC
61 / 148
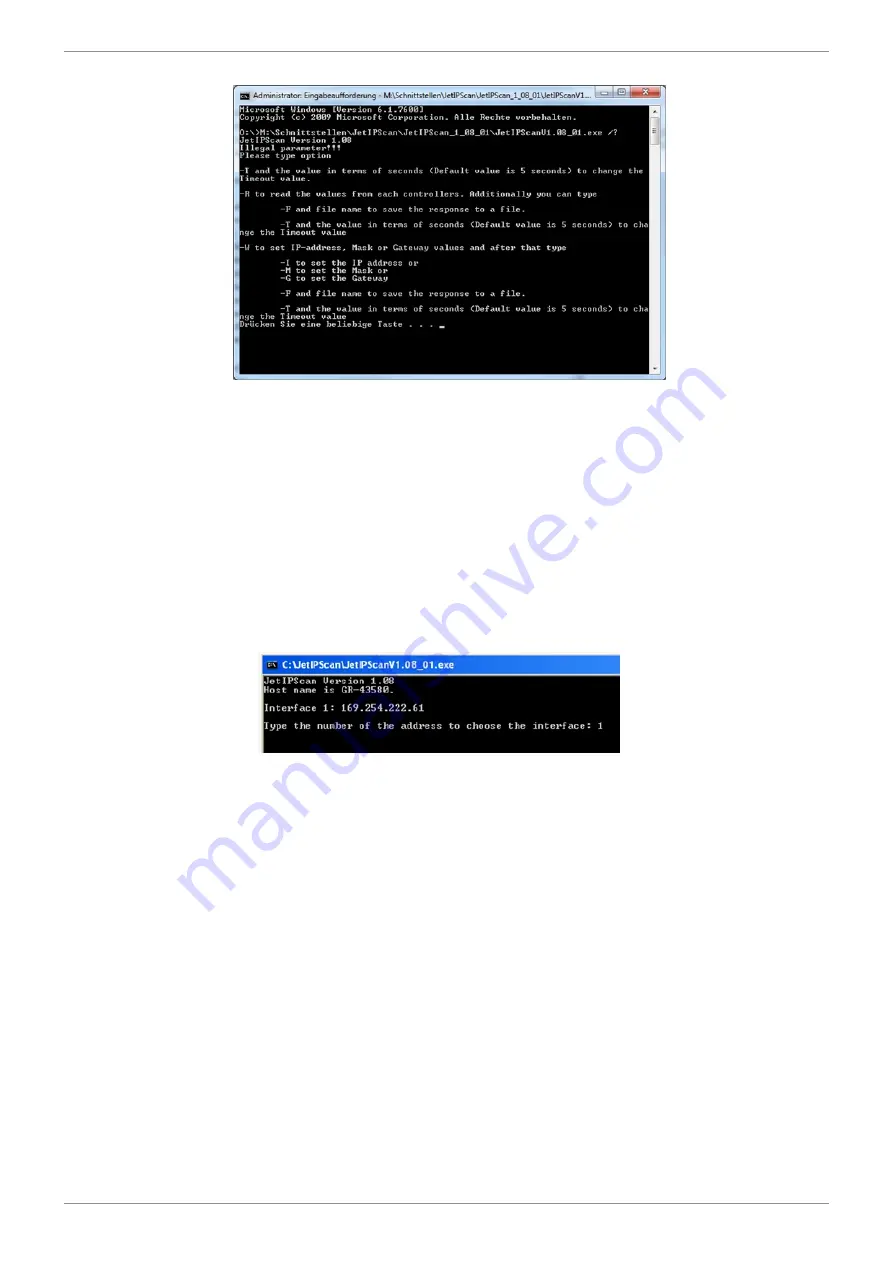
Possible com-
mands of the soft-
ware JetIPScan
Fig. 15:
JetIPScan - command options
Changing the IP
address
ü
An Ethernet connection exists between the PC and the JC-365MC.
1.
Then start the JetIPScan tool on your PC, e. g. by means of the batch file
write_IP_via_JETIPSCAN_10_150.bat
.
2.
Write a batch file. The content of the batch file is
JetIPScan_V_1-11-00.exe -W -I 192.168.10.150
.
3.
Execute the batch file.
ð
JetIPScan is launched and shows all IP addresses, which are presently
active on your PC.
4.
Select the interface (IP address) of the device whose IP address you want to
change.
ð
JetIPScan shows all the devices found.
5.
To make changes to the IP address of a device, select the respective device
from the list.
ð
JetIPScan changes the IP address of the JC-365MC to 192.168.10.150.
Changing the
subnet mask
1.
Write a batch file. The content of the batch file is, for example,
JetIPScan_V_1-11-00.exe -W -M 250.255.248.0
.
2.
Execute the batch file.
3.
JetIPScan is launched and shows all interfaces, which are presently active on
your PC.
4.
For all further steps, please refer to the instruction
Changing the IP address
.


