


www.javad.com
www.javad.com
29
28
Files and Data Exhange
ShapeTags & Codes
Exporting Photos, Screenshots, GNSS
Data and Project Archives
To export media files that include photos, screenshots,
audio files and raw GNSS data files choose the
Project
Archive File (ZIP)
format option in the
Save File
screen. A
full
Project Archive
can also be exported with this option. A
Project Archive contains all the files necessary to restore the
project if it becomes corrupt or deleted. It can also be used
to copy the project to a different TRIUMPH-LS.
Save File
Screen - Set to save a Project Archive file in the USB
drive
After tapping
Save File in This Folder
or the
New
button you
will be presented with options to specify what type of files
to export in the
Export Project Archive
screen. Use the
Full
option to create a backup that can be restored. The
Only
Media
option will export only the filetypes chosen. Press
Create
to export the files which will all be contained in a zip
file.
Export Project Archive
Screen - Set to export only photos
(screenshots included) and raw GNSS files
Exporting A Project Report
A report of the Project can be exported in HTML or PDF
format by choosing
HTML
or
format in the
Save File
screen. The report will contain the selected points with
all the details and statistics about that point. The
Text &
Images
will be included if this option is checked.
A number
of options exist to format the PDF or HTML report:
ShapeTags &
Codes
Create and manage your
own library of
Codes
; alpha-
numeric textual assignments
to points.
Codes
can quickly be recalled from the
Favorite
Codes
screen, eliminating the need to type in a point
description for each surveyed point. In addition, each
Code
can have up to five
Code Attributes
fields. An example of
a
Code
is “IPF” (Iron Pin Found). It can then be setup with
Code Attribute
fields of “Size”, “Cap” and “Status” which allow
these attributes to be entered and stored with each point.
Choose
Tags & Codes
>
Manage Codes
to access the library of
Codes
.
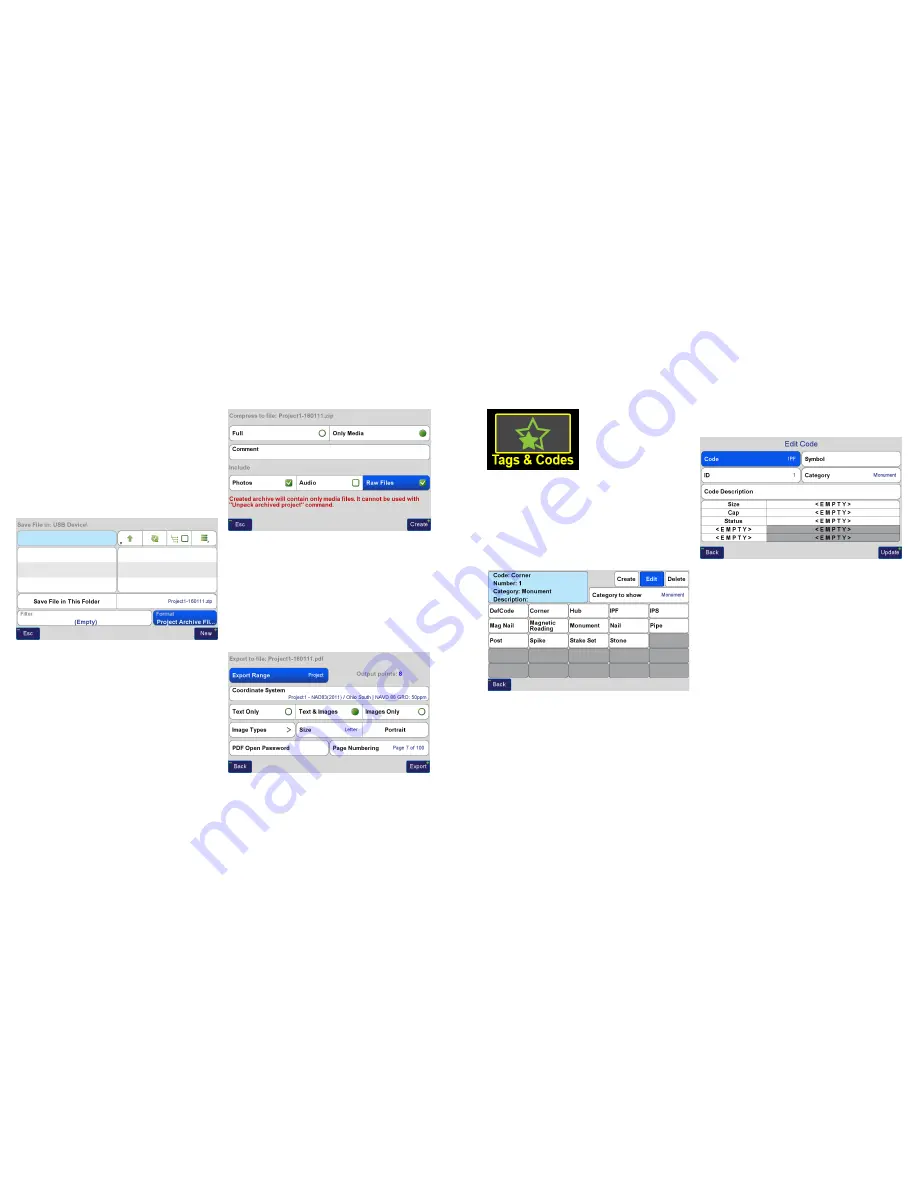
Manage Codes
Screen
Tap
Create
or
Edit
to make a new
Code
or edit an existing
one. A
Symbol
,
ID
,
Category
and
Code Description
can be
assigned each
Code
. If a
Symbol
is associated with a
Code
,
points with that code will have the
Symbol
displayed on
the map. The
ID
field is a numerical field that is not used
in J-Field but is an export option for text files and may be
useful with other software packages. The
Category
can be
used as a filter in the
Manage Codes
screen.
Edit Code
Screen
ShapeTags
can be assigned to points during data collection
to enable the automated drawing of lines between points
with like
ShapeTags
. For example, you may want to create a
ShapeTag
of “Fence”. When collecting a point along a fence,
select the “Fence”
ShapeTag
to be assigned with that point.
This will cause a line to be drawn on the map between
that point and the previous point that also has the “Fence”
ShapeTag
.
ShapeTags
are associated with a chosen
Code
when a new
ShapeTag
is created. When a
ShapeTag
is then selected to be
assigned to a point, by default, the Code field for that point
will be populated with the associated
Code
.


