75
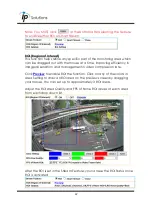
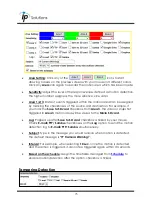
Area Setting:
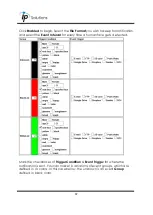
Click any of the
icons
to start
drawing 3 areas on the preview screen with your mouse in 3 different colors.
Click any
Area
icon again to discard the motion area which has been made.
Sensitivity:
Adjust the level of the responsiveness defined as motion detection.
The higher number assigned, the more sensitive, vice versa.
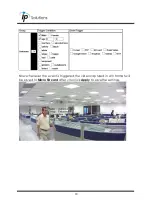
Area 1/2/3:
Data of events triggered within the motion area can be assigned
by marking the checkboxes of the source and destination. For example, if
you mark the
Save to SD card
checkbox from
Area 3
, the video or snapshot
triggered in
Area 3
motion area will be saved to the
Micro SD card
.
Log:
Popped up after
Save to SD card
checkbox is ticked by your mouse.
Check
E-mail/ FTP/ Samba
checkboxes on the
Log
option to send the motion
detection log to
E-mail/ FTP/ Samba
simultaneously.
Subject
: Type in the message you would receive when motion is detected.
The default message is
“IP Camera Warning!
”.
Interval
: For example, when selecting
10 sec
, once the motion is detected
and the action is triggered, it cannot be triggered again within 10 seconds.
Based on the schedule
: Assign the timetable managed from
to
enable motion detection after the option checkbox is ticked.
Tampering Detection
Содержание HQZ-1WKDA
Страница 1: ...User Manual OUTDOOR DOME IP CAMERA V1 0_20191022...
Страница 12: ...8 II Hardware Installation...
Страница 61: ...47 iii Enter the password and click Next iv Click Allow...
Страница 70: ...56 III A V Settings Click to get into the administration page Click to go back to the live video page...
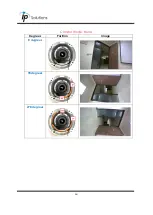
Страница 78: ...64 Corridor mode None Degrees Position Image 0 degrees 90 degrees 270 degrees...


