


File Management
Generating Reports
NetAXS-123 Access Control Unit User’s Guide
,
Document 800-05168, Revision B
127
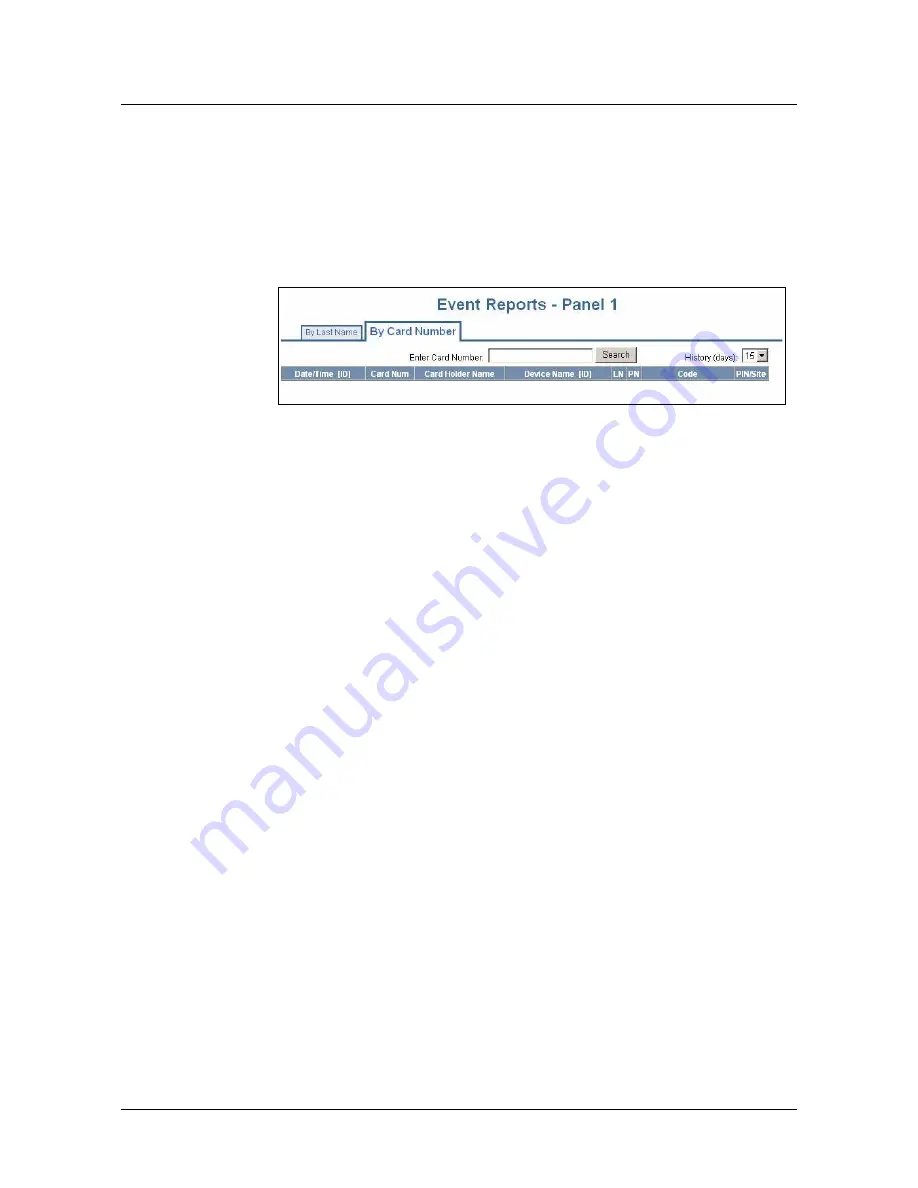
To generate an Event Report By Card Number
:
1. Click on the By Card Number tab and enter the card number in the Enter Card
Number box, then click
Search
.
2. Perform Steps 2 and 3 under generating an Event Report by Last Name.
Figure 5-5:
Event Reports By Card Number Example
Содержание NetAXS-123
Страница 6: ...vi www honeywell com ...
Страница 10: ...NetAXS 123 Access Control Unit User s Guide Document 800 05168 Revision B x ...
Страница 112: ...102 www honeywell com Using WIN PAK with NetAXS 123 Standalone Commands ...
Страница 128: ...118 www honeywell com Monitoring NetAXS 123 Status Monitoring System Status ...
Страница 138: ...128 www honeywell com File Management Generating Reports ...
Страница 162: ...152 www honeywell com Clearing the Cache ...
Страница 166: ...156 www honeywell com ...
Страница 170: ...Index W 160 www honeywell com Door 1 81 Door 2 86 Door 3 91 I O Settings 80 setup 80 standalone commands 96 ...