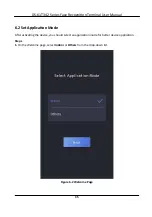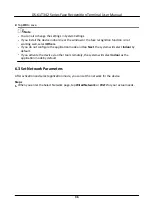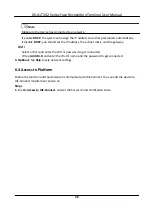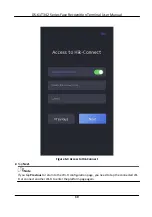
-
: Face forward at the camera. Make sure the face is in the face
recognition
area. Click to
capture and click to
confirm.
-
: Press your
finger
according to the
instructions
on the device screen. Click to
confirm.
-
: Enter the card No. or present card on the card
presenting
area. Click
OK
.
4.
Click
OK
.
You will enter the
authentication
page.
Status Icon
Description
/
Device is armed/not armed.
/
Hik-Connect is enabled/disabled.
/ /
The device wired network is connected/not
connected/connecting
failed.
/ /
The device' Wi-Fi is enabled and connected/not connected/enabled but not connected.
Shortcut Keys
Description
Note
You can
configure
those shortcut keys displayed on the screen. For details, see
Basic
Settings
.
●
Enter the device room No. and tap
OK
to call.
●
Tap to call the center.
Note
The device should be added to the center, or the calling
operation
will be failed.
Enter PIN code to
authenticate.
DS-K1T342 Series Face
Recognition
Terminal User Manual
45
Содержание DS-K1T342 Series
Страница 1: ...DS K1T342 Series Face Recognition Terminal User Manual...
Страница 90: ...Figure 7 11 Biometric Parameters Page DS K1T342 Series Face Recognition Terminal User Manual 75...
Страница 112: ...Figure 8 3 Wi Fi 3 Add Wi Fi 1 Tap DS K1T342 Series Face Recognition Terminal User Manual 97...
Страница 114: ...Figure 8 5 Authentication Settings 2 Tap Save DS K1T342 Series Face Recognition Terminal User Manual 99...
Страница 126: ...Figure 8 13 Door Parameters Settings Page DS K1T342 Series Face Recognition Terminal User Manual 111...
Страница 163: ...Figure 9 14 Set Face Parameters DS K1T342 Series Face Recognition Terminal User Manual 148...
Страница 203: ...Figure D 2 Without Fingerprint Module DS K1T342 Series Face Recognition Terminal User Manual 188...
Страница 205: ...UD25849B...


