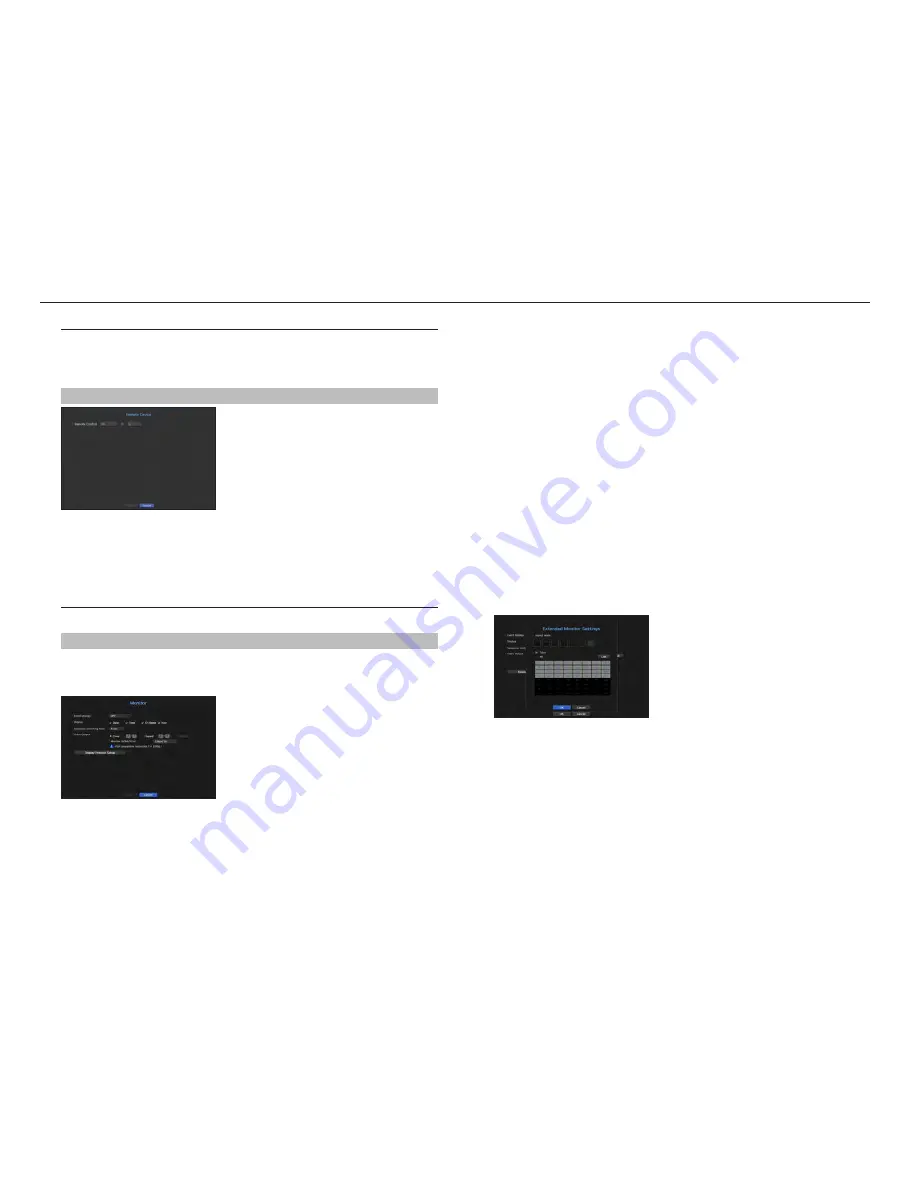
remote devices
This function is only available for products that support the use of a remote controller. To find products that
support this, see the “
nvr products supporting each feature
” section. (Product Specification Manual, page
4)
You can adjust the ID for a remote control to be used in connection with NVR.
menu > device > remote device
•
Remote control: Select whether to use a remote control.
•
ID: Select an ID number linked to a camera.
If the remote control ID does not match, it will not operate properly.
M
`
To change the remote controller ID, see "
Using a remote controller
>
Changing the Remote Control ID
” in the Appendix.
monitor
You can set the information displayed on the monitor as well as the output system.
menu > device > monitor
monitor settings
You can set the monitor output related screen displays, switching time, video display, etc.
•
Event Display : Sets the dwell time of the event channel display on the monitor when an event occurs.
If you set <
continuous
>, it will keep displaying until you cancel it.
•
Display : Displays only checked items on the monitor screen.
•
Sequence switching time : Set the automatic switching time for the segmented screen in live mode.
•
Video Output: Set the video display resolution.
For products that support an extended monitor, select either <
clone
> or <
extend
> mode to set the
resolution of <
Hdmi
> and <
vga
>.
- Clone mode : You can set the video display resolutions of the primary monitor (HDMI) and the secondary
monitor (VGA) to the same value. In the Clone mode, if the resolution exceeds 1920 x 1080, the secondary
monitor will not display any video.
- Extended mode : You can set the video display resolutions of the primary monitor (HDMI) and the
secondary monitor (VGA) separately.
M
`
If your product supports a remote controller, press [
STOP(
@
)
]
;
[
ZOOM
]
;
[
STOP(
@
)
]
;
[
ZOOM
]
;
[
MENU
] on the
remote controller to pop up a default resolution window and change to your desired resolution.
`
If the newly selected resolution does not fit with the monitor, the display won’t function properly. In this case, wait until the
native resolution is restored and then switch to another resolution of your choice.
`
To find products that support an extended monitor, see “
NVR products supporting each feature
”. (Product Specification
Manual, page 4)
to set an expansion monitor
This function is only available for products that support the use of an extended monitor.
To find products that support this, see the “
nvr products supporting each feature
” section. (Product
Specification Manual, page 4)
1.
Select the Expand mode, then <
Setup
> button to change the layout of the expansion monitor is enabled.
2.
Select split mode in the layout mode.
3.
Select as many channels on the channel table as the number of channels selected in layout mode, and you
can view the applicable screens on the monitor.
38_
menu setup
menu setup


