


Printing Basics
89
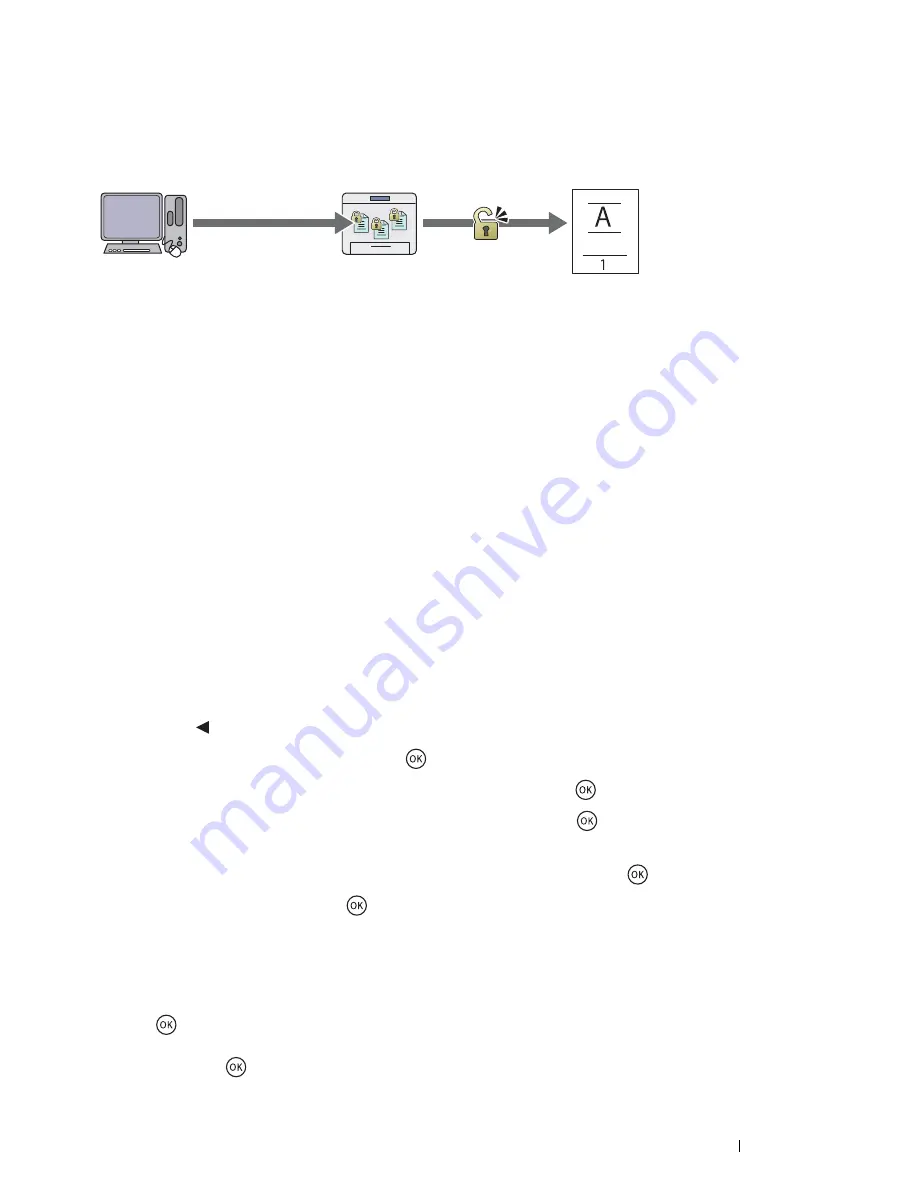
Secure Print
You can store print jobs secured with a passcode in the memory. Users with the passcode can print them from the
operator panel. This feature can be used to print confidential documents. The stored job in the memory is deleted
automatically after printing. You can select to delete the stored job before printing, or the stored job is deleted by
turning off the printer.
NOTE:
•
Secure Print is available when you use the PCL or PostScript 3 Compatible driver.
Procedures for Printing Secure Print
The following are procedures for storing and printing jobs.
• Storing Print Jobs
For Secure Print, select
Secure Print
for
Job Type
and specify the user ID, passcode and job name by clicking
Setup
in the
Paper/Output
tab of the print driver. When you send the job to the printer, the job will be stored in the
memory until you request to print from the operator panel or turn off the printer.
NOTE:
•
If a print job is too large for the memory available, the printer may display error messages.
•
If a document name is not assigned to your print job in the print driver, the job's name will be identified using the printer's time
and date of submission to distinguish it from other jobs you have stored under your name.
• Printing the Stored Jobs
Once jobs are stored, you can use the operator panel to specify printing.
Printing the Secure Print Job
Secure Print requires the passcode you specified in the driver when you sent the job.
1
Press the button.
2
Select
Secure Print
, and then press the
button.
3
Select your user ID you specified in the print driver, and then press the
button.
4
Enter the passcode you specified in the print driver, and then press the
button.
For details about specifying the passcode, see "Specifying Your Passcode on the Operator Panel" on page 90.
5
Select
All Documents
or the document you want to print, and then press the
button.
6
Select
, and then press the
button.
If you have selected
All Documents
in the step
5
, go to step
7
.
If you have selected the document you want to print in the step
5
, go to step
8
.
7
Select
Use PC Settings
or
Input Number
.
If you want to print the number of copies you specified on the PC, select
Use PC Settings
, and then press
the
button. The stored document will be printed.
If you want to specify the number of copies you want to print on the operator panel, select
Input Number
, and
then press the
button.
Send confidential data.
Enter the passcode from
the operator panel.
Print data.
Confidential
Содержание DocuPrint CP225 w
Страница 1: ...DocuPrint CP225 w User Guide ...
Страница 127: ...Digital Certificates 127 7 Digital Certificates Using Digital Certificates on page 128 ...
Страница 136: ...136 Troubleshooting 4 Lower the levers to their original position 5 Close the rear cover ...
Страница 181: ...Contacting Fuji Xerox 181 10 Contacting Fuji Xerox Technical Support on page 182 Online Services on page 183 ...
Страница 187: ...DocuPrint CP225 w User Guide ME6920E2 1 Edition 1 July 2014 Fuji Xerox Co Ltd Copyright 2014 by Fuji Xerox Co Ltd ...


