Epson Stylus Photo R280/R285/R290/Epson Artisan 50/Epson Stylus Photo T50/T59/T60/P50
Revision C
Chapter 4 Disassembly/Assembly
4.4.13 CR Unit (Disassembling the Printer Mechanism)
89
Confidential
4.4.13 CR Unit
Parts/Components need to be removed in advance
Printer Cover / Paper Support Assy / Upper Housing / Main Board Unit / Panel Assy /
Cover Open Sensor / Printer Mechanism / APG Unit
Removal procedure
1.
Remove the Cable Holder Frame and Front Frame.
(p.84)
2.
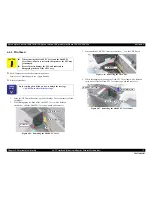
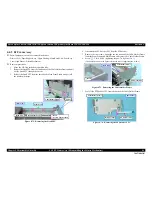
Disengage the upper end of the Spring (1) from the slit, and remove the
Spring (1).
3.
Loosen the screw (
), and turn the Parallelism Bushing L clockwise to the
maximum.
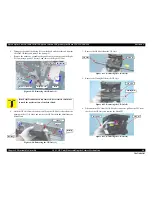
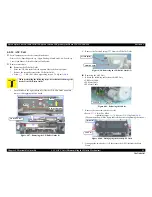
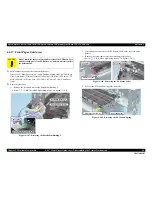
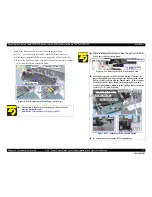
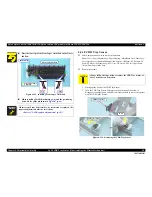
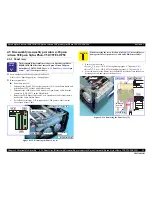
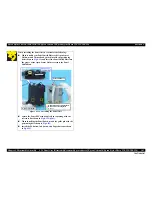
Figure 4-88. Removing the CR Unit (1)
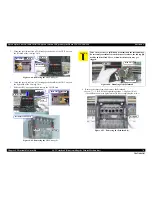
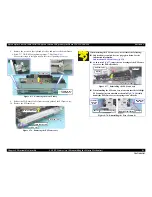
Lubrication is required. See the page given below for the
lubrication information.
Lubrication of Driven Pulley (p.122)
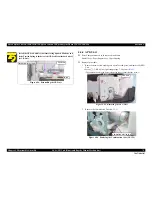
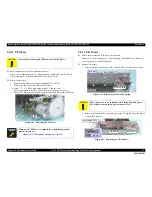
When installing the CR Motor, install it so that the print side
faces upwards.
Figure 4-87. Reinstalling the CR Motor
A D J U S T M E N T
R E Q U I R E D
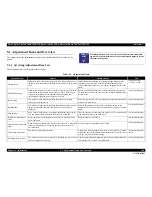
Whenever the CR Motor is replaced, the required adjustments
must be carried out.
•
Refer to "5.1.2 Required Adjustments" (p.107)
C A U T I O N
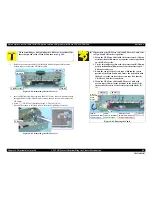
Before turning the Parallelism Bushing L, mark the scale position
of the Parallelism Bushing with a marker. And taking extra care
not to damage the Gear with the rib, pull it toward the front.
Spring (1)
Parallelism Bushing L
Slit
[Left Side]
Содержание 50 - Artisan 50 - Printer
Страница 8: ...Confidential C H A P T E R 1 PRODUCTDESCRIPTION ...
Страница 22: ...Confidential C H A P T E R 2 OPERATINGPRINCIPLES ...
Страница 29: ...Confidential C H A P T E R 3 TROUBLESHOOTING ...
Страница 52: ...Confidential C H A P T E R 4 DISASSEMBLY ASSEMBLY ...
Страница 103: ...Confidential C H A P T E R 5 ADJUSTMENT ...
Страница 120: ...Confidential C H A P T E R 6 MAINTENANCE ...
Страница 128: ...Confidential C H A P T E R 7 APPENDIX ...

