Epson Stylus Photo R280/R285/R290/Epson Artisan 50/Epson Stylus Photo T50/T59/T60/P50
Revision C
Chapter 4 Disassembly/Assembly
4.4.1 Removing the Printer Mechanism (Disassembling the Printer Mechanism)
73
Confidential
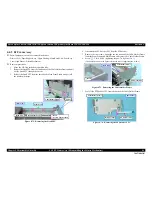
2.
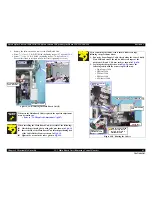
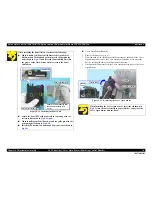
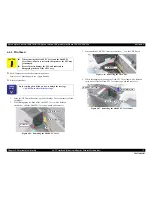
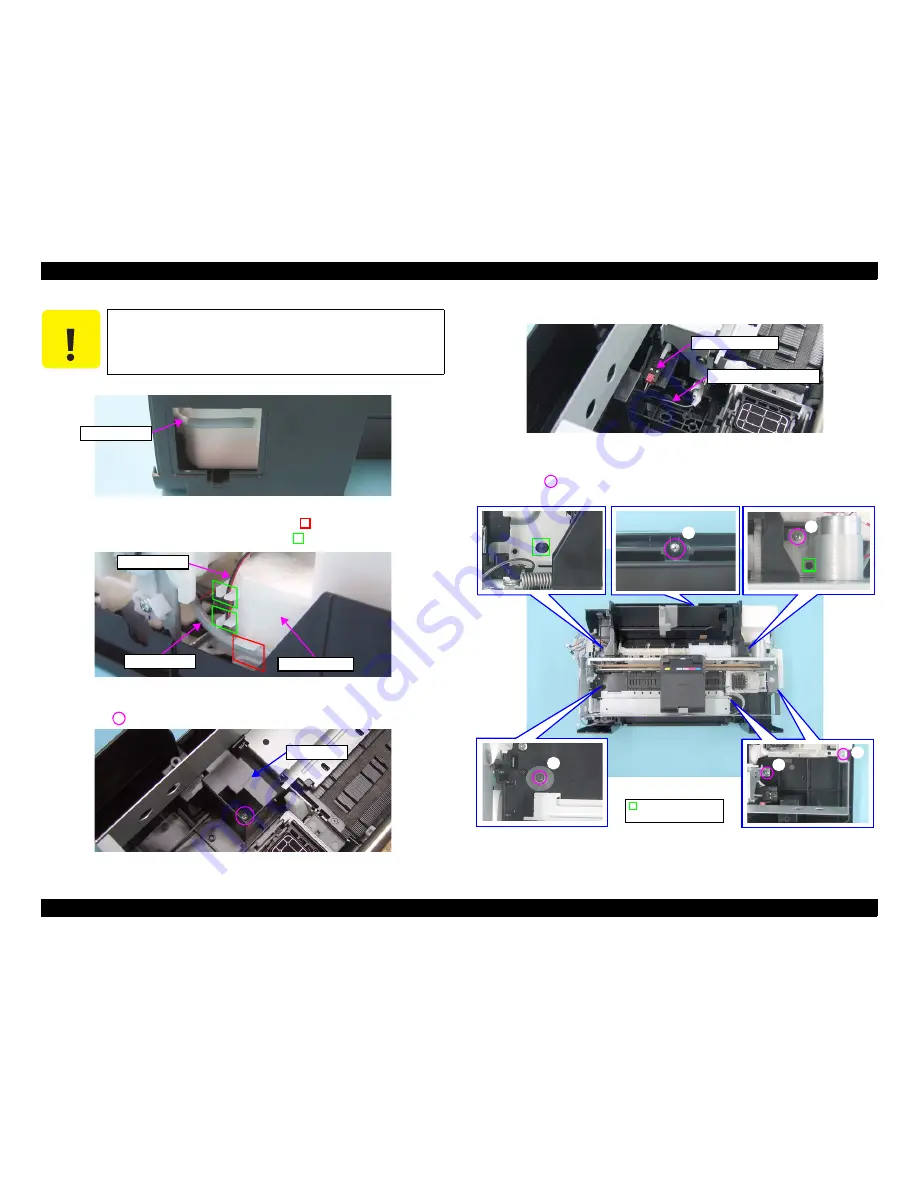
Pull out the Waste Ink Tube by hand.
Figure 4-38. Removing the Waste Ink Tube
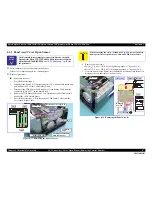
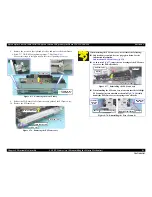
3.
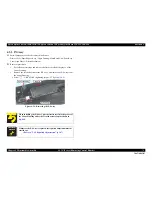
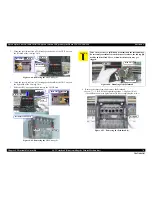
Release the Waste Ink Tube from the groove
of the Waste Ink Tray.
4.
Release the CR Motor Cable from the two ribs
of the Waste Ink Tray.
Figure 4-39. Removing the Printer Mechanism (1)
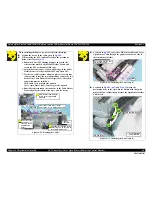
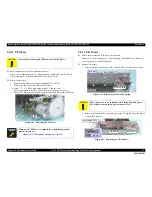
5.
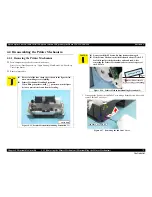
Remove the screw and remove the Cover Case.
Screw
: C.B.P. M3x8 (tightening torque:5-7 kgf.cm)
(No.3)
Figure 4-40. Removing the Cover Case
6.
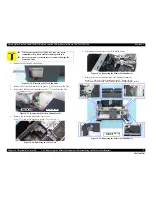
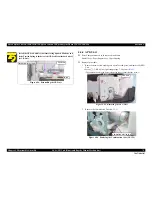
Disconnect the connector of the CDR Guide Sensor.
Figure 4-41. Removing the Printer Mechanism (2)
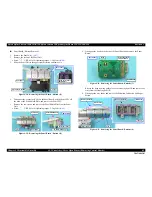
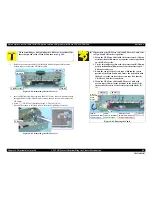
7.
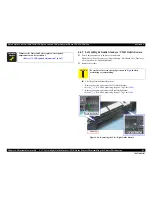
Remove the five screws and remove the Printer Mechanism.
Screw
: C.B.P.(P2) M3x8 (tightening torque:5-7 kgf.cm)
(No.9)
(The numbers shown in the figure indicate the order of tightening the screws.)
Figure 4-42. Removing the Printer Mechanism (3)
C A U T I O N
When removing the Waste Ink Tube, take care not to
contaminate the printer and surroundings with ink.
Extra care must be exercised not to scratch or damage the
Waste Ink Tube.
Waste Ink Tube
CR Motor Cable
Waste Ink Tube
Waste Ink Tray
Waste Ink Tube
Cover Case
CDR Guide Sensor
CDR Guide Sensor Cable
4
5
2
3
1
Positioning Hole and
Guide Pin
Содержание 50 - Artisan 50 - Printer
Страница 8: ...Confidential C H A P T E R 1 PRODUCTDESCRIPTION ...
Страница 22: ...Confidential C H A P T E R 2 OPERATINGPRINCIPLES ...
Страница 29: ...Confidential C H A P T E R 3 TROUBLESHOOTING ...
Страница 52: ...Confidential C H A P T E R 4 DISASSEMBLY ASSEMBLY ...
Страница 103: ...Confidential C H A P T E R 5 ADJUSTMENT ...
Страница 120: ...Confidential C H A P T E R 6 MAINTENANCE ...
Страница 128: ...Confidential C H A P T E R 7 APPENDIX ...

