Epson Stylus Photo R280/R285/R290/Epson Artisan 50/Epson Stylus Photo T50/T59/T60/P50
Revision C
Chapter 4 Disassembly/Assembly
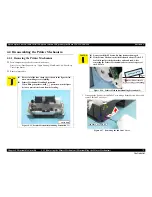
4.4.2 Printhead (Disassembling the Printer Mechanism)
76
Confidential
5.
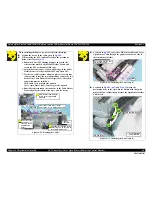
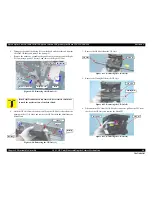
Using the special tool (see
p.55
) disengage the hook A of the CSIC Assy on
the left back of the Carriage Unit.
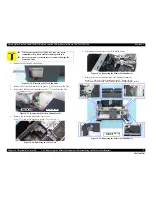
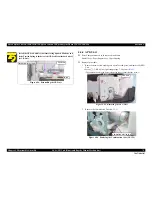
Figure 4-48. Removing the CSIC Assy (1)
6.
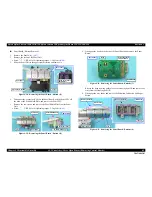
Using the special tool (see
p.55
) disengage the hook B of the CSIC Assy on
the right back of the Carriage Unit.
7.
Slide the CSIC Assy upward and remove the CSIC Board.
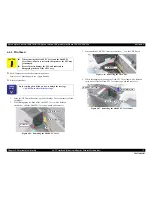
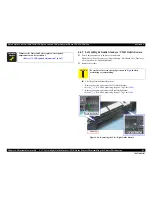
Figure 4-49. Removing the CSIC Assy (2)
8.
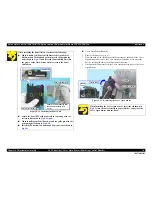
Remove the three screws and remove the Printhead.
•
Screw
: C.B.P. M2.6x8 (tightening torque: 3-5 kgf.cm)
(No.5)
(The numbers shown in the figure indicate the order of tightening the screws.)
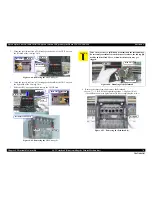
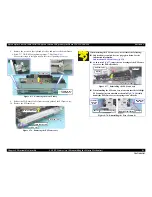
Figure 4-51. Removing the Printhead (1)
Hook A
[Back Side]
CSIC Assy
Special Tool
Hook B
[Back Side]
CSIC Assy
Hook B
Hook A
Removal Direction
Special
Tool
Back Side of CSIC Assy
C A U T I O N
Take extra care not to spill ink and contaminate the surroundings.
Be extremely careful not to touch the nozzle surface, the ink supply
needles and the Head Cover, otherwise the nozzles may get
clogged.
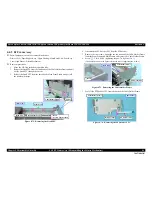
Figure 4-50. Handling of the Printhead
Printhead
Nozzle surface
Head Cover
Printhead
1
2
3
Содержание 50 - Artisan 50 - Printer
Страница 8: ...Confidential C H A P T E R 1 PRODUCTDESCRIPTION ...
Страница 22: ...Confidential C H A P T E R 2 OPERATINGPRINCIPLES ...
Страница 29: ...Confidential C H A P T E R 3 TROUBLESHOOTING ...
Страница 52: ...Confidential C H A P T E R 4 DISASSEMBLY ASSEMBLY ...
Страница 103: ...Confidential C H A P T E R 5 ADJUSTMENT ...
Страница 120: ...Confidential C H A P T E R 6 MAINTENANCE ...
Страница 128: ...Confidential C H A P T E R 7 APPENDIX ...

