Epson Stylus Photo R280/R285/R290/Epson Artisan 50/Epson Stylus Photo T50/T59/T60/P50
Revision C
Chapter 4 Disassembly/Assembly
4.5.1 Panel Assy (Disassembly/reassembly procedures of Epson Artisan 50/Epson Stylus Photo T50/T59/T60/P50)
102
Confidential
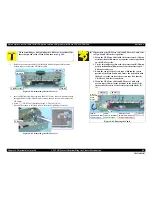
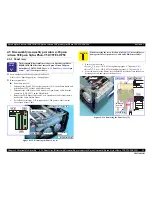
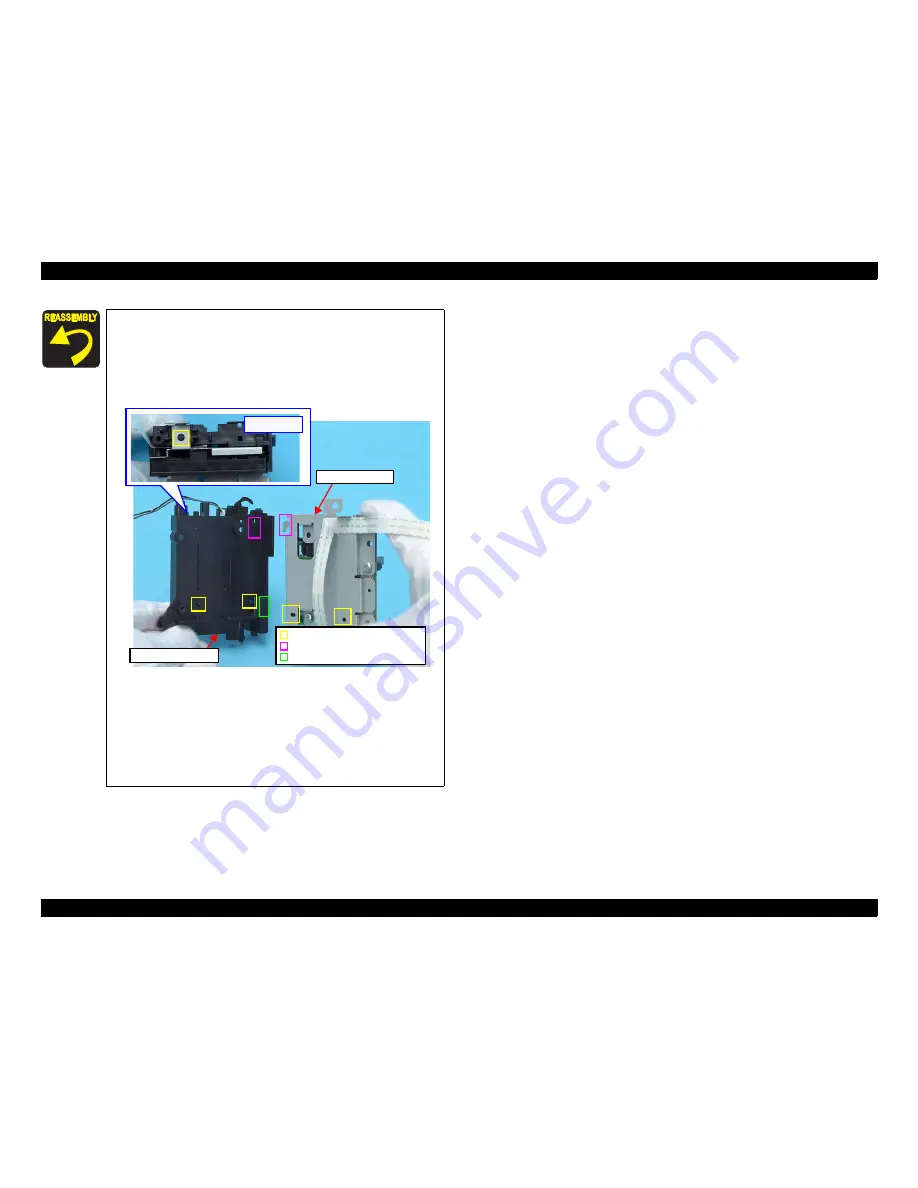
When installing the Panel Unit, be careful of the following:
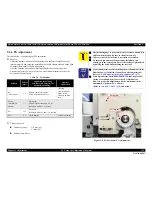
When installing the Panel Shield Plate to the Open Sensor
Holder, match the hook and guide pins with the positioning
holes shown in
Fig.4-124
and insert the Panel Shield Plate into
the groove of the Open Sensor Holder to secure the Panel
Shield Plate.
Figure 4-124. Installing the Panel Unit
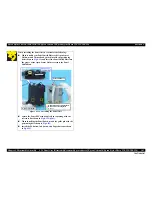
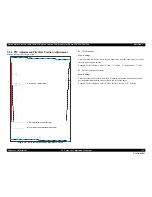
Attach the Panel FFC with double-sided tape along with the
reference line shown in
Fig.4-121 (p.101)
.
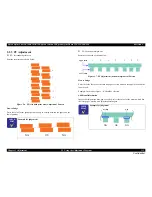
When installing the Panel Board, match the guide pin with the
positioning hole shown in
Fig.4-122
.
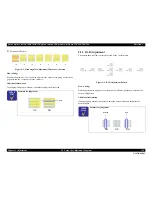
Install the PS button, Ink button, and Paper button as shown
in
Fig.4-123
.
[Upper Side]
Guide Pin and Positioning Hole
Hook and Positioning Hole
Groove
Open Sensor Holder
Panel Shield Plate
Содержание 50 - Artisan 50 - Printer
Страница 8: ...Confidential C H A P T E R 1 PRODUCTDESCRIPTION ...
Страница 22: ...Confidential C H A P T E R 2 OPERATINGPRINCIPLES ...
Страница 29: ...Confidential C H A P T E R 3 TROUBLESHOOTING ...
Страница 52: ...Confidential C H A P T E R 4 DISASSEMBLY ASSEMBLY ...
Страница 103: ...Confidential C H A P T E R 5 ADJUSTMENT ...
Страница 120: ...Confidential C H A P T E R 6 MAINTENANCE ...
Страница 128: ...Confidential C H A P T E R 7 APPENDIX ...

