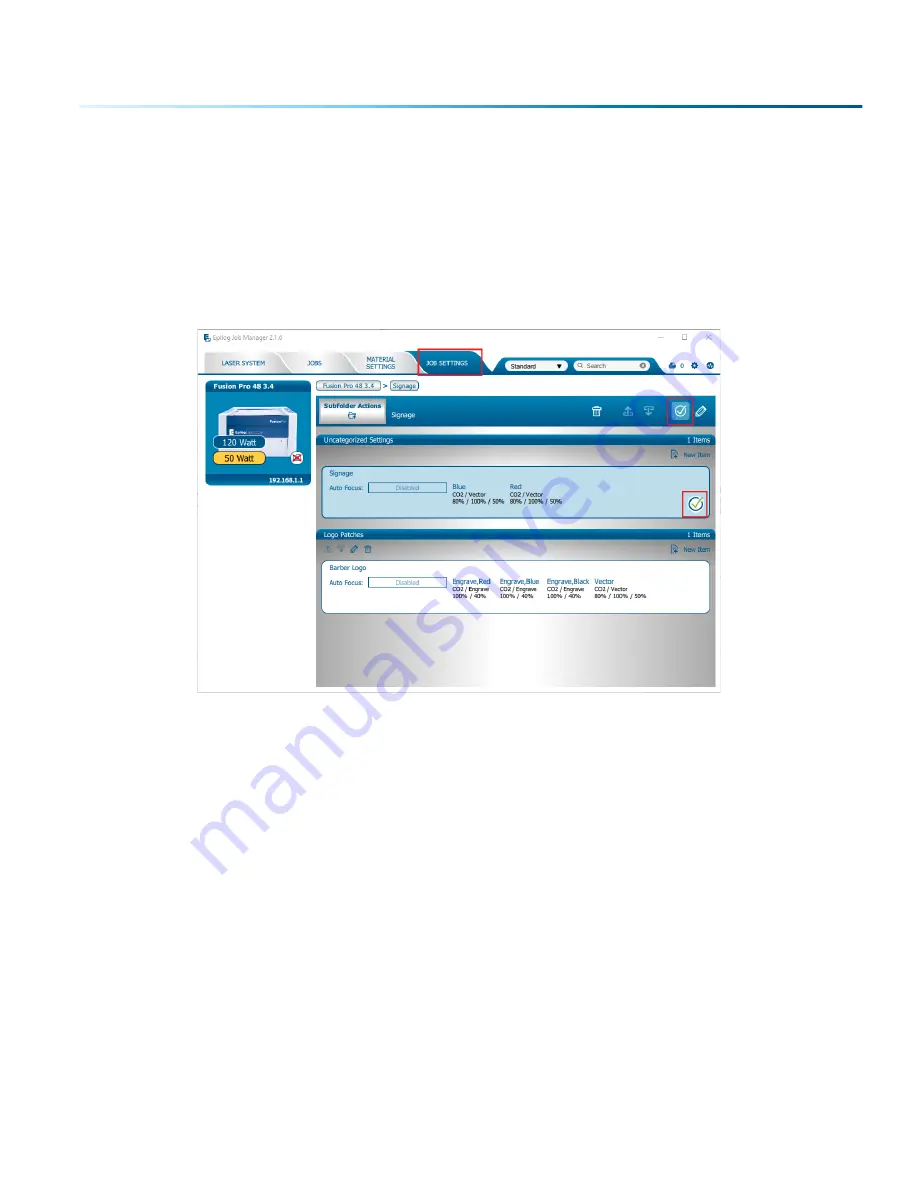
Default Job Settings
If you are consistently using the same job settings every time you send a new job to the laser, setting
your own default job settings is a useful way to save time and run new jobs quickly. This is useful when
you’re working with the same materials frequently that require the same Speed, Power, and Frequency/
Resolution settings.
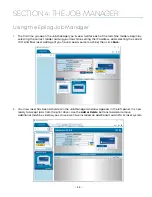
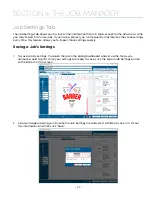
In the Job Settings tab of the Job Manager, select a job setting you have already saved. Once selected,
click the check mark button in the menu above your list of job settings to set it as the default.
This job setting is marked with a check mark to signify that it will now be the default. Now every time
artwork is printed to the Epilog Dashboard, those settings will be automatically applied, and the job will
be ready to be sent straight to the laser.
To turn off the default, select the job setting that is set to the default and click the check mark button
again. This will return the default job settings to the standard default.
Using the Material Setting Configurations
The Material Settings tab stores all of the suggested laser parameters like speed, power, etc. These
settings were loaded based on the wattage you specified in the Laser System tab (adding your laser was
the very first thing you did to start using the Job Manager).
- 49 -
SECTION 4: THE JOB MANAGER
Содержание Fusion Pro 32
Страница 2: ......
Страница 6: ......
Страница 13: ...The following diagrams show the location of each specific label Fusion Pro 32 7 SECTION 1 SAFETY ...
Страница 14: ...Fusion Pro 48 8 SECTION 1 SAFETY ...
Страница 15: ... 9 SECTION 1 SAFETY ...
Страница 18: ......
Страница 28: ......
Страница 60: ......
Страница 98: ......
Страница 108: ......
Страница 132: ......
Страница 162: ......
Страница 184: ......
Страница 202: ......
Страница 214: ......
Страница 216: ......
Страница 242: ......

