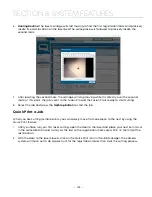


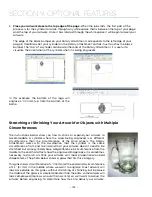


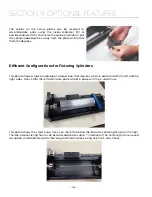


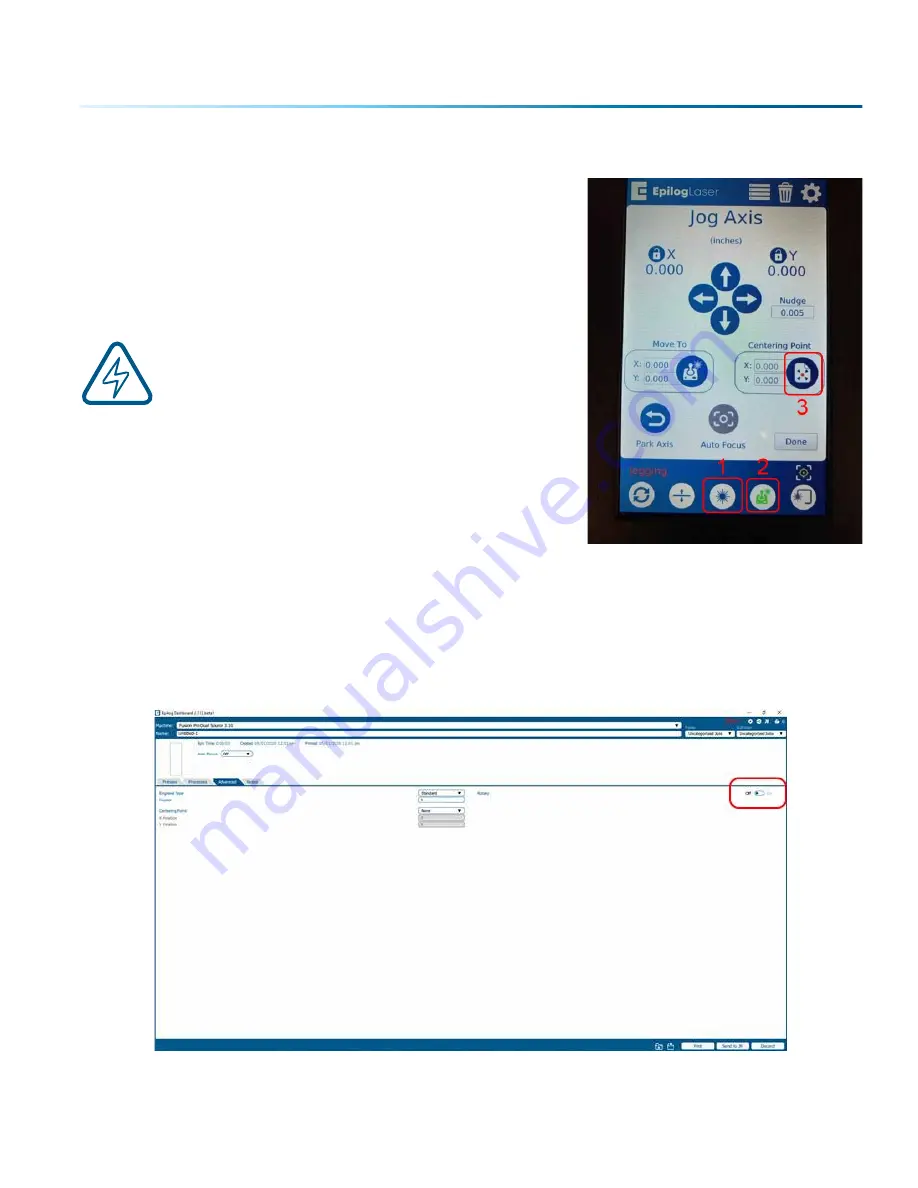
Setting Engraving/Mark Location
At the control panel, press the Pointer icon to illuminate the Red
Dot Pointer. Press the Jog Menu icon. Using the joystick, move the
lens assembly while watching the Red Diode Pointer. Once you
have selected the correct position for the engraving/mark
location, press the Centering Point Icon. Once you have set the
new Centering Point, press the Done button on the Display Panel
to return to the Job Menu.
Note:
Up and down motion of the joystick will rotate
the part in the 3-Jaw Rotary. Left and right joystick
movement will move the lens assembly left and/
or right along the axis of the part to be engraved/
marked.
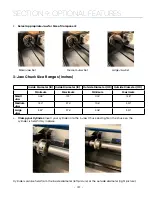
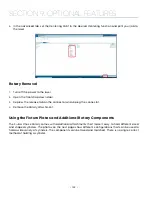
Set the Cylinder Diameter in the Dashboard
With the rotary installed, the diameter measured, and the cylinder held tightly in place, you are ready to
print.
1. Print your job to the Epilog Dashboard.
2. In the Advanced tab, turn the Rotary selection to “ON”.
- 139 -
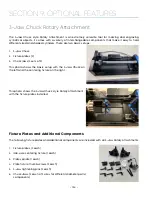
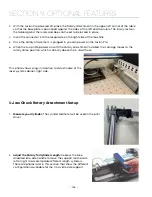
SECTION 9: OPTIONAL FEATURES
Содержание Fusion Pro 32
Страница 2: ......
Страница 6: ......
Страница 13: ...The following diagrams show the location of each specific label Fusion Pro 32 7 SECTION 1 SAFETY ...
Страница 14: ...Fusion Pro 48 8 SECTION 1 SAFETY ...
Страница 15: ... 9 SECTION 1 SAFETY ...
Страница 18: ......
Страница 28: ......
Страница 60: ......
Страница 98: ......
Страница 108: ......
Страница 132: ......
Страница 162: ......
Страница 184: ......
Страница 202: ......
Страница 214: ......
Страница 216: ......
Страница 242: ......


