Features Available with Pro option only
205
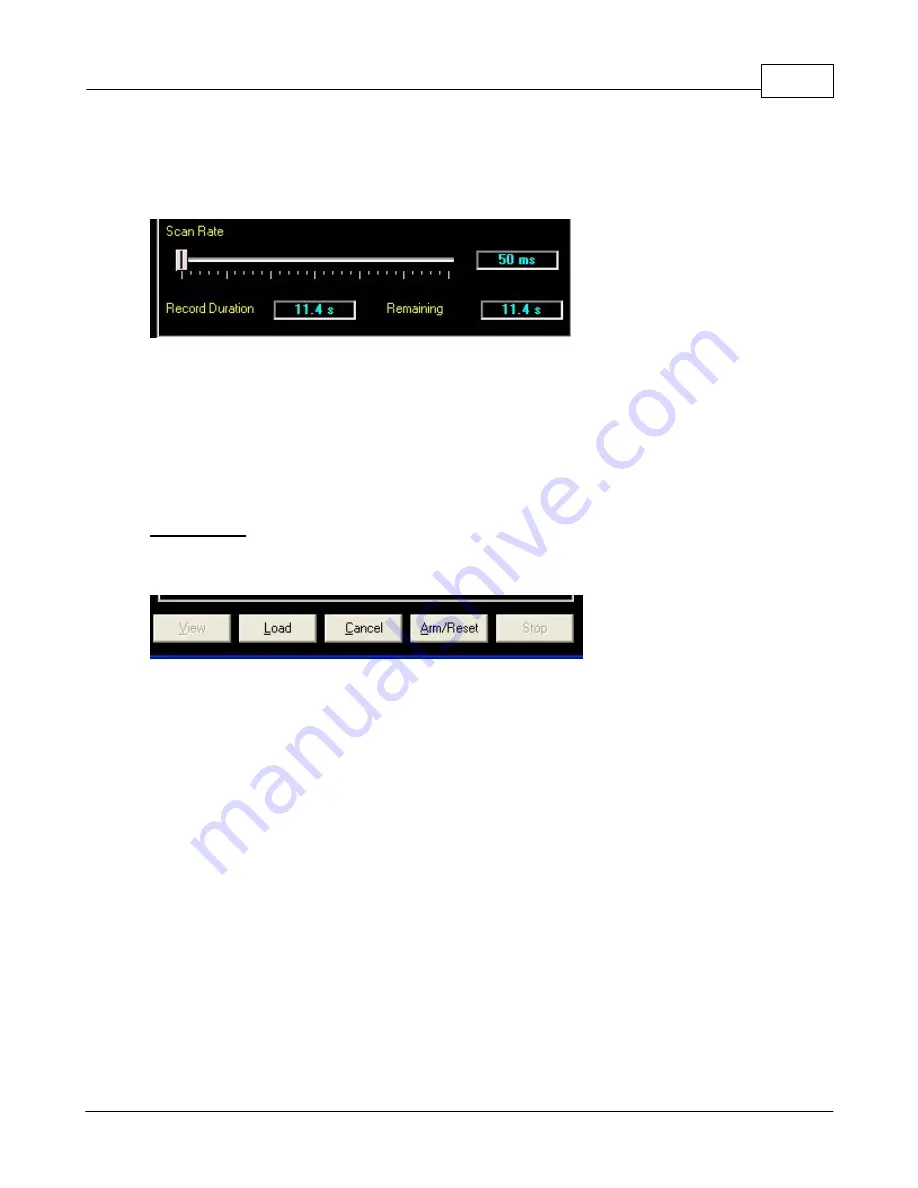
Once you have chosen your parameters and record trigger, use the slider bar for "Scan
Rate" to select the frequency at which these parameters will be recorded.
As you move the slider, notice that the record duration and remaining displays will adjust
accordingly. The faster you scan and the more parameters you choose, the shorter the
duration until the log fills up. The slower you scan and the fewer number of parameters,
the longer the duration. The "Remaining" display will count down as the buffer fills up (if
you have the laptop connected).
Once you are
VIEWING
the recorded log, a chart is displayed and you can manipulate
the view, print, scale, scroll and save/load as described in
Logging and Data Viewing
section.
BUTTONS
The buttons at the bottom of the Flight Recorder control the operation and depending on
what is occurring, may be "grayed out".
In general the button functions consist of:
View -
View previously recorded data. This will display the current data in a 2D graph.
Load -
Load a save data log from disk. This will display the data in a 2D graph. You can
load several data logs at one time (including the current one via "
VIEW
") for
comparison.
Cancel -
Cancel the Flight Recorder without changing Trigger, Parameters, or state.
Arm/Reset -
ARM the trigger if it isn't set, or RESET the trigger (and erase the buffer)
and re ARM.
Stop -
Stop a recording in progress and allow VIEWING (via the VIEW button) of the
current data.
Содержание Pro-Tuner
Страница 27: ...Installation and Setup 27 Figure 6 Solder or weld the return hard line to the fuel pickup line...
Страница 49: ...Installation and Setup 49 with a recommended sensor inlet tube installed...
Страница 65: ...Installation and Setup 65 4 Once the computer is ready the installation will start 5 Click NEXT...
Страница 69: ...Installation and Setup 69...
Страница 79: ...Installation and Setup 79 15 Click OK to complete the set up...
Страница 82: ...82 Click NEXT Click NEXT...
Страница 84: ...84 Once a connection is established successfully click NEXT Click NEXT to get the final results dialog...
Страница 86: ...86...
Страница 95: ...Basic Tuning with the Pro Tuner System 95 Custom tables for load ordinate Custom tables for RPM ordinate...
Страница 103: ...Basic Tuning with the Pro Tuner System 103 manipulation...
Страница 108: ...108 4 3 Tuning Maps Visit us at http www edelbrock com Tuning Maps...
Страница 122: ...122...
Страница 125: ...Basic Tuning with the Pro Tuner System 125 Tuning Tips...
Страница 127: ...Basic Tuning with the Pro Tuner System 127 0 712 1 405 20 66...
Страница 143: ...Basic Tuning with the Pro Tuner System 143...
Страница 166: ...166...
Страница 170: ...170...
Страница 233: ...Appendices 233...
Страница 234: ...234...
Страница 235: ......


