14
Eaton RF-System - Help
© 2015 Eaton Electrical Group
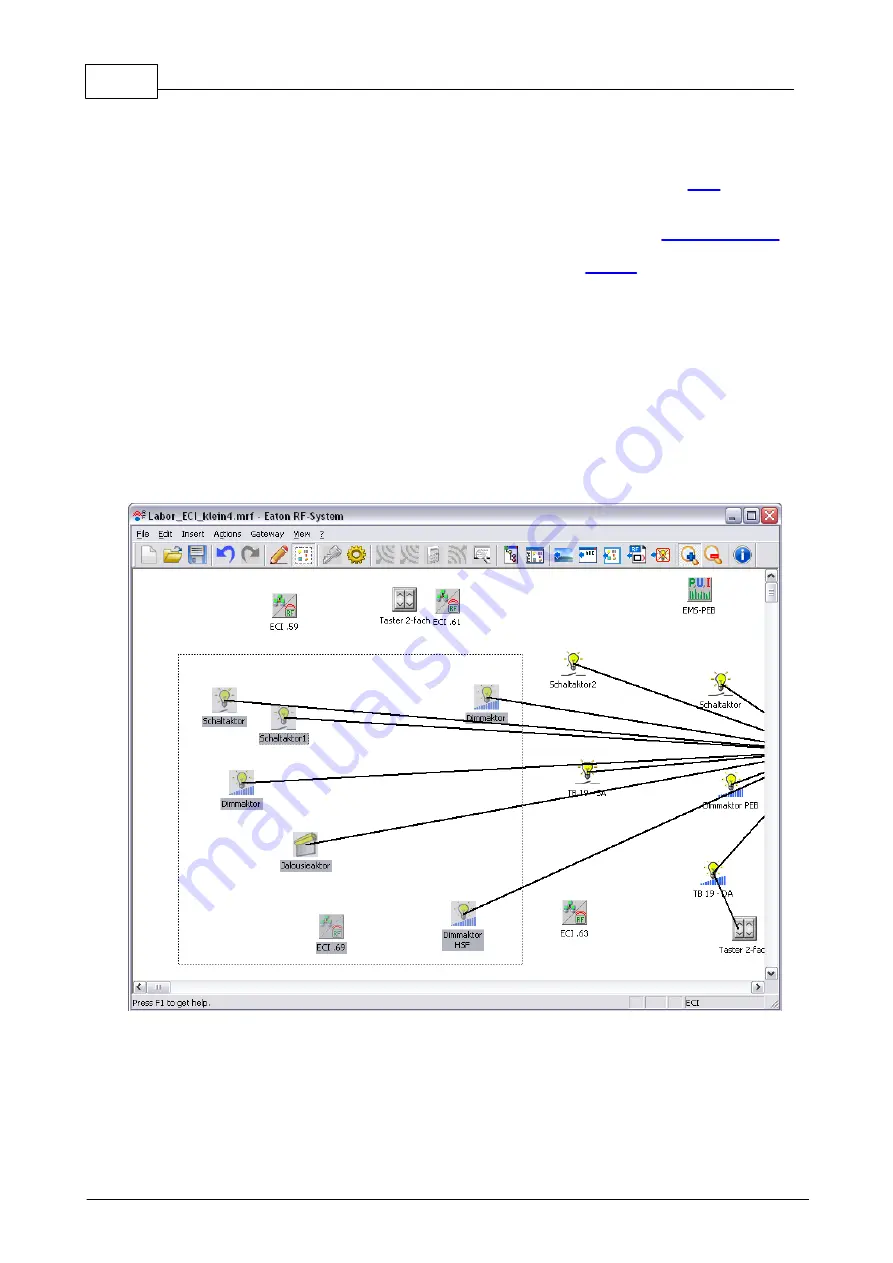
Connecting two xComfort devices is possible by left-clicking and holding a device icon. Now select
the required connection by moving the mouse pointer to another device icon. By releasing the left
mouse-button the assignment will be accepted and the connection will be shown as a black line.
Should a required connection not be displayed, select Connections in the menu item
in order
to display all the assignments you have already made.
If you see green or orange connection lines, you have selected the item View for
In addition, the drawing mode can be turned on and off directly in the
Selection mode
The main purpose of selection mode is to include new devices in an existing project, but it can also
be used to recalculate the reception quality of individual selected devices or simply to display
existing reception qualities.
Basic function:
As soon as selection mode is activated, no further connections can be drawn, nor can settings be
made in the devices. The drop-down menu for a device changes from the normal functions to the
selection mode functions.
As is usually the case in Windows, several devices can now be selected, either by dragging a
selection window, STRG+ left-click on a device or by pressing SHIFT + left-click/drag window.
As soon as at least 2 devices have been selected, the drop-down menu for selection mode can be
accessed by right-clicking on a device.
The following new functions are available via the drop-down menu:
Содержание RF System 2.42
Страница 1: ...Eaton RF System 2 42 Manual...
Страница 123: ...123 Eaton RF System 2015 Eaton Electrical Group State Syntax of RM to user...
Страница 193: ...193 Eaton RF System 2015 Eaton Electrical Group...
Страница 197: ...197 Eaton RF System 2015 Eaton Electrical Group 4 Now we select the desired function e g On switch on delay...
Страница 200: ...200 Eaton RF System Help 2015 Eaton Electrical Group 7 And assign the function Blinking to it...
Страница 218: ...218 Eaton RF System Help 2015 Eaton Electrical Group Step 4 Configuration of device type dimming actuator...
Страница 219: ...219 Eaton RF System 2015 Eaton Electrical Group Step 5 Configuration of device type analogue actuator...
Страница 220: ...220 Eaton RF System Help 2015 Eaton Electrical Group Step 6 Configuration of device type shutter actuator...
Страница 223: ...223 Eaton RF System 2015 Eaton Electrical Group Group settings analogue actuator...
Страница 224: ...224 Eaton RF System Help 2015 Eaton Electrical Group Group settings heating actuator...
Страница 225: ...225 Eaton RF System 2015 Eaton Electrical Group Group settings binary input battery supplied...
Страница 226: ...226 Eaton RF System Help 2015 Eaton Electrical Group Group settings binary input 230V Group settings Motion detector...
Страница 227: ...227 Eaton RF System 2015 Eaton Electrical Group Group settings Temperature input...
Страница 229: ...229 Eaton RF System 2015 Eaton Electrical Group Group settings Analogue input Group settings Impulse input...


