05/10
40
Flugvorbereitung
Flight preparation
Belegung der Empfänger-Steckplätze
Kanal 1: AIL
(Aileron, Querruder = Roll)
Kanal 2:
ELE
(Elevator, Höhenruder = Nick)
Kanal 3:
THR
(Throttle, Flugregler = Gas)
Kanal 4: GYRO/RUD
(Rudder, Seitenruder = Heck)
Kanal 5:
nicht belegt
Kanal 6:
PITCH
Auswahl des Flugfeldes
Wählen Sie eine
ausreichend große Freifläch
e im Freien
oder in einer großen Halle, ohne bewegte oder stehende
Hindernisse.
Achten Sie darauf, dass der
Untergrund eben und glatt
ist,
damit Sie bereits kurz vor dem Abheben erkennen können,
ob das Modell in eine bestimmte Richtung abdriften will.
Anschließen des Flugakkus (24)
Schalten Sie den Sender ein.
Kontrollieren Sie den Ladezustand der Senderakkus.
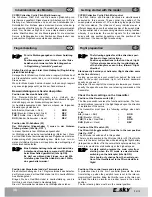
Bringen Sie den Gas/Pitch-Hebel in die Leerlauf/Motor-Aus
Stellung.
Bringen Sie den 3D-Schalter in die Position Idle UP „OFF“
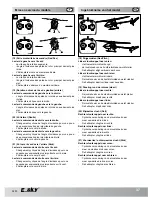
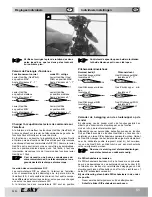
Verbinden Sie den Flugakku mit dem Flugregler.
(25) Die LED (a) am Gyro beginnt für einige Sekunden zu
blinken. Damit wird angezeigt, dass sich der Schaltkreis des
elektronischen Gyro selbst kalibriert.
Bewegen Sie den Helikopter in dieser Zeit nicht mehr!
Wenn die LED konstant grün leuchtet, ist die Kalibrierung
abgeschlossen und das Modell flugbereit.
Wenn die LED konstant rot leuchtet und die Motoren nicht
anlaufen, steht der Gas/Pitch-Hebel nicht in der Leerlauf/Mo-
tor-Aus Stellung.
Überprüfung der Reichweite des Fernsteuersenders
Damit Sie nicht die Kontrolle über das Modell verlieren, soll-
ten Sie vor jedem ersten Start oder nach einem Crash die
Funktion und Reichweite der RC-Anlage überprüfen. In der
Neutralstellung von Nick und Roll sollte auch die Taumelscheibe
in Neutralstellung stehen. Ist dies nicht der Fall, korrigieren Sie
die Stellung mit den Trimhebeln des jeweiligen Steuerkanals am
Sender.
Entfernen Sie sich langsam von dem Modell, Motor läuft
nicht!
Betätigen Sie nacheinander die Fernsteuerhebel Nick, Roll
und Heck und beobachten Sie dabei die Reaktionen des
Modells.
-
-
-
-
-
-
-
-
-
-
-
-
Assignment of the receiver plug-in positions
Channel 1:
AIL
(Aileron = Roll)
Channel 2:
ELE
(Elevator = Nick)
Channel 3:
THR
(Throttle = Gas)
Channel 4:
GYRO/RUD
(Rudder = Heck)
Channel 5:
Not assigned
Channel 6:
PITCH
Selecting the airfield
Select a sufficiently large area in the open or a huge hall,
where there are no moving or stationary obstacles.
Ensure that the ground is
even and smooth
, so that you
will known just before lifting whether the model will drift in a
particular direction.
Connecting the flight battery (24)
Switch on the transmitter.
Check the charging status of the transmitter battery.
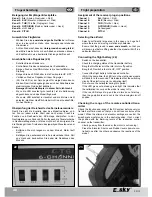
Bring the throttle lever in the idle / motor off position.
Bring the 3D switch in the Idle UP „OFF“ position
Connect the flight battery to the speed controller.
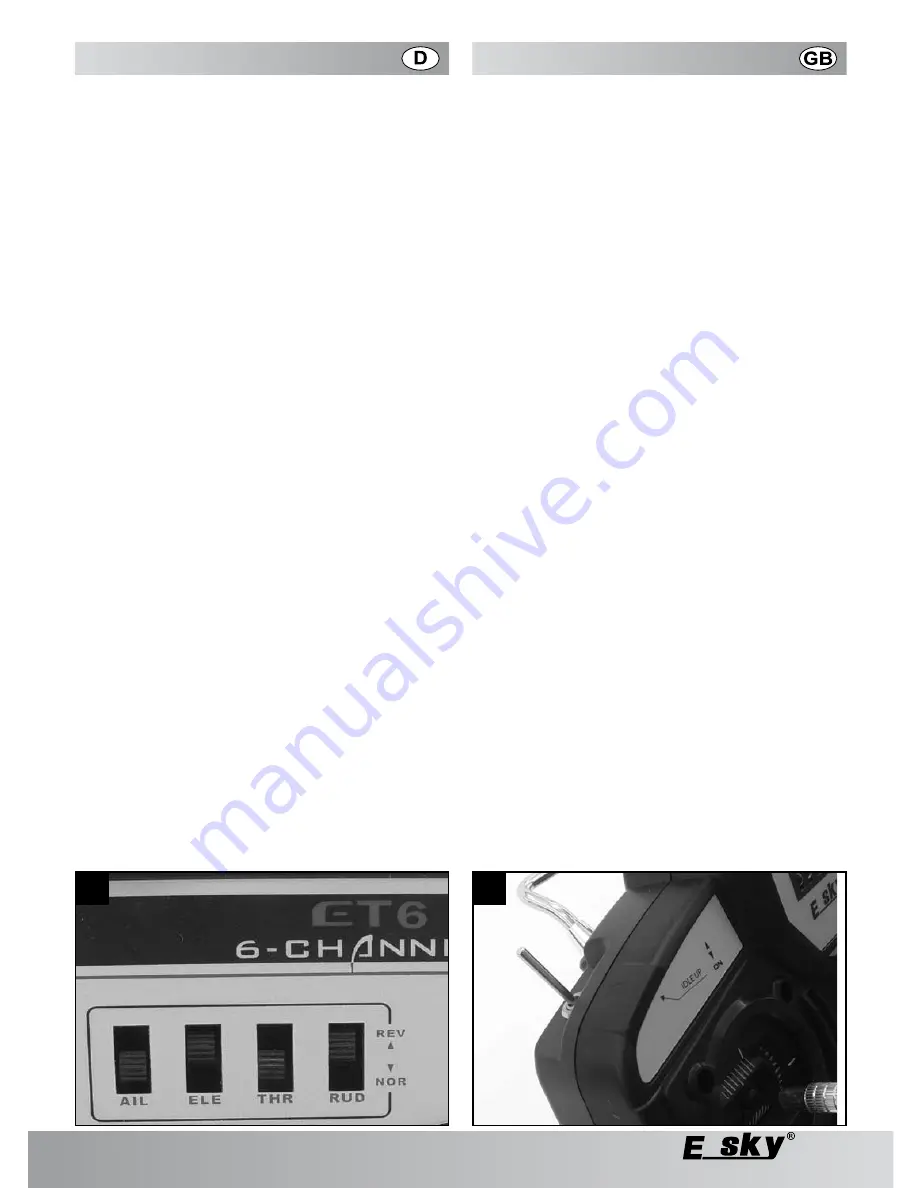
(25) At the same time, the LED (a) on the electronics module
will blink for a few seconds. This indicates that the switching
circuit of the electronic gyro is calibrating itself.
Do not move the helicopter during this period!
If the LED gives out a steady green light, this indicates that
the calibration is over and the model is ready to fly.
If the red LED stays lit up, and the motors do not start up,
then the gas/pitch lever is not in the idle-running/motor-off
position.
Checking the range of the remote-controlled trans-
mitter
Check the function and range of the RC system before every ini-
tial start or after a crash so that you do not lose control over the
model. When the aileron and elevator settings are neutral, the
swash plate must also be in the neutral position. If not, correct
the position with the trimming levers of the respective control
channel on the transmitter.
Slowly go away from the model, the motor is not running!
Press the Elevator, Aileron and Rudder levers (remote-con-
trolled) one after the other and observe the reactions of the
model.
-
-
-
-
-
-
-
-
-
-
-
-
22
23
24
25

