350
Data
Display/Edit/Management
Function menu
Cushy mark
Change size
Trim away
Operations
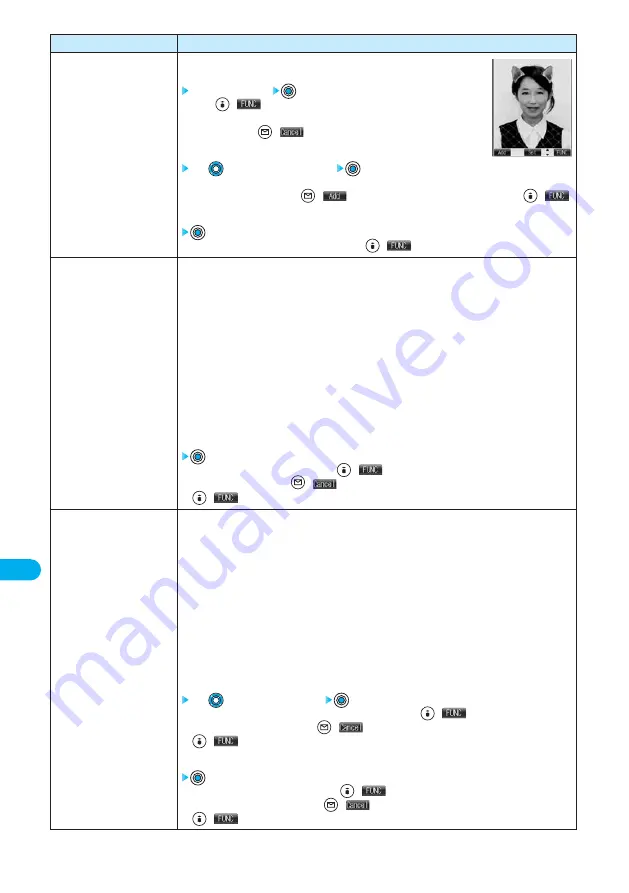
You can compound a cushy mark of the stamp folder. The person’s facial region is
automatically recognized and the cushy mark is pasted to an appropriate position.
Select a cushy mark
●
Press
(
) and select “Scale up/Scale down” to enlarge or shrink the
cushy mark.
●
To cancel, press
(
).
●
See page 508 for the cushy marks pre-installed at the time of purchase.
Use
to position the cushy mark
●
The cushy mark that comes out of the still image is cut off.
●
To add a cushy mark, press
(
). You can add a cushy mark also by pressing
(
)
and selecting “Add”.
●
You can set the cushy mark also by pressing
(
) and selecting “Set”.
VGA (640 x 480)·································Changes the image to VGA size.
CIF (352 x 288)···································Changes the image to CIF size.
QVGA (320 x 240) ······························Changes the image to QVGA size.
QCIF (176 x 144) ································Changes the image to QCIF size.
Sub-QCIF (128 x 96) ··························Changes the image to Sub-QCIF size.
Screen (240 x 320)·····························Changes the image to the Screen size.
VGA Vert. (480 x 640)························Changes the image to vertically-long VGA size.
CIF Vert. (288 x 352)··························Changes the image to vertically-long CIF size.
QCIF Vert. (144 x 176) ·······················Changes the image to vertically-long QCIF size.
Sub-QCIF Vert. (96 x 128) ·················Changes the image to vertically-long Sub-QCIF size.
●
If you select the size different in proportional ratio from the original still image, the original still image
is enlarged or shrunk to the maximum so that it does not exceed the selected size with its
proportional ratio retained.
●
You can set the size also by pressing
(
) and selecting “Set”.
●
To re-select a size, press
(
). You can re-select a size also by pressing
(
) and selecting “Cancel”.
You can trim the still image to a certain size.
CIF (352 x 288)···································Trims the image to CIF size.
※
QVGA (320 x 240) ······························Trims the image to QVGA size.
※
QCIF (176 x 144) ································Trims the image to QCIF size.
Sub-QCIF (128 x 96) ··························Trims the image to Sub-QCIF size.
Screen (240 x 320)·····························Trims the image to the Screen size.
※
CIF Vert. (288 x 352)··························Trims the image to vertically-long CIF size.
※
QCIF Vert. (144 x 176) ·······················Trims the image to vertically-long QCIF size.
Sub-QCIF Vert. (96 x 128) ·················Trims the image to vertically-long Sub-QCIF size.
Chat picture (80 x 80)························Trims the image to the chat image size.
●
You cannot select a trimming frame larger than the still image you are editing.
※
The still image you are editing and the trimming frame are halved at both lengthwise and sidewise to
be displayed.
Use
to select the part to trim
●
You can set the position of trimming frame also by pressing
(
) and selecting “Set”.
●
To re-select a size to trim, press
(
). You can re-select a size to trim also by pressing
(
) and selecting “Cancel”. When you have moved the trimming frame, it returns to the
center position.
●
You can set trimming also by pressing
(
) and selecting “Set”.
●
To re-select the part to trim, press
(
). You can re-select the part to trim also by pressing
(
) and selecting “Cancel”.
Содержание Foma P700i
Страница 111: ...108...
Страница 395: ...392...
Страница 441: ...438...
Страница 483: ...480...
Страница 546: ...543 MEMO...
Страница 547: ...544 MEMO...
Страница 548: ...545...
Страница 549: ...546 MEMO...
Страница 550: ...547...
Страница 551: ...548...
Страница 552: ...549 Index 550 How To Use Quick Manual 556 Quick Manual The end of this volume Index Quick Manual...


