317
Data Dis
play/Edit/Managem
ent
Printing Stored Images
<PictBridge print>
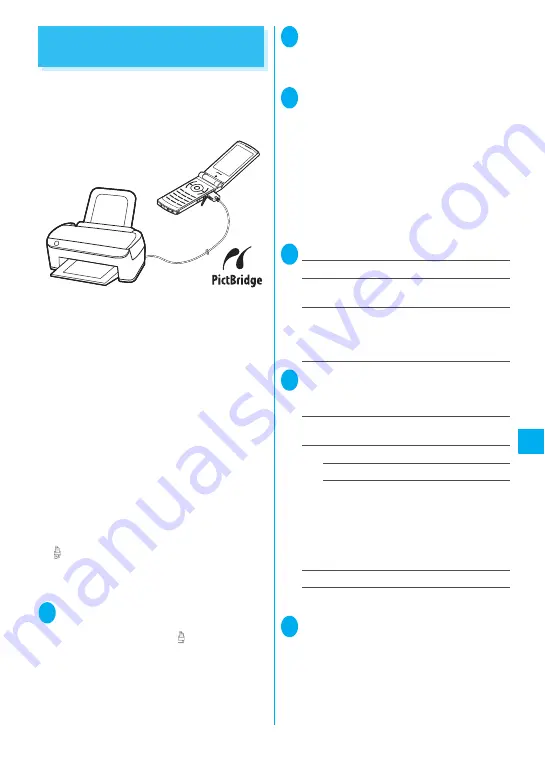
Connect the FOMA terminal to a PictBridge
compatible printer via the FOMA USB Cable with
Charge Function 01 (optional), and you can print
stored images.
z
Only JPEG images can be printed (Images shot
with the built-in camera are JPEG-formatted).
z
Some printers cannot properly print images if they
are not still images shot with the built-in camera.
z
Check that your printer supports the PictBridge
print before connecting the printer and the FOMA
terminal.
z
You can set the printing method for images stored
on the microSD memory card beforehand.
→
p.318
z
You cannot print images that are not allowed to be
output from the FOMA terminal.
z
Charge the battery fully for PictBridge print. You
may not be able to print if the battery is low.
z
Do not remove the FOMA USB Cable with Charge
Function 01 while communicating with the printer.
“
” appears during communication.
z
The printing method (layout, sheets, etc.) specified
on the FOMA terminal may not be applied on some
printers.
1
①
USB mode setting screen (p.302)
X
“Print mode”
When “Print mode” is set, “
” appears.
You may not be able to print if “Print mode” is not
set before connecting the FOMA USB Cable
with Charge Function 01.
2
Connect the FOMA terminal and a
printer with the FOMA USB Cable with
Charge Function 01
Turn on the printer before connecting.
3
Image list screen (p.274)
X
u
(FUNC)
X
“PictBridge print”
■
To use Print this
Move the frame to the image you want to print on
the image list screen or select the image to
display the My picture screen. When you select
the My picture function menu, go to Step 5.
■
To use DPOF print
Specify “DPOF setting” (p.318) beforehand and
display “Image list” screen or “Title” screen on a
microSD memory card.
4
Select the print type
Print this
……
Prints one image.
Print Choice
……
Select images to print.
“About multiple-choice”
→
p.38
DPOF Print
……
Prints images by following the
“DPOF setting” and the paper size and layout
specified for the printer (Step 5 and subsequent
steps are not required).
5
Set the print settings
■
Print settings
Select from the following:
Print Sheets
*
……
Enters the number of sheets (01
to 99) to print.
Print Style
size
……
Selects the paper size.
layout
……
Selects the layout from “1-up
(border less)/1-up/2-up/4-up/8-up/16-up/
Default”.
Selecting 2-up to 16-up prints 2 to 16 images
on one sheet. When printing only one image,
the same 2 to 16 images are printed on one
sheet.
a date
……
Sets whether to stamp the date.
*: Can be set only when “Print this” is selected in Step
4.
6
o
(Finish)
The image is printed.
“Mobile Printing Ready” (PictBridge, microSD)
* This Mobile Printing Ready product is designed to provide easy
printing from mobile phones.
This product follows Mobile Imaging and Printing Consortium
(MIPC) guidelines version 1.0 for PictBridge, Memory Cards.
Содержание foma N905i
Страница 146: ......
Страница 250: ......
Страница 392: ......
Страница 421: ...419 Continued on next page Appendix External Devices Troubleshooting Reading Reading Reading...
Страница 459: ...457 Index Quick Manual Index 458 Quick Manual 472...
Страница 473: ......
Страница 544: ...Kuten Code List R...


