Installing System Components
81
3
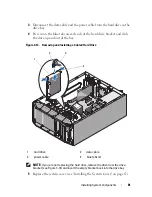
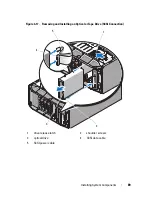
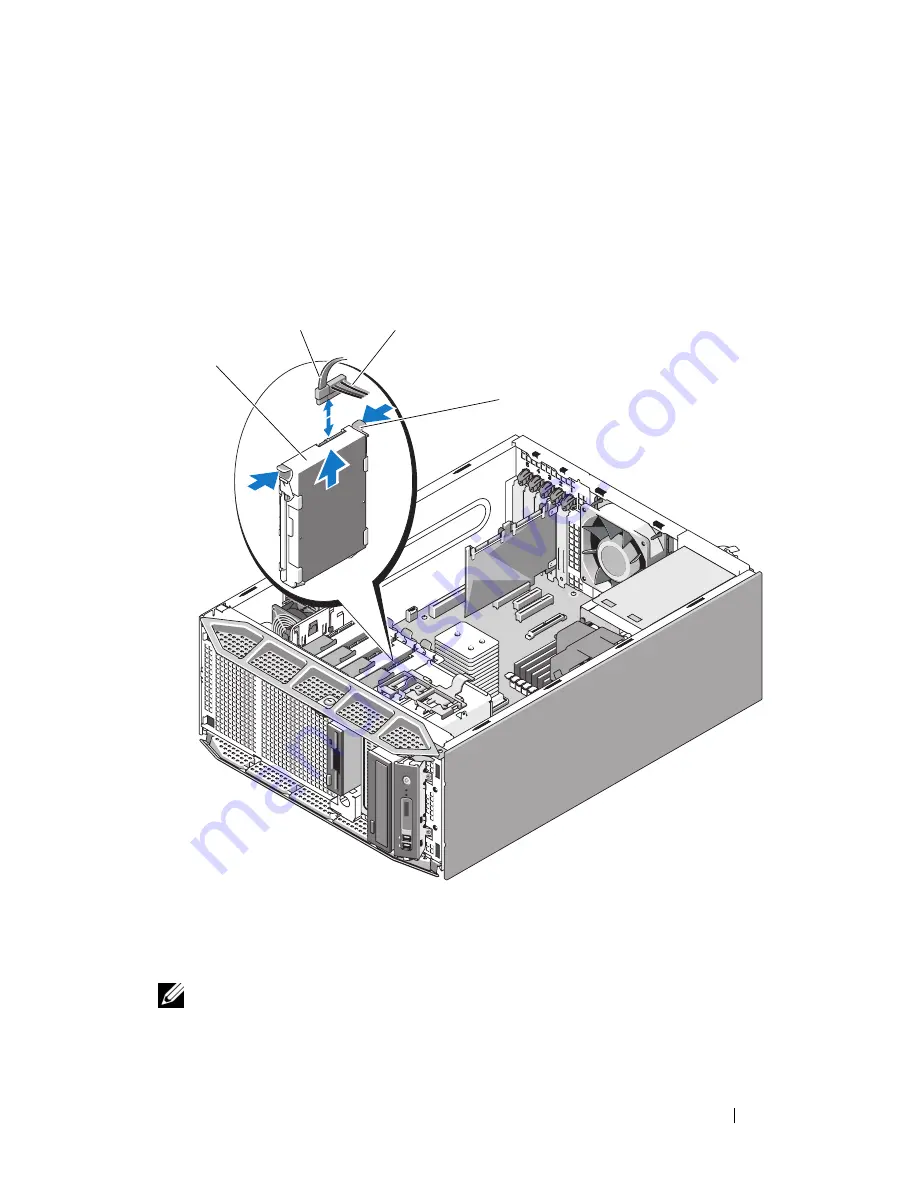
Disconnect the data cable and the power cable from the hard drive in the
drive bay.
4
Press in on the blue tabs on each side of the hard drive bracket and slide
the drive up and out of the bay.
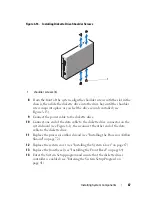
Figure 3-13.
Removing and Installing a Cabled Hard Drive
NOTE:
If you are not replacing the hard drive, remove the drive from the drive
bracket (see Figure 3-14) and insert the empty bracket back into the drive bay.
5
Replace the system cover (see "Installing the System Cover" on page 67).
1
hard drive
2
data cable
3
power cable
4
blue tabs (2)
3
4
2
1
Содержание POWEREDGE T300
Страница 1: ...w w w d e l l c o m s u p p o r t d e l l c o m Dell PowerEdge T300 Systems Hardware Owner s Manual ...
Страница 10: ...10 Contents ...
Страница 132: ...132 Installing System Components ...
Страница 174: ...174 Jumpers and Connectors ...
Страница 176: ...176 Getting Help ...
Страница 188: ...188 Glossary ...


