28
PC104 RocketPort Option
Configuring the RocketPort Serial Ports
4.
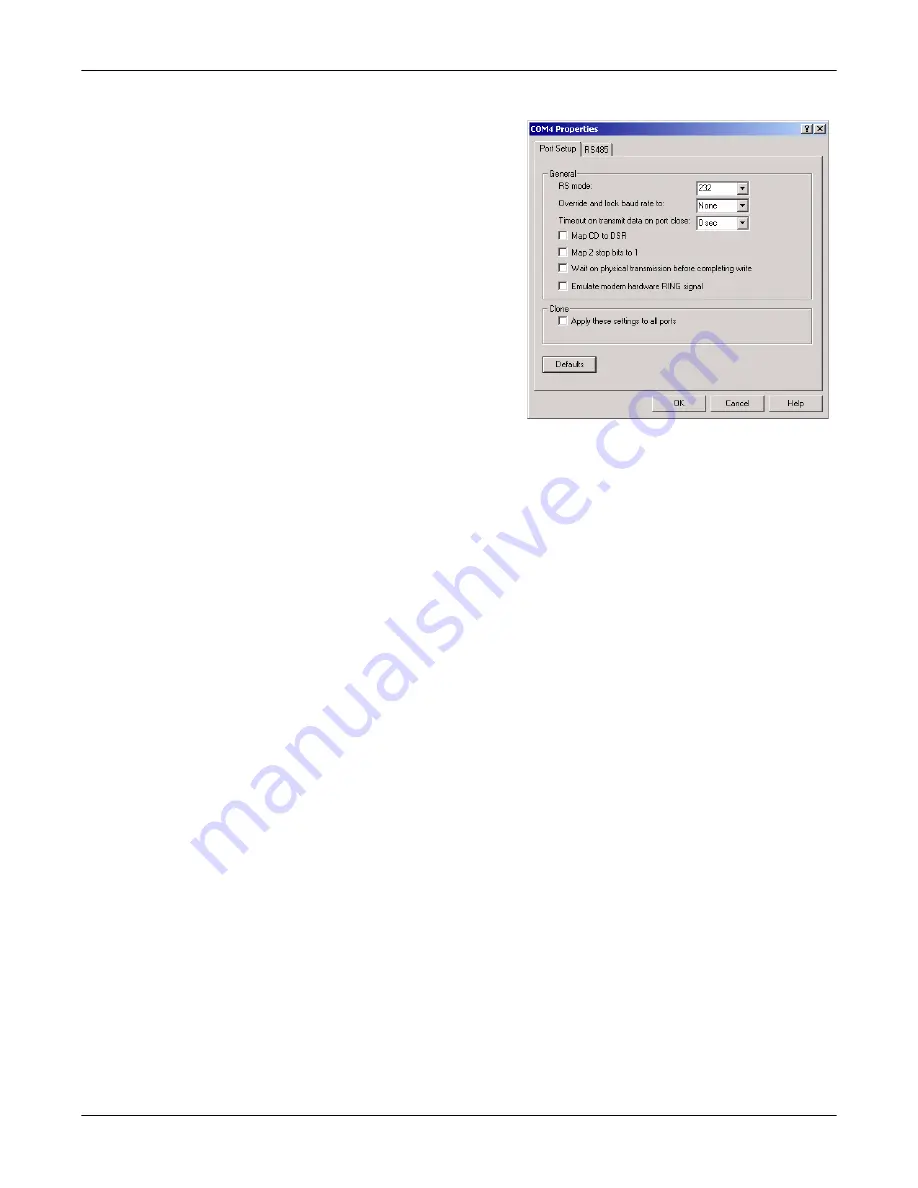
Highlight the port for which
you want to configure COM
port characteristics and select
Properties
.
Note:
COM4 is the default
starting COM port.
-
COM1 is assigned to
the
CONSOLE
port.
-
COM2 is assigned to
the
AUX A
port.
-
COM3 is assigned to
the optional PCMCIA
Ethernet/Modem
cards.
a.
Change the
communications mode to
match the device you plan
to connect.
b.
If necessary, set an
Override and lock baud rate to
value.
This option lets you lock selected ports to specific baud rates. After you do
so, no matter what baud rate is selected in a host application, the
actual
rate used is the rate specified here.
c.
If necessary, set the
Time on transmit data on port close
value.
Use this drop list to select the length of time to wait for data to clear the
transmit buffer after a host application has closed the port. This is typically
used with peripheral devices such as printers, to give the data sufficient
time to flush through the system.
d.
If necessary, select the
Map CD to DSR
option.
This option is used in installations where there is no connection to the
port’s DSR input. Check this box to cause the CD input to appear as DSR
to the host application, and to perform hardware handshaking with CD
rather than DSR. This is ignored if flow control is not enabled via
IOCTL_SERIAL_SET_HANDFLOW.
e.
If necessary, select the
Map 2 stop bits to 1
option for your application.
f.
If necessary, set the
Wait on physical transmission before completing write
option.
This option forces all write packets to wait until the transmit data has
physically completed the transmission before returning completion to the
host application. The default mode (box not checked) is to buffer the data in
the transmit hardware buffer, and return completion as soon as the packet
is in the buffer.
g.
If necessary, set
Emulate modem hardware RING signal
.
Note:
This emulates a hardware RI (ring indicator) signal.
h. Select the
Clone
option if you want to clone all of the ports on the adapter
with the characteristics set in this port.
Note:
If this box is not checked, changes apply to the selected port only.
i.
Select
Ok
to make the changes to the selected port.
j.
Repeat Step 4 for each port that requires configuration.
Содержание DeviceMaster ATS-XPE
Страница 1: ...Installation and Configuration Guide ...
Страница 24: ...24 Managing Files on the ATS XPE Using Remote Desktop through a Modem 6 Select the Connect button ...
Страница 76: ...76 Important Safety Information This page was intentionally left blank for double sided printing ...
Страница 78: ...78 Appendix C Default System Values Accessing the Motherboard ...
Страница 96: ...96 Index Index ...


