Remote Access
Initial Setup
Compro RS-3232 - User's Manual
3-8
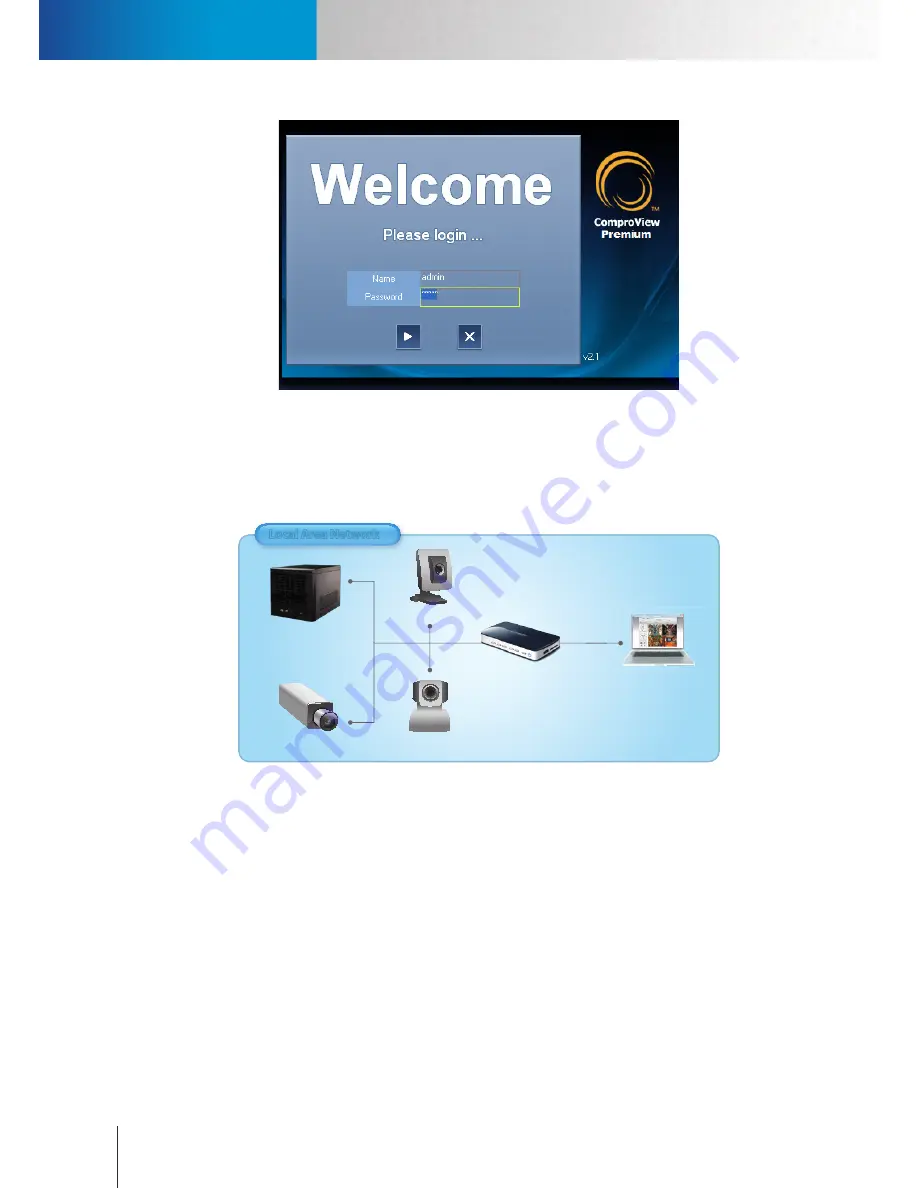
Figure 3-16. Login screen
Camera Setup
1. Connect your IP cameras to the network switch that also connects to your RS-3232, and then power on
your IP cameras.
RS-3232
IP Camera
IP Camera
Hub / Switch
Local Area Network
Local Area Network
IP Camera
Monitoring PC
Figure 3-17. Connection diagram
2. Launch ComproView® on the RS-3232 and enter the user name and password, which are both “admin” by
default, to log in.
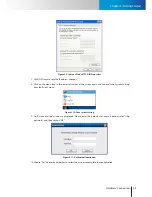
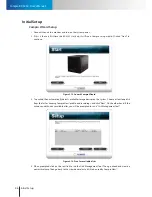
3. After that, you will be prompted to run a quick setup. Click on “Go” and let ComproView® search for
available IP cameras on your LAN network. If some cameras do not appear on the list, click on “Re-Scan”
to search again.
Содержание RS-3232
Страница 1: ...Network Video Recorder RS 3232 Model No V2 120510 ...
Страница 34: ... Compro RS 3232 User s Manual 4 12 ...
Страница 58: ...Talk and Broadcast Voice Compro RS 3232 User s Manual 6 8 ...
Страница 64: ...Manual Recording Compro RS 3232 User s Manual 7 6 ...
Страница 74: ...Add and Manage Bookmarks Compro RS 3232 User s Manual 8 10 ...
Страница 78: ...Schedule a Backup Operation Compro RS 3232 User s Manual 9 4 ...
Страница 82: ...Add an E Map Compro RS 3232 User s Manual 10 4 Figure 10 3 Emap example ...
Страница 92: ...Remote Playback on WebVUer Compro RS 3232 User s Manual 11 10 ...
Страница 112: ... Compro RS 3232 User s Manual 12 20 ...
Страница 120: ...Contacting Compro Technical Support Compro RS 3232 User s Manual 14 4 ...


