4.3.2 LOOP DEVICES
To access the programming menu for the loop device parameters, from the “Devices” menu, press the “LOOP” button - Fig.
Screen
Loop devices can be automatically addressed, meaning that the first device will acquire the lowest address.
When a new loop device is found (not in the configuration), the message “
NEW LOOP DEVICES FOUND
” will appear, as well
as the number of devices detected.
To add a new device to the configuration, press APPLY in the device menu or, with the help of the general command, press
SAVE in the Programming menu.
Any device that has not been added to the configuration cannot generate messages.
If a loop device is removed, the panel generates a “
LOOP DEVICE FAULT
” message. When a newly detected device is
removed, the panel reduces the number of new devices found and, if the number is 0 the message “NEW LOOP DEVICES
FOUND” will be removed.
Removal of the device from the configuration takes place via the REMOVE command in the specific device menu.
If there are devices with the same address, the panel will show the message “
DOUBLE ADDRESS
”, indicating the number of
the loop and the device with the problem.
To identify the devices with double addresses, select the number of the loop and the double address in sequence. At the
bottom of the screen, press
LED
: the LEDs for all devices registered with this address will light up. This ensures all devices
with the same address are identified and corrected with a new one quickly. The next time the LED button is pressed, the LEDs
for the devices will switch off.
If a different type of device appears at the address of a device that has already been saved, the panel will generate the
message “
LOOP DEVICE TYPE ERROR
”.
To correct the error, the incorrect address must first be removed and then the new device type saved.
The board for Loop 41ECL120 automatically recognises the type of device connected to the loop
.
Every device is recognised by the panel with its own product code and a short description of the sensor type. The installer can
set a specific name for each device based on requirements, or its position within the system.
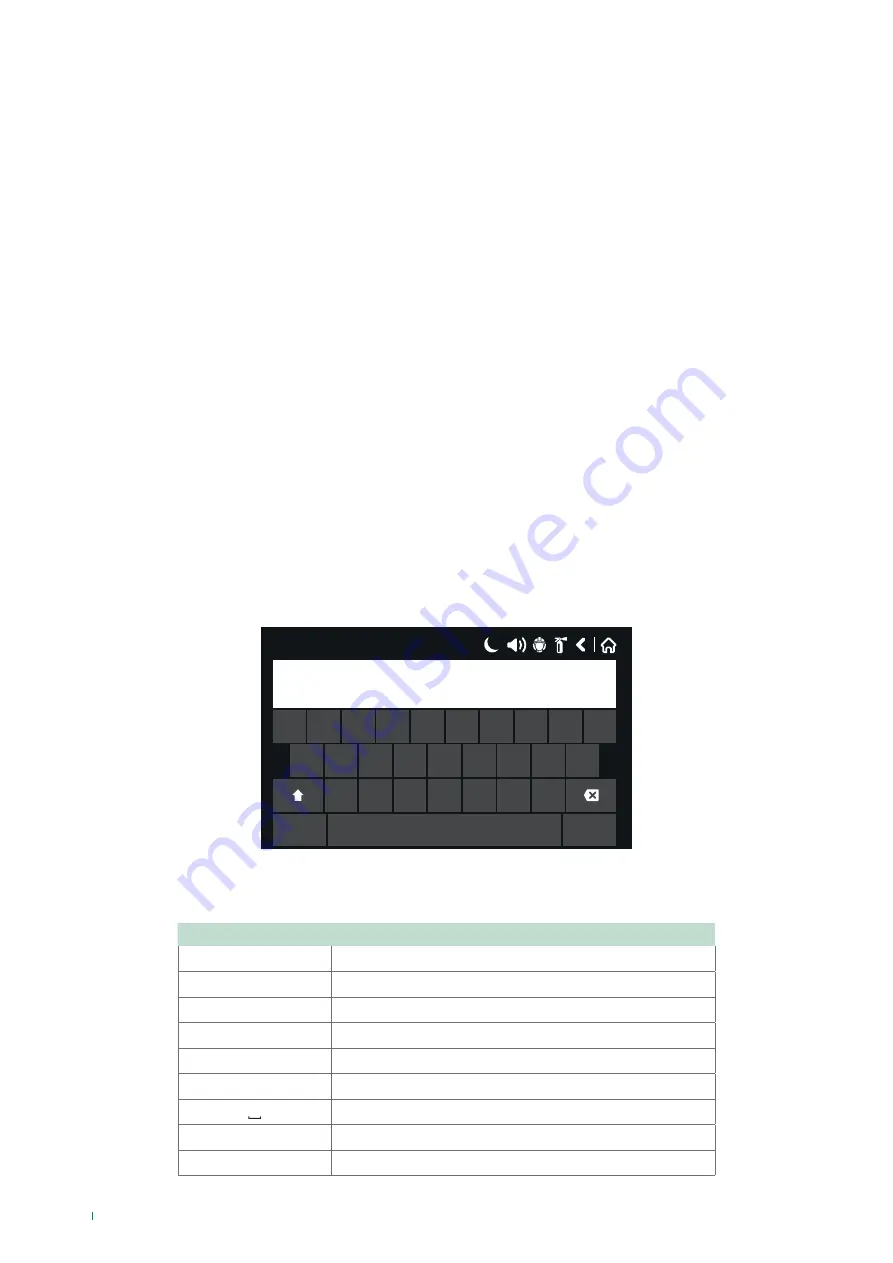
To enter the device name, press the active button “Name” located underneath the device code. Enter the name using the
keypad and press save; the text entered should be no longer than 40 characters (spaces included).
17/06/2020 14:06
p
l
m
n
b
v
c
x
123#
z
k
j
h
g
f
d
s
a
o
i
u
y
t
r
e
w
q
The installer / user can select the type of text, with the Cyrillic or Latin alphabet. The keypad buttons have the following
meanings:
Button
Function
Cyr
Switch to Cyrillic alphabet
SPE
View special characters
Lat
Switch to Latin alphabet
Sym
View symbol characters
A/a
Switch between upper case and lower case
Num
Switch to number characters
Space
←
Backspace key
↵
Confirm key
28


