Smart Network Application (SNA)
SNA Sessions
Cisco Sx350, SG350X, SG350XG, Sx550X & SG550XG Series Managed Switches, Firmware Release 2.2.5.x
643
29
SNA Sessions
To launch SNA:
STEP 1
Open a Web browser.
STEP 2
Enter the IP address of the device you are configuring in the address bar on the browser, and
then press Enter.
STEP 3
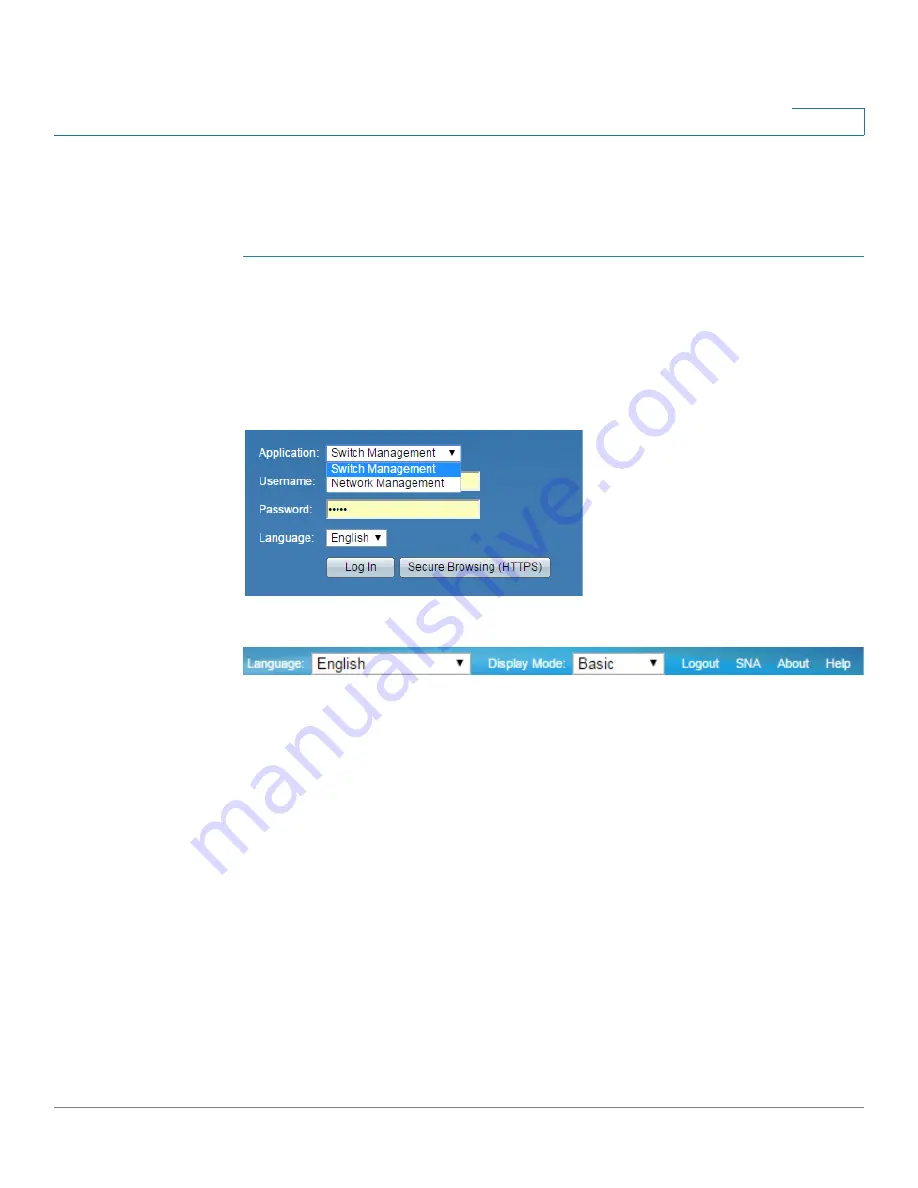
When the Login window is displayed, enter your username and password and select
Network Management
:
If Switch Management is selected, you can select SNA from the top banner, as shown below.
When first entering SNA, the topology map is empty and blocked behind a modal. You are
asked to enter your credentials (username of up to 20 characters and a password of up to 64
characters). If the credentials are rejected, you are informed of the rejection and of the
rejection reason.
After SNA loads, it creates a management sessions with all other SNA-capable devices in the
network over a WebSocket using the same credentials used to login to SNA. As a result, only
SNA-capable devices using the same credentials provide data and management capabilities.
Other devices do not appear as SNA devices even if they have SNA capabilities.
An SNA session can have the following access permission levels:
-
Full
—A session begins in full access mode. All SNA operations are possible.
-
Read Only
—After a session is idle for 15 minutes, it changes into a Read-Only
session. In this mode, all actions that write to devices or configure devices are
blocked, and can only be launched by upgrading the session back to a full session.
This is done by re-entering the credentials, and can be done at any time.


