


CIARA
Kronos 600 workstation X79-KA-XXXXX-XX-XXX
- 6 -
1.2 Choosing a site for the system
All CIARA computers operate reliably in a typical office or home environment. Choose a location that is readily accessible and meets
the following requirements:
The socket-outlet shall be installed near the equipment and shall be easily accessible
Is clean and dust free
Is well-ventilated and lighted and away from sources of heat
Is isolated from strong electromagnetic fields produced by electrical devices
(I.e. air conditioners, large fans, large electric motors, radio and TV transmitters)
Has an appropriate table or desk that will allow you to work without physical discomfort and strain.
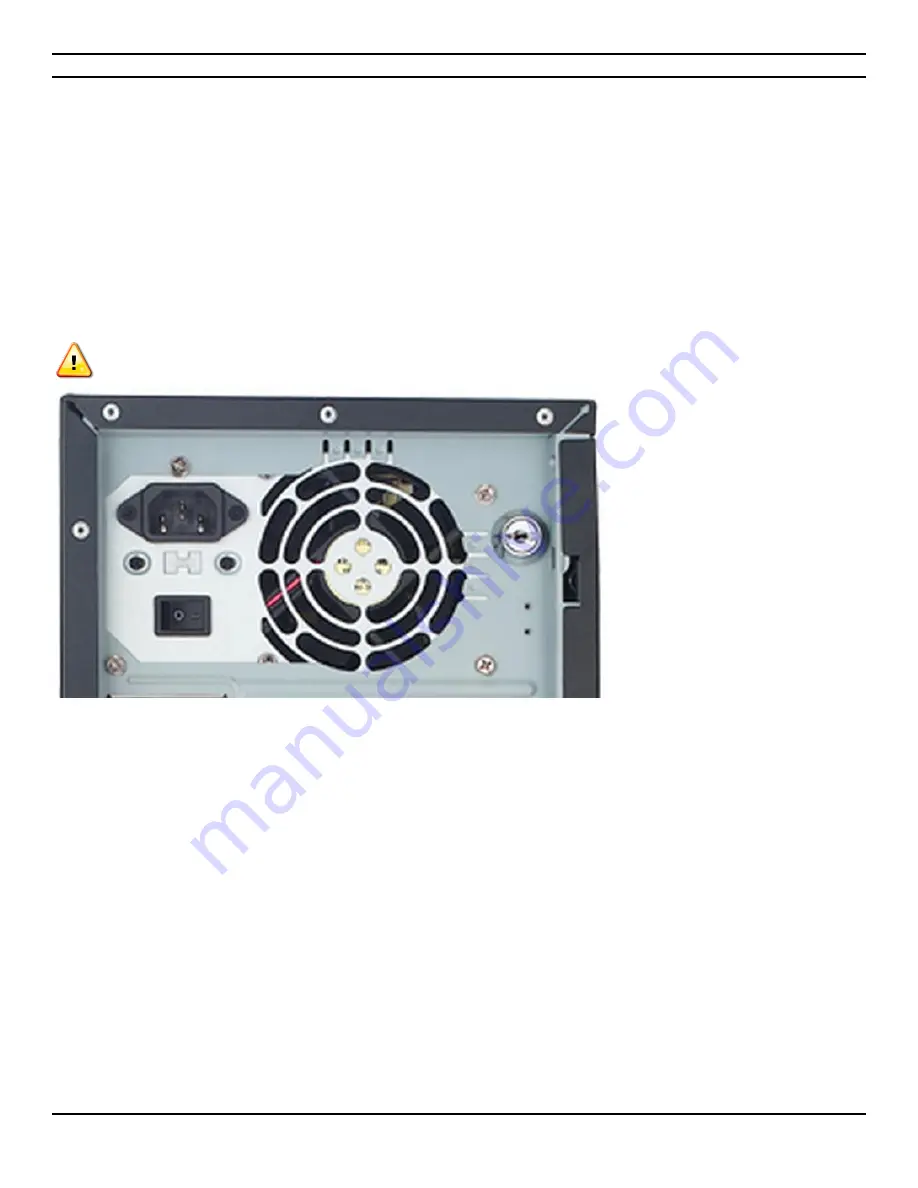
INPUT 120Vac, 60Hz, 10A
A few general precautions should always be observed:
Never connect any peripheral such as a monitor to the system unit if the power is turned "ON". Always shut down the
system first.
Never remove any internal adapter cards in the system unit if the power is turned "ON" as this will ruin the Card/Computer
and Void the Warranty.
Never install and connect more peripherals than available power supply plugs to avoid exceeding the maximum power of
the system.
NOTE The Enterprise model comes either with or without a power supply On/OFF switch. For those systems that do not have a
switch, make sure to shut down the system through Windows before proceeding to any repair or replacement work inside the system.
Содержание Kronos 600 X79-KA SERIES
Страница 1: ...User Guide Kronos 600 Workstation X79 KA XXXXX XX XXX...
Страница 8: ...CIARA Kronos 600 workstation X79 KA XXXXX XX XXX 8...
Страница 36: ...CIARA Kronos 600 workstation X79 KA XXXXX XX XXX 36 NOTES...
Страница 43: ...P9X79 WS Motherboard...
Страница 58: ...16...
Страница 59: ...This chapter describes the motherboard features and the new technologies it supports Pro 1 duct introduction...
Страница 60: ...ASUS P9X79 WS Chapter summary 1 1 1 Welcome 1 1 1 2 Package contents 1 1 1 3 Special features 1 2...
Страница 107: ...ASUS P9X79 WS 2 37 5 6 Triangle mark 7 8 B A 9 B A...
Страница 109: ...ASUS P9X79 WS 2 39 2 3 4 DIMM installation 1 2 3 To remove aDIMM B A...
Страница 111: ...ASUS P9X79 WS 2 41 3 DO NOT overtighten the screws Doing so can damage the motherboard...
Страница 112: ...2 42 Chapter 2 Hardware information 2 3 6 ATX Power connection 1 2 OR...
Страница 113: ...ASUS P9X79 WS 2 43 2 3 7 SATAdevice connection 1 OR 2...
Страница 117: ...ASUS P9X79 WS 2 47 Connect toStereoSpeakers Connect to2 1 channelSpeakers Connect to4 1 channelSpeakers...
Страница 118: ...2 48 Chapter 2 Hardware information Connect to5 1 channelSpeakers Connect to7 1 channelSpeakers...
Страница 122: ...2 52 Chapter 2 Hardwareinformation...
Страница 133: ...ASUS P9X79 WS 3 11 Chapter 3 Scroll down to display the following items Scroll down to display the following items...
Страница 226: ...5 14 Chapter 5 rv JltipleGPUtechnology support...


