


Chromasens CD40127_R02 allPIXA_pro_User Manual.docx
77
3
Set the operating point (white balancing, section 8.2):
The camera has the correct gaining values after this step.
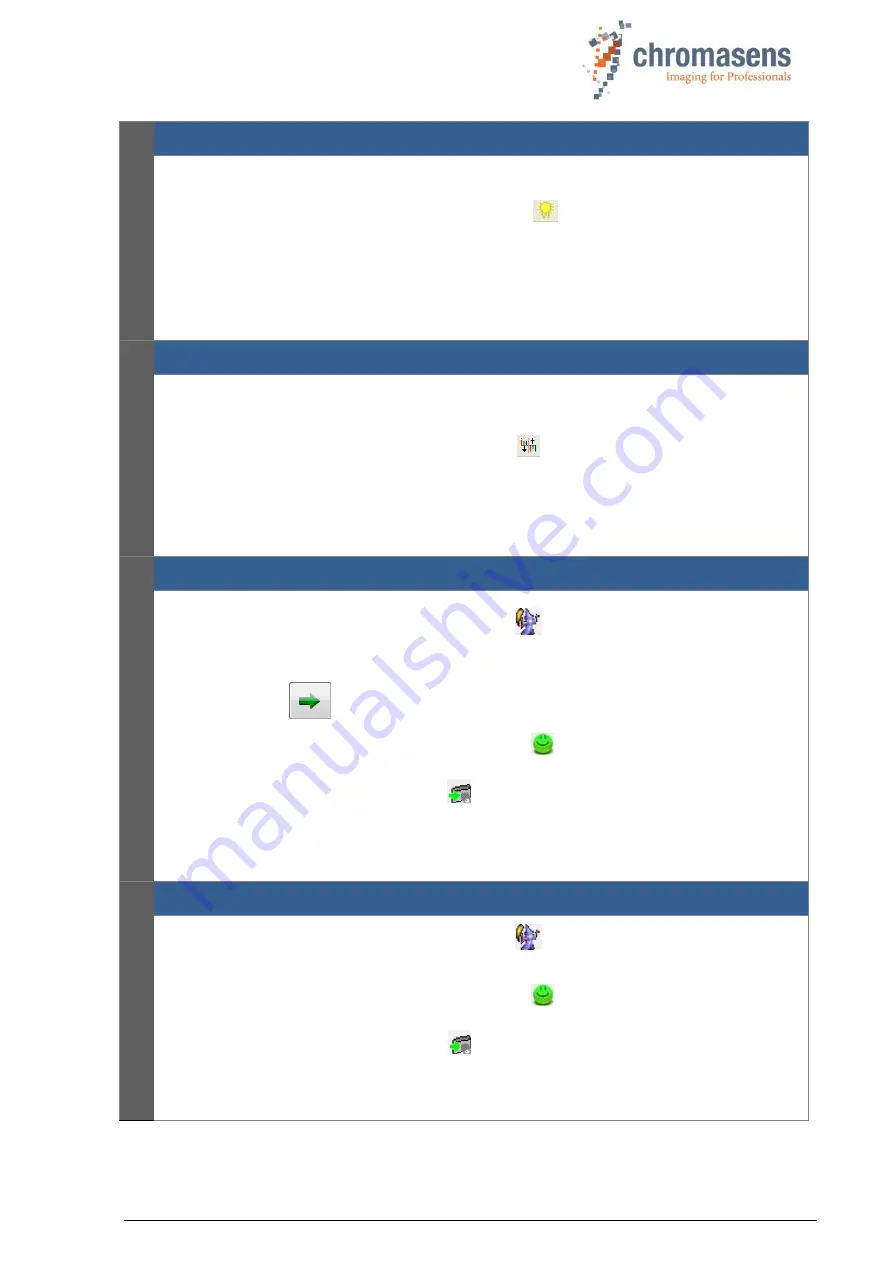
On the toolbar, click
Perform white balancing
for automatic white balancing or
Follow the instructions in section
8.2.3 for manual white balancing.
This step has to be done again, for example, after changing the light or the f-stop.
Refer to section 8.2 for a detailed description on how to set the operating point.
4
Perform a tap balancing (section 8.2):
The camera seamlessly levesl out the video signal of the two taps of the camera. The
resulting image has the same brightness in the center at the tap borders after this step.
On the toolbar. click
Perform tap balancing
.
Tap balancing can only be performed correctly if continuous white control is disabled.
For a detailed description how to perform tap balancing, see section 0.
5
Generate the black-level reference (section 8.3):
On the toolbar, click
Start reference wizard
.
Click
Black (offset) level reference
and
Create reference internally.
Click
Next
,
and follow the instructions of the wizard.
On the toolbar, click
Show simple setup view
,
and then select the
Activate offset
correction
check box
.
Click
Transfer setting to camera
, or press
F9
to save the setting to volatile
memory.
For information about creation of a black-level reference, see section 8.3.
6
Generate the shading reference / flat-field correction (section 8.4
On the toolbar, click
Start reference wizard
, and follow the description in section
On the toolbar, click
Show simple setup view
,
and then select the
Activate white-
level (flat-field) correction
check box
.
Click
Transfer setting to camera
, or press
F9
to save the setting to volatile
memory.
For information about creation of a shading reference, see section 8.4.


