S T E P 1 0
S T E P 1 0 – S e t U p M a c h i n e ‑ C o n t r o l S o f t w a r e
58
docs.carbide3d.com
59
10.1 Download CAD/CAM and Machine‑Control Software
1. Download Carbide Motion from:
carbide3d.com/carbidemotion/download
.
2. Download Carbide Create from:
carbide3d.com/carbidecreate/download
.
3. Install both programs to your computer.
Carbide Motion lets you control your machine by jogging it around, setting zeros, and loading and
running G-code. Carbide Create is a cross-platform CAD/CAM program used to design projects for the
Shapeoko Pro. It allows you to create 2D sketches, generate toolpaths, and export G-code which you will
run in Carbide Motion to implement your design.
NOTE:
Carbide Create must have the post processor set to Carbide 3D Shapeoko for the BitSetter to work.
See
Step 10.7 Set the Post Processor in Carbide Create
on page 61.
10.2 Connect to Machine
1. Turn your computer on.
2. Connect the USB cable to your computer.
3. Start Carbide Motion on your computer.
4. Flip the in-line rocker switch on the power
supply to the ON position.
5. Press the Power button on the front-right
endplate.
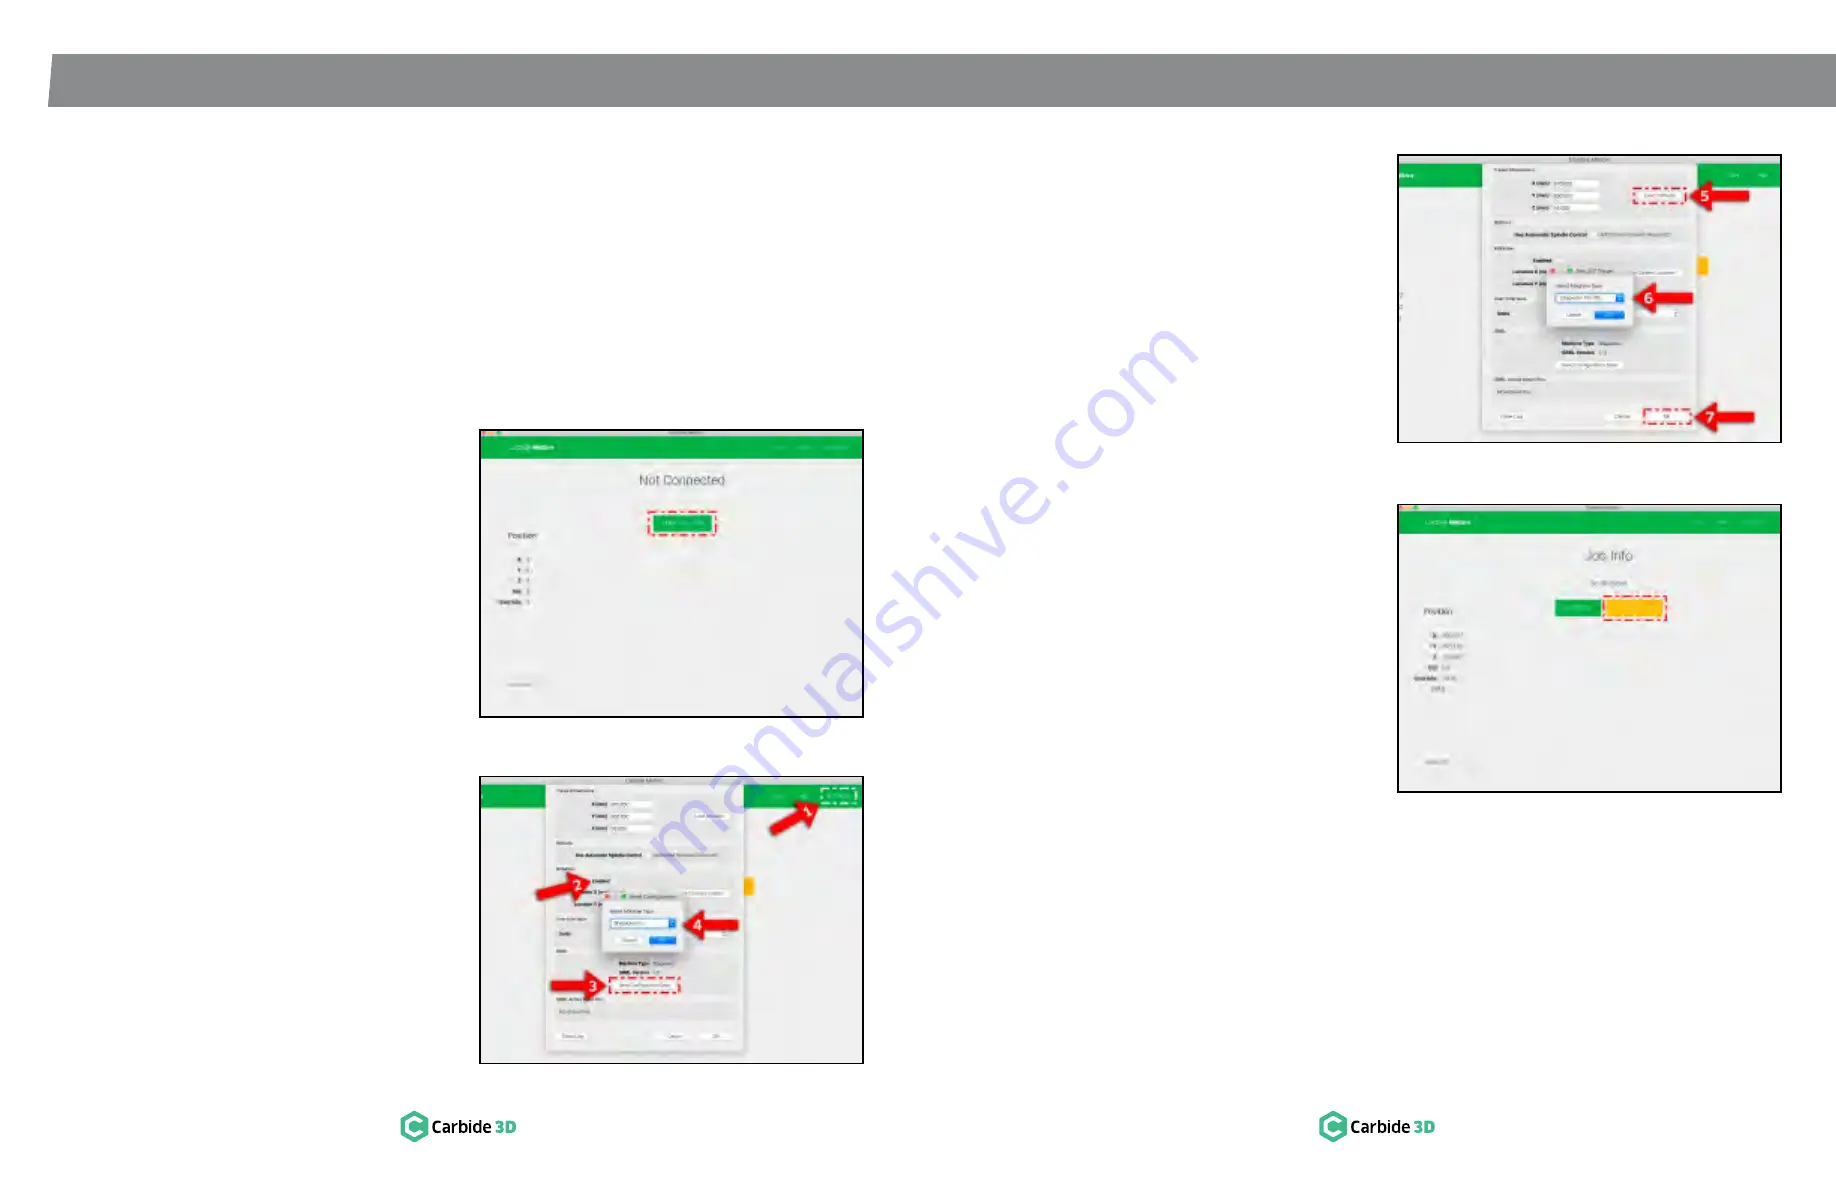
6. In Carbide Motion, click the
Connect to Cutter
button
.
See
Fig. 10-1
.
7.
DON’T HOME YOUR MACHINE YET .
We need
to update the configuration settings first.
10.3 Update Machine Settings
To update the machine’s configuration settings (
see
Fig. 10-2)
:
1. Click
Settings
in the top menu bar.
2. In the
BitSetter section
, make sure the
Enabled
checkbox
is unchecked.
3. Click the
Send Configuration Button
.
4. In the
Send Configuration popup window
that opens, select
Shapeoko Pro
from the
dropdown list and click
OK
.
Figure 10-1
Figure 10-3
Figure 10-2
Figure 10-4
5. After the configuration settings finish sending,
click the
Load Defaults button
in the
Travel
Dimensions section
at the top of the window.
See
Fig. 10-3
.
6. In the
Set X/Y Travel popup window
that
opens, select
Shapeoko Pro XXL
from the
dropdown list and click
OK
.
7. Click
Ok
at the bottom of the
Settings window
to close it.
10.4 Check Proximity
Switches
Double check that your proximity switches are
connected and functioning correctly.
1. Place a metal object, such as a wrench, in
front of each proximity switch target in turn.
2. Check to see if the red LED on the switch
lights up. You can also check to see that a
blue LED lights up on the controller board.
3. Watch the Proximity Switch Troubleshooting
video for additional information at
:
youtu.be/Zf8NPmxrEDs
.
10.5 Home the Machine
Once the machine settings have been sent and all
of the proximity switches have been checked, the
Shapeoko Pro is ready to home.
1. Click the yellow
Initialize Machine button
to
home your Shapeoko Pro.
See
Fig. 10-4
.
Содержание Shapeoko PRO
Страница 1: ...Shapeoko PRO ASSEMBLY GUIDE...


