7
Press
▲
or
▼
to select
Initial adjustmt
, and then press the
OK
button.
A test pattern is printed for adjustment.
Adjustment is now finished if you have printed on a roll.
8
If you are printing on sheets, a confirmation message is displayed requesting you to continue printing. Press
the
OK
button and follow the instructions.
Note
•
Advanced adjustment can enable superior printing quality when printing fine lines or text at high precision on glossy
or semi-glossy photo or proofing paper.
(See "Enhancing Printing Quality.")
→P.796
Troubleshooting Paper Abrasion and Blurry Images
Troubleshooting Paper Abrasion and Blurry Images
The Printhead height setting affects printing quality.
Specifying a low Printhead height makes images clearer and enhances printing quality but may cause paper to rub
against the Printhead.
On the other hand, specifying a high Printhead height will prevent paper from rubbing against the Printhead but may
reduce the printing quality.
Important
•
Paper rubbing against or becoming caught on the Printhead may jam or result in printed documents that are soiled.
Note
•
Raise or lower the printhead, depending on the nature of the problem.
(See "Paper rubs against the printhead.")
→P.889
(See "The edges of the paper are dirty.")
→P.889
(See "Image edges are blurred or white banding occurs.")
→P.893
1
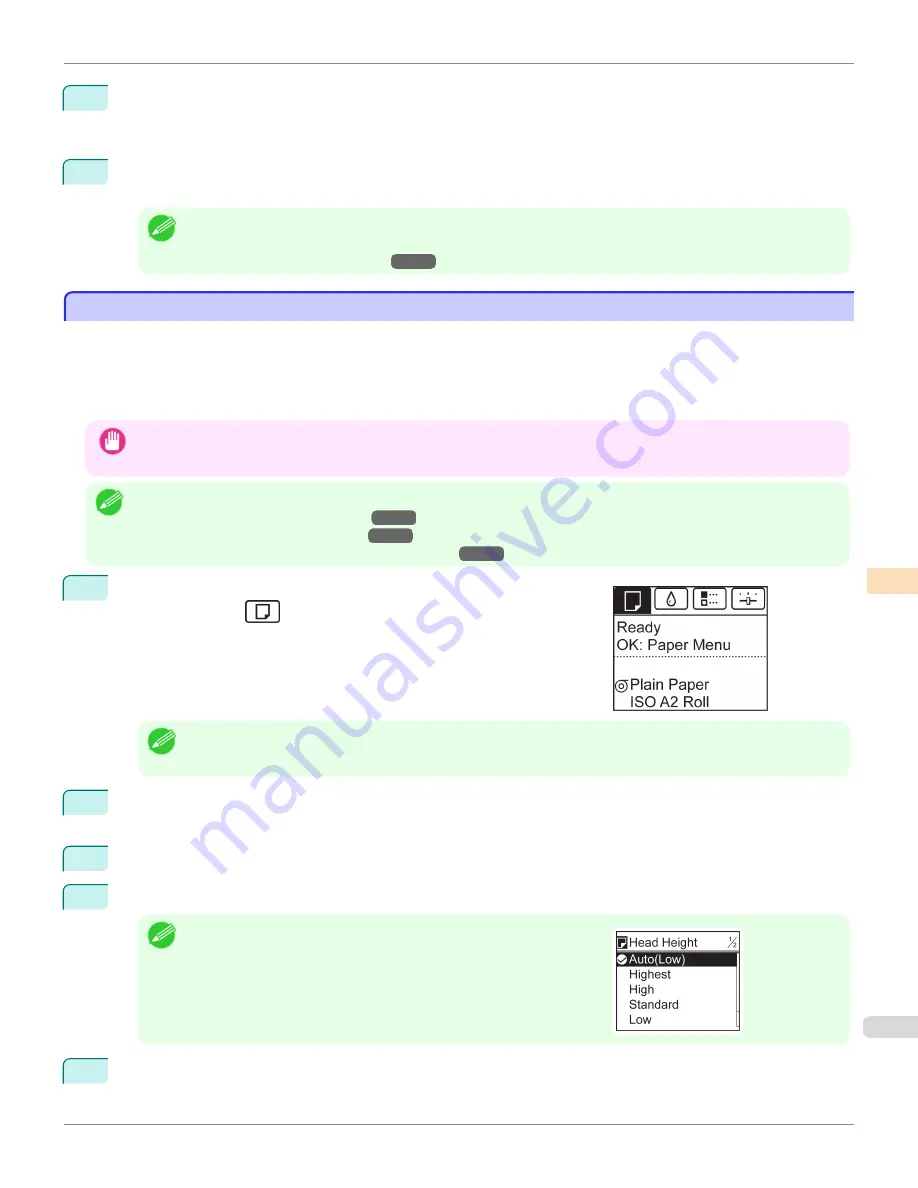
On the
Tab Selection screen
of the Control Panel, press
◀
or
▶
to se-
lect the Paper tab (
).
Note
•
If the
Tab Selection screen
is not displayed, press the
Menu
button.
2
Press the
OK
button.
The
Paper Menu
is displayed.
3
Press
▲
or
▼
to select
Paper Details
, and then press the
OK
button.
4
Press
▲
or
▼
to select the type of paper, and then press the
OK
button.
Note
•
When
Head Height
is set to
Automatic
, the setting value selected for the
previous print job is displayed (to the right of
Automatic
) once you select
the type of paper currently supplied.
However, the value is cleared when the printer is turned off or the paper
is replaced.
5
Press
▲
or
▼
to select
Head Height
, and then press the
OK
button.
iPF9400
Troubleshooting Paper Abrasion and Blurry Images
User's Guide
Adjustments for Better Print Quality
Adjusting the Printhead
803
Содержание imagePROGRAF iPF9400
Страница 34: ...iPF9400 User s Guide 34 ...
Страница 646: ...iPF9400 User s Guide 646 ...
Страница 698: ...iPF9400 User s Guide 698 ...
Страница 874: ...iPF9400 User s Guide 874 ...
Страница 932: ...iPF9400 User s Guide 932 ...
Страница 952: ...WEEE Directive iPF9400 User s Guide Appendix Disposal of the product 952 ...
Страница 953: ...iPF9400 WEEE Directive User s Guide Appendix Disposal of the product 953 ...
Страница 954: ...WEEE Directive iPF9400 User s Guide Appendix Disposal of the product 954 ...
Страница 955: ...iPF9400 WEEE Directive User s Guide Appendix Disposal of the product 955 ...
Страница 956: ...WEEE Directive iPF9400 User s Guide Appendix Disposal of the product 956 ...
Страница 957: ...iPF9400 WEEE Directive User s Guide Appendix Disposal of the product 957 ...
Страница 958: ...WEEE Directive iPF9400 User s Guide Appendix Disposal of the product 958 ...
Страница 959: ...iPF9400 WEEE Directive User s Guide Appendix Disposal of the product 959 ...
Страница 960: ...iPF9400 User s Guide 960 ...
Страница 962: ...Utility Sheet 204 W Watermark 159 160 When to Replace Ink Tanks 837 962 ...
Страница 963: ...963 ...


