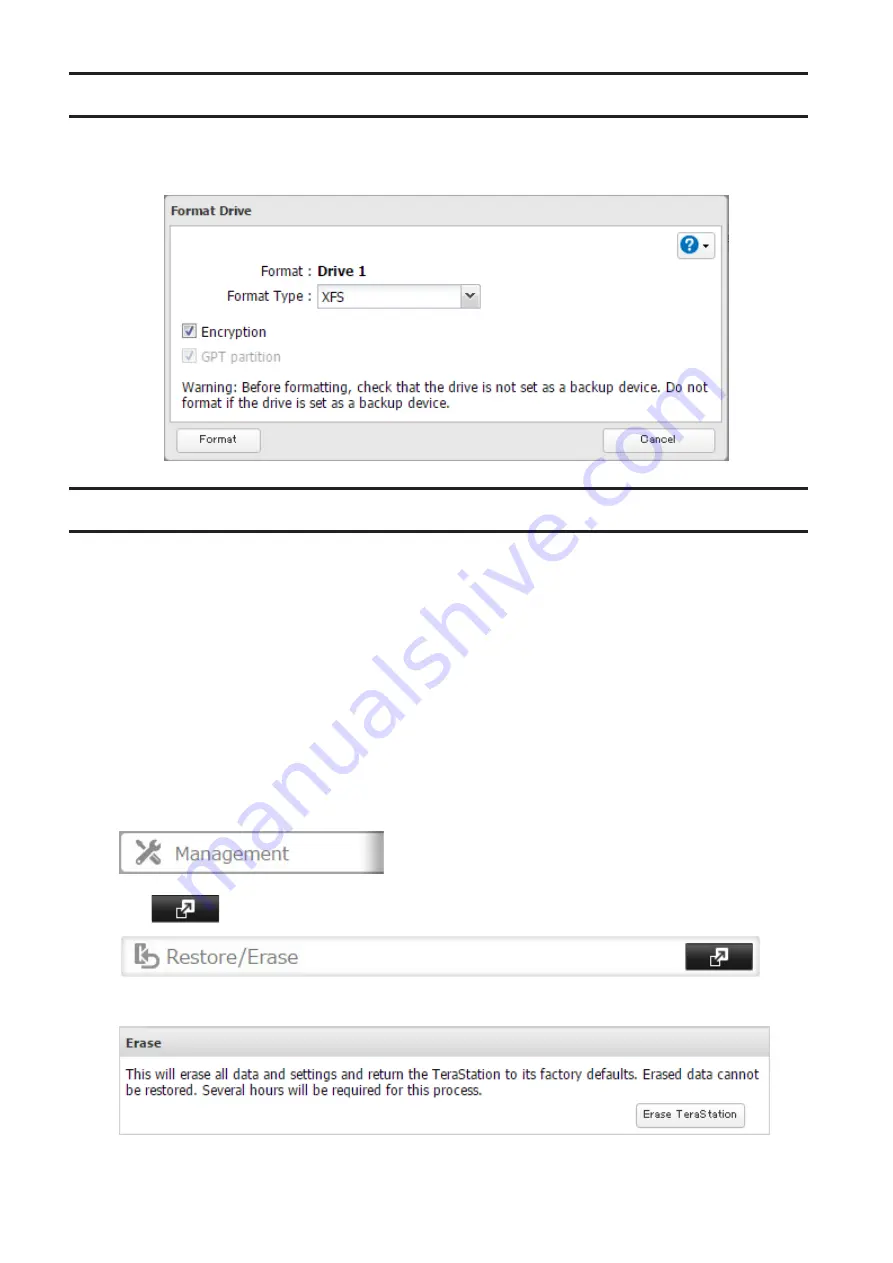
Encrypting Drives
Internal drives (and arrays) can be encrypted with 256-bit AES during formatting. Encrypted drives and arrays are
then readable only from that specific TeraStation. To decrypt a drive or array, clear the "Encryption" checkbox and
format it again.
Erasing Data on the TeraStation Completely
Under some circumstances, data from formatted drives can be recovered. The drive erasure process in this section
does a much more thorough job of erasing data. This procedure is recommended for removing all data from a drive
in a way that makes it nearly impossible to recover with current tools. The TeraStation will then be in the following
state:
• All drives in JBOD
• An empty shared folder on each drive
• All settings returned to their default values
• All logs deleted
If you remove a drive and then erase all data on the TeraStation, the LCD panel will show the E22 error message and
the number of the removed drive. You can still use the TeraStation.
Follow the procedure below to completely and permanently erase all data from your TeraStation.
1
In Settings, click
Management
.
2
Click
to the right of "Restore/Erase".
3
Click
Erase TeraStation
.
4
The "Confirm Operation" screen will open. Enter the confirmation number, then click
OK
.
62
Содержание TeraStation 5010 TS51210RH
Страница 32: ...3 Click Create User 31...
Страница 35: ...3 Click Add Group 34...
Страница 103: ...2 Click to the right of Failover 3 Click the Periodic Sync tab 4 Click Edit 102...
Страница 106: ...15Click Time Machine 105...
Страница 107: ...16Click Select Backup Disk 17Select the TeraStation then click Use Disk 106...
Страница 121: ...3 From the task list click the task whose settings you want to change 4 Click the Options tab 120...
Страница 122: ...5 Click Edit 121...
Страница 145: ...7 Click to the right of NFS 8 Click the Client Settings tab 144...
Страница 159: ...Updating Automatically 1 In Settings click Management 2 Click to the right of Update 3 Click Edit 158...
Страница 168: ...3 Click Edit 167...
Страница 169: ...4 Select or enter the desired MTU size and click OK 168...
Страница 171: ...3 Click Edit 170...
Страница 198: ...1 Open the front cover with the included key 2 Remove the front cover while holding the hook downward 197...
Страница 211: ...IEC60950 1 WARNING Hazardous moving parts Keep away from moving fan blades 210...


