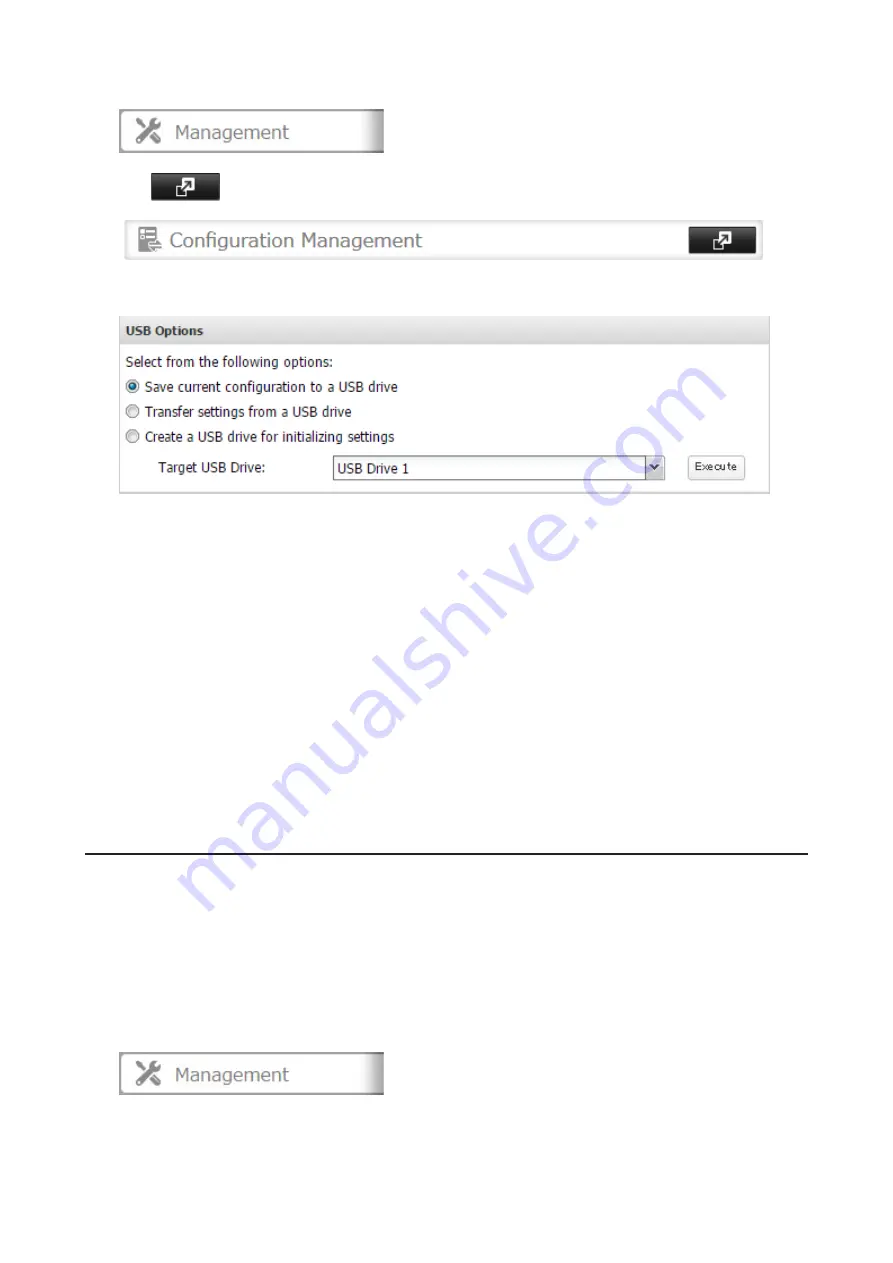
2
In Settings, click
Management
.
3
Click
to the right of "Configuration Management".
4
From "Target USB Drive", select the USB drive that is connected to the USB port on the TeraStation.
5
Select "Save current configuration to a USB drive", then click
Execute
.
6
The "Confirm Operation" screen will open. Enter the confirmation number, then click
OK
. The TeraStation will
save the settings.
7
When the "finished" message is displayed, saving settings is finished. Click
OK
.
Troubleshooting:
If the settings are not saved to the USB drive successfully, you may receive the error message such as "The specified
operation cannot be executed.". Verify:
• The USB drive has a capacity of 1 GB or larger.
• The USB drive is not write-protected.
• Failover is configured on the TeraStation.
Applying Settings
The saved settings can be applied to a different TeraStation of the same series. If applying settings to another
TeraStation, the unit's current firmware version will be changed to the version used to save the settings.
Note:
Since firmware version 2.10, saved settings cannot be applied from a USB drive which contains saved settings
from a unit running firmware version is 2.03 or earlier. In such a case, create the settings restoration USB drive again
using the unit running firmware version 2.10 or later.
1
Connect the USB drive with the saved settings to a USB port on the TeraStation.
2
In Settings, click
Management
.
150
Содержание TeraStation 5010 TS51210RH
Страница 32: ...3 Click Create User 31...
Страница 35: ...3 Click Add Group 34...
Страница 103: ...2 Click to the right of Failover 3 Click the Periodic Sync tab 4 Click Edit 102...
Страница 106: ...15Click Time Machine 105...
Страница 107: ...16Click Select Backup Disk 17Select the TeraStation then click Use Disk 106...
Страница 121: ...3 From the task list click the task whose settings you want to change 4 Click the Options tab 120...
Страница 122: ...5 Click Edit 121...
Страница 145: ...7 Click to the right of NFS 8 Click the Client Settings tab 144...
Страница 159: ...Updating Automatically 1 In Settings click Management 2 Click to the right of Update 3 Click Edit 158...
Страница 168: ...3 Click Edit 167...
Страница 169: ...4 Select or enter the desired MTU size and click OK 168...
Страница 171: ...3 Click Edit 170...
Страница 198: ...1 Open the front cover with the included key 2 Remove the front cover while holding the hook downward 197...
Страница 211: ...IEC60950 1 WARNING Hazardous moving parts Keep away from moving fan blades 210...


