Chapter 8 Replacing Drives
Drive replacement procedures will vary depending on your TeraStation models. Refer to the replacement procedure
in the following sections corresponding to your model.
Replacing Drives on the TS51210RH Series
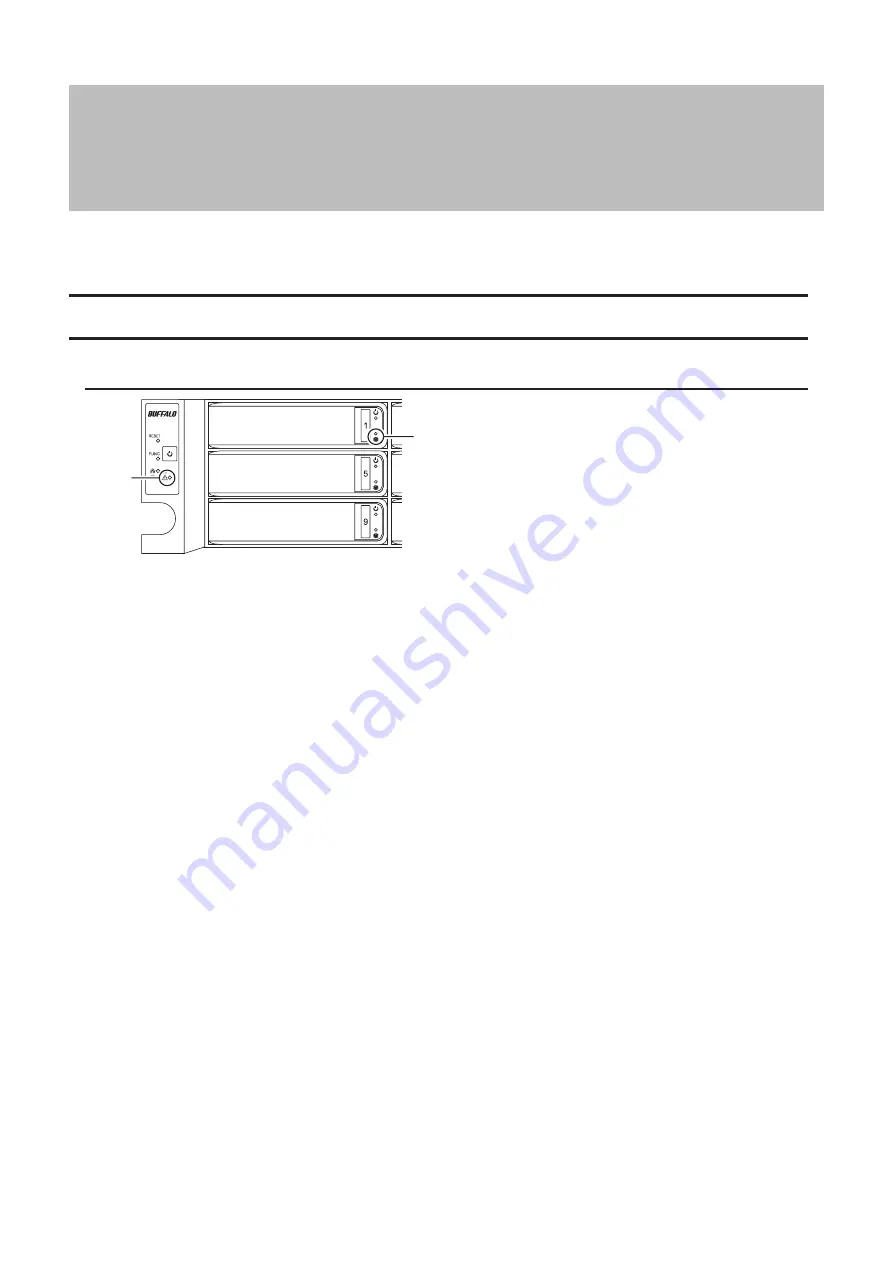
LEDs
1
2
1
Error LED
Glows red if a drive has failed.
2
Drive Error LED
The failed drive's error LED will be blinking but still mounted. It will turn to be a glowing red when dismounted.
Notes:
• For the replacement drive, use a Buffalo OP-HDH2U series drive. The new drive should be the same size or larger.
If a larger drive is used, the extra space will not be usable in a RAID array.
• To avoid damaging the TeraStation with static electricity, ground yourself by touching something made of metal
before handling any sensitive electronic parts.
• After a drive is replaced, it will take about 30 minutes before normal file reading and writing are restored. Settings
may not be accessible during this period.
• Do not change the order of the drives in the TeraStation. For example, pulling out drive 1 and replacing it with
drive 2 may cause data to be corrupted or lost.
• If the LEDs do not change after a new drive is installed, click
Rediscover Drive
in Settings.
177
Содержание TeraStation 5010 TS51210RH
Страница 32: ...3 Click Create User 31...
Страница 35: ...3 Click Add Group 34...
Страница 103: ...2 Click to the right of Failover 3 Click the Periodic Sync tab 4 Click Edit 102...
Страница 106: ...15Click Time Machine 105...
Страница 107: ...16Click Select Backup Disk 17Select the TeraStation then click Use Disk 106...
Страница 121: ...3 From the task list click the task whose settings you want to change 4 Click the Options tab 120...
Страница 122: ...5 Click Edit 121...
Страница 145: ...7 Click to the right of NFS 8 Click the Client Settings tab 144...
Страница 159: ...Updating Automatically 1 In Settings click Management 2 Click to the right of Update 3 Click Edit 158...
Страница 168: ...3 Click Edit 167...
Страница 169: ...4 Select or enter the desired MTU size and click OK 168...
Страница 171: ...3 Click Edit 170...
Страница 198: ...1 Open the front cover with the included key 2 Remove the front cover while holding the hook downward 197...
Страница 211: ...IEC60950 1 WARNING Hazardous moving parts Keep away from moving fan blades 210...


