47
Using DaVinci Resolve
Step 3.
In the ‘file’ settings, select ‘use custom filename’. Name your export, then choose your
destination by clicking the ‘browse’ button and selecting a folder location. Click ‘ok’.
Step 4
. You’ll see the 'deliver timeline' stretched across the bottom of the page. Select 'all clips'
to select the entire program for rendering.
Step 5.
Go to the bottom of the 'render settings' and click on the ‘add job to render queue’ button.
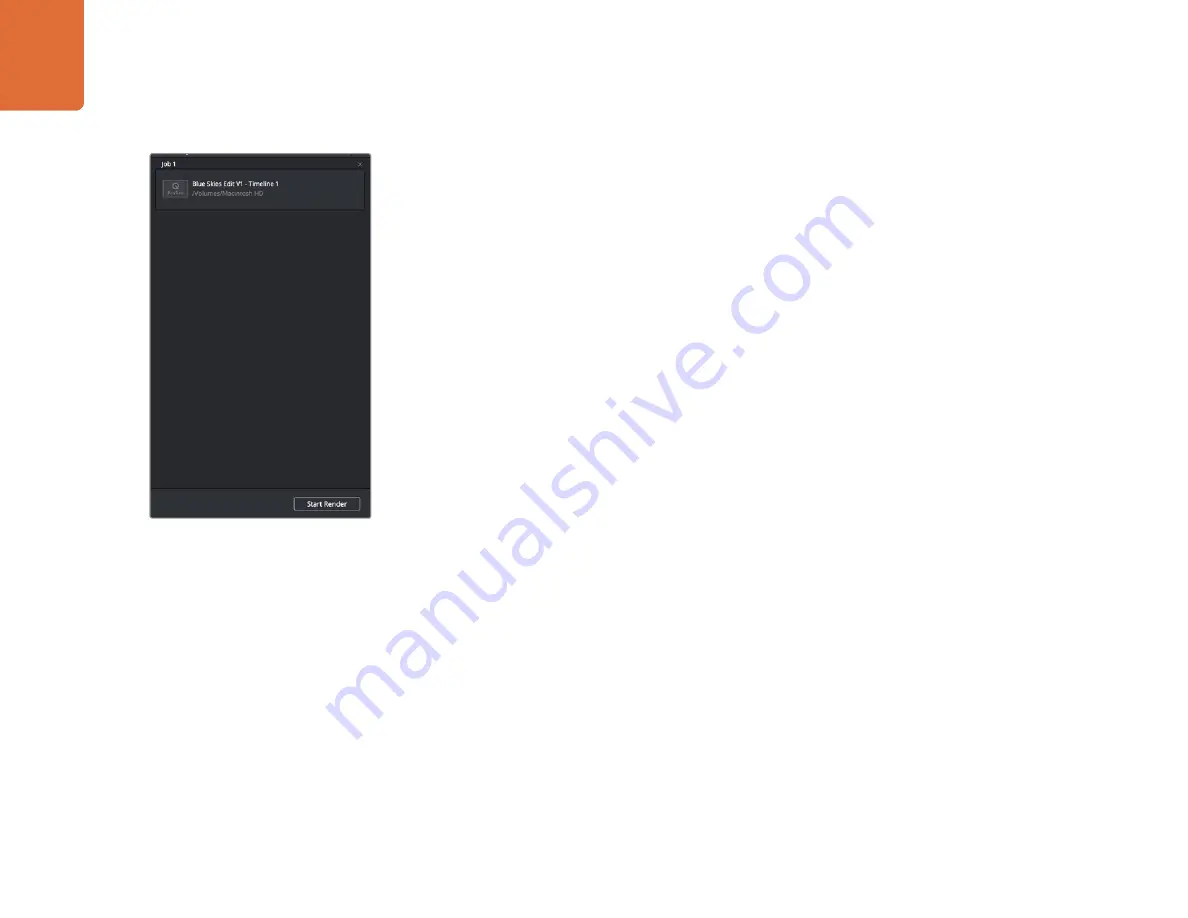
Your render settings will be added to the render queue on the right side of the page. Now all you
have to do is click ‘start render’ and monitor the progress of your render in the render queue.
When your render is complete you can open the folder location, double click on your new rendered
clip and watch your finished edit.
After adding your render settings to the render queue, click
the ‘start render’ button to export your edit.


