28
Menu Settings
Recording Settings
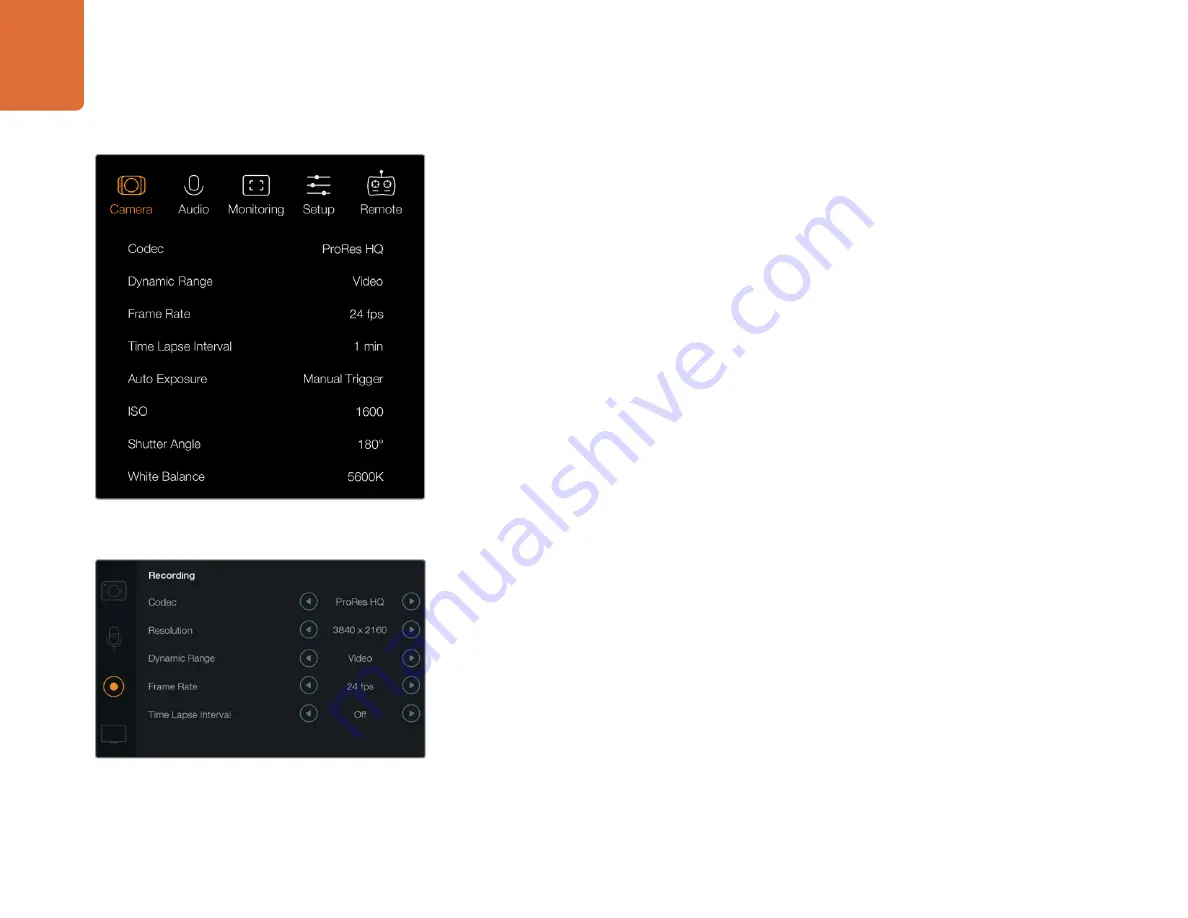
The recording settings are used to set the video format recorded to your SD card or SSD. Press the
'menu' button to open the dashboard, select the settings icon, then select the circular record icon
to the left of the settings menu.
On Blackmagic Micro Cinema Camera, you will find recording settings under the 'camera' settings.
Press the 'menu' button to enter the menu settings display. Use the left and right arrow buttons to
move and select 'camera', then press the 'play' button to confirm your selection.
Recording Format
Blackmagic Pocket Cinema Camera
Press the left and right arrow buttons to switch between ProRes HQ, ProRes 422, ProRes LT, ProRes
Proxy or RAW recording formats.
Blackmagic Micro Cinema Camera
Press the left and right arrow buttons to switch between ProRes HQ, ProRes 422, ProRes LT, ProRes
Proxy, RAW or RAW 3:1 recording formats.
Blackmagic Cinema Camera
Tap the arrow icons to switch between 2.5K RAW, ProRes HQ, ProRes 422, ProRes LT, ProRes Proxy
or DNxHD recording formats.
Blackmagic Production Camera 4K
On Production Camera 4K, tap the arrows on the 'codec' setting to select from RAW, ProRes HQ,
ProRes 422, ProRes LT, or ProRes Proxy recording formats. After setting your codec, tap the arrows on
the 'resolution' setting to select from 4K, Ultra HD, or HD video resolutions. The resolutions available
will depend on your chosen codec.
Dynamic Range
Blackmagic Cameras have two dynamic range settings:
Film
The film setting shoots video using a log curve and gives you 13 stops of dynamic range, or 12 stops
on Blackmagic Production Camera 4K. The 'film' dynamic range setting maximizes the information
in your video signal to help you get the most out of color grading software, such as DaVinci Resolve.
When recording in CinemaDNG RAW formats, only the film dynamic range setting is available.
The 'recording' settings screen.
On Blackmagic Micro Cinema Camera the 'recording'
settings are located in the 'camera' settings.


