34
Menu Settings
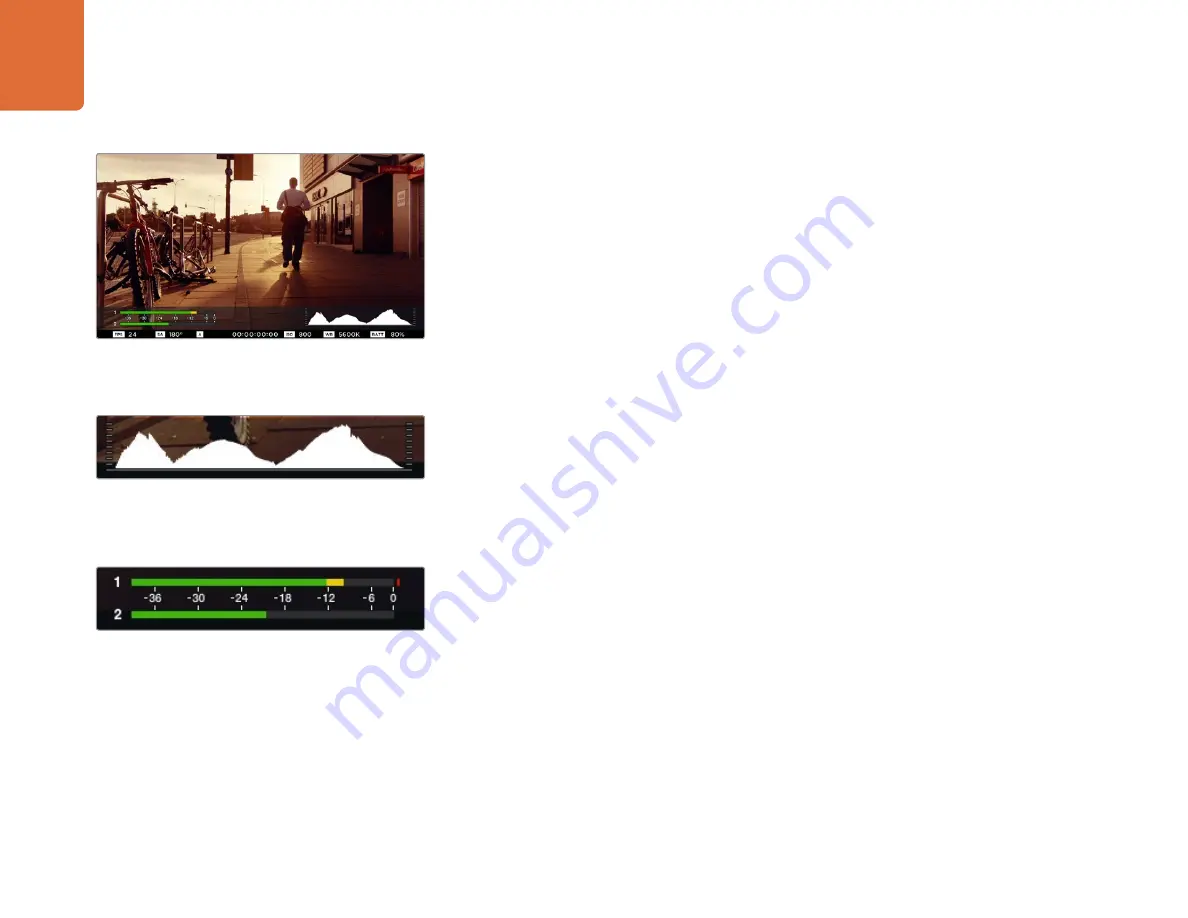
Histogram
The histogram display shows the distribution of the luminance in your video. Pure black is on the far left
side of the display and pure white is on the far right of the display. Keeping your video signal within these
limits prevents your shadows and highlights from being clipped and preserves detail in the tonal ranges.
Recording Time Remaining
The recording time remaining indicator shows the remaining recording time for your SSD or SD card.
The time is shown in hours and minutes and will vary according to your selected frame rate and codec.
For example, ProRes 422 HQ at 24 frames per second. The indicator will automatically recalculate if
either of these settings are changed. When there is approximately 5 minutes remaining on your SSD or
SD card, the indicator will turn red, and will blink intermittently when there is only 2 minutes remaining.
Peak Audio
The peak audio meters display audio levels for channels 1 and 2 when using the internal microphone,
or via external audio when connected. The display is calibrated to dBFS units and features peak hold
indicators which stay visible for a short time so you can clearly see the maximum levels reached.
To achieve optimum audio quality, ensure your audio levels never rise above 0 dBFS. If your audio
rises above 0 dBFS, the peak hold indicators will turn red, indicating that audio is clipped.
Adjusting Settings
Blackmagic Pocket Cinema Camera, Cinema Camera EF and Production Camera 4K EF support
electronic lens control, which allows you to adjust lens controls from the camera such as aperture
and auto focus. Cinema Camera MFT and PL mount camera models have a passive lens mount if you
want to use manual lenses without electronic control. The focus peaking feature creates a green edge
around the sharpest parts of the image so you can easily confirm your focus. Focus peaking is visible
on the LCD and via SDI or HDMI out with overlays set to 'on', but does not affect your recorded picture.
Iris Button
When using 'video' dynamic range settings, a single press of the 'iris' button will set an average
exposure based on the highlights and shadows in your shot. When using film dynamic range settings,
pressing the 'iris' button sets your exposure to the brightest highlight in your shot.
On all Blackmagic Cameras except the Blackmagic Pocket Cinema Camera, you can adjust your lens
aperture manually by pressing the forward or reverse transport control buttons. To adjust your aperture
on Blackmagic Pocket Cinema Camera, press the left and right directional buttons on the back panel.
For optimum exposure, open or close your aperture until the
histogram curve sharpens to a point at the bottom edges.
A flat vertical edge on the sides of the histogram means your
blacks or whites are clipped.
For optimum audio quality, adjust your audio levels until the
peak averages at -12dB, but does not peak beyond 0dB.
In Blackmagic Micro Cinema Camera, the status strip and
on screen meters can be viewed on the HDMI or composite
output display.


