38
Using DaVinci Resolve
Introducing DaVinci Resolve
Shooting with your Blackmagic Design camera is only part of the process of creating film and television
content, and just as important is the process of media backup and management as well as editing,
color correction and encoding final master files. Blackmagic Cinema Camera and Production Camera
4K includes a version of DaVinci Resolve Studio and Blackmagic Pocket Cinema Camera and Micro
Cinema Camera include a version of DaVinci Resolve, both for Mac OS X and Windows. With DaVinci
Resolve you have a complete solution for shooting and post-production!
After connecting your SSD, SD Card or CFast card to your computer, you can use DaVinci Resolve's
'clone' tool, in the'media' page, to create running backups as you shoot. This is recommended as
any type of media is susceptible to becoming damaged or developing a fault so creating backups
ensures your shots will be immune to loss. Once you have used DaVinci Resolve to back up your
media, you can then add your clips to the DaVinci media pool, then edit, color correct, and finish
your production without ever having to leave DaVinci Resolve.
Because Blackmagic Design cameras shoot a much wider dynamic range than regular video cameras,
DaVinci Resolve will help you adjust your shots to get any kind of look you are after. DaVinci Resolve is
the same tool used on most major blockbuster movies, so it’s much more than a simple NLE software
tool, as it has extremely advanced technology built in for high end digital film. You get the advantage
of this technology when you use DaVinci Resolve to edit and color correct your work.
Included here is information on how to get started using DaVinci Resolve with your camera files. Of
course, DaVinci Resolve is extremely advanced and includes a lot more features than you immediately
see when first looking at its user interface. To learn more about how to use DaVinci Resolve, please
check for the DaVinci Resolve instruction manual pdf file on the DaVinci Resolve software disk, or
check online for the many training courses and tutorial videos available.
Importing your Clips
To start editing your clips, you’ll first need to import them into the media pool:
Step 1.
Launch DaVinci Resolve. If this is the first time you’ve opened DaVinci Resolve, wait for
the Project Manager to appear, and double click the ‘untitled project’ icon in the project
manager window. If the log in window appears, that means you have the Resolve multi-user
environment enabled. In this case, click Add New at the bottom left of the log in window
and create a new user by entering a user name and clicking Setup New User. Then double-
click the user icon to proceed to the Project Manager.
Step 2.
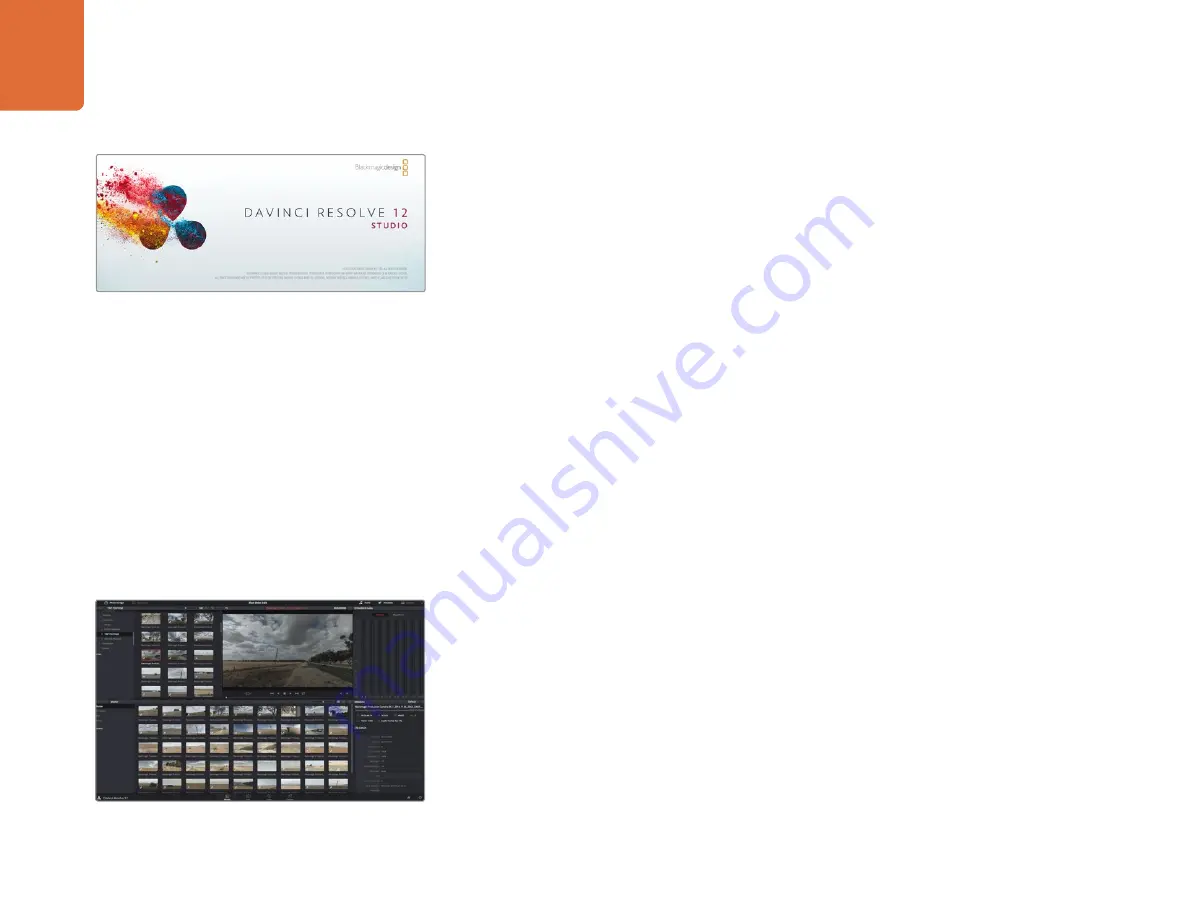
You’ll now see the ‘media’ page with a 'media storage' browser at the top left. The 'media
storage' browser displays all your linked media folders from where you’ll drag your clips
and drop them into the media pool.
To import your clips, simply drag them from the 'media
storage' browser
and drop them into the media pool.
You can also drag and drop files from your desktop.
Using DaVinci Resolve


