46
Using DaVinci Resolve
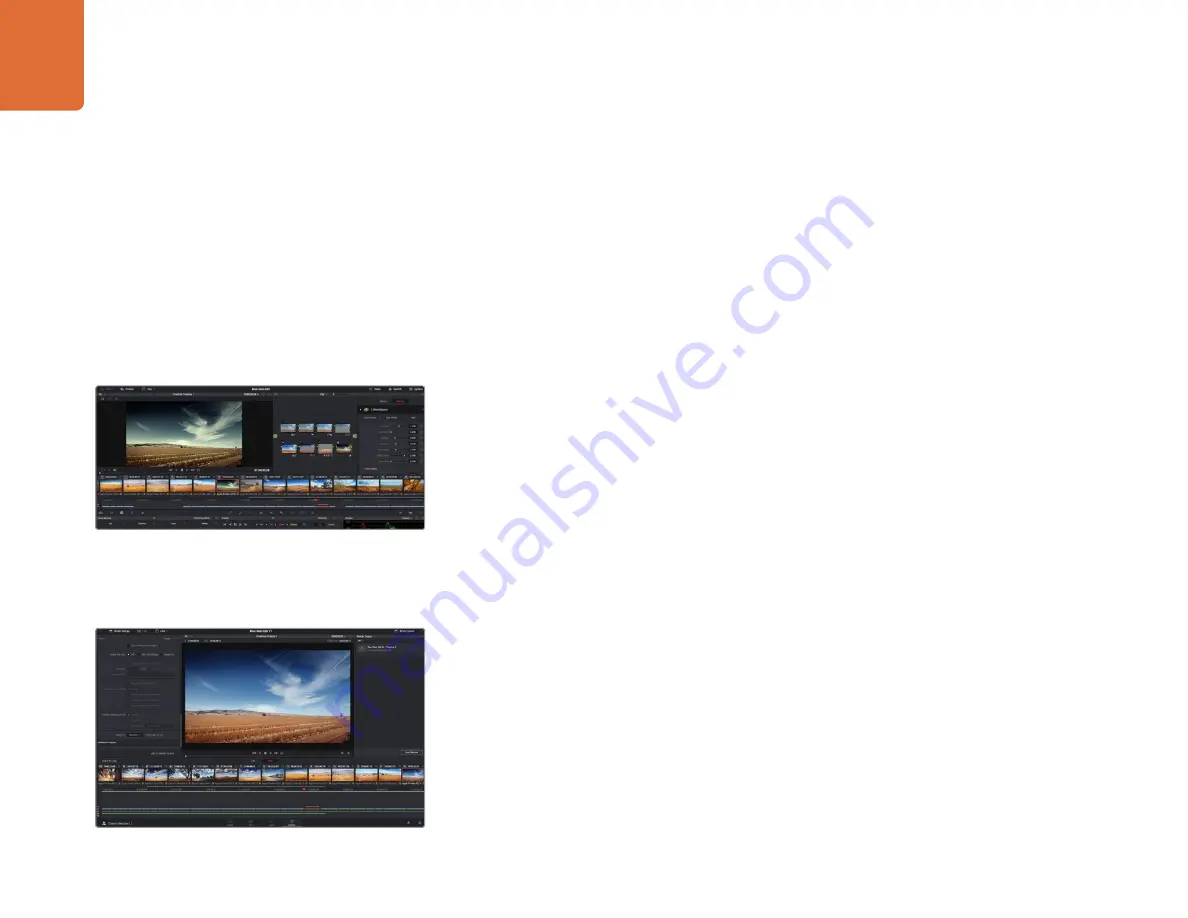
The ‘deliver’ page is where you export your edit. You can
select from many different video formats and codecs.
OFX plugins are a quick and easy way to create imaginative
and interesting looks.
Step 3.
Open the ‘tracker’ palette. Select the pan, tilt, zoom, rotate, and perspective 3D settings
appropriate for the movement in your clip by checking or unchecking the relevant ‘analyse’
checkboxes.
Step 4.
Click on the ‘forward’ arrow to the left of the checkboxes. DaVinci Resolve will now apply
a cluster of tracking points on your clip and then step through the frames to analyze the
movement. When the tracking is done, your power window will follow the path of the
movement in your clip.
Most of the time automatic tracking is successful, but scenes can be complex and sometimes an
object can pass in front of your selected area, interrupting or affecting your track. This can be solved
manually using the keyframe editor. Refer to the DaVinci Resolve manual to find out more.
Using Plugins
While making secondary color corrections you can also add OpenFX plugins to create fast, interesting
looks and effects using the 'color' page, or imaginative transitions and effects on your clips on the
'edit' page. OFX plugins can be purchased and downloaded from third party suppliers.
After installing a set of plugins, you can access them on the color page by opening the OpenFX
inspector to the right of the 'node editor' Simply click the 'OpenFX' button to open the OpenFX
inspector, create a new serial node and drag and drop a plugin onto the new node. If the plugin has
editable settings, you can adjust these in the adjoining ‘settings’ panel.
In the 'edit' page you can add plugin generators and transitions to clips by opening the 'OpenFX'
panel in the ‘effects library’ and dragging your selected plugin onto your clip on the timeline.
Mastering your Edit
So now you’ve edited, color corrected and graded your clips you’ll want to export a render of your edit
in the ‘deliver’ page. This page lets you select the range of clips you want to export, plus the format,
codec and resolution you want. You can export in many types of formats such as QuickTime, AVI, MXF
and DPX using codecs such as 8-bit or 10-bit uncompressed RGB/YUV, ProRes, DNxHD, H.264 and more.
To export a single clip of your edit:
Step 1.
Click on the ‘deliver’ tab to open the deliver page.
Step 2.
Go to the ‘render settings’ window on the top left of the page. In the ‘format’ settings,
select ‘single clip’. Choose a video format and codec, and resolution. The frame rate will
usually be locked to the project settings frame rate. If you want to include audio with your
export, tick the ‘export audio’ checkbox in the ‘audio’ settings.


