114
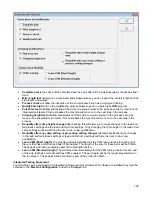
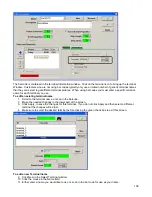
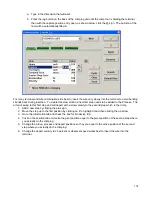
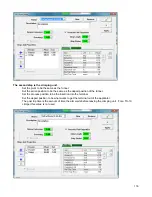
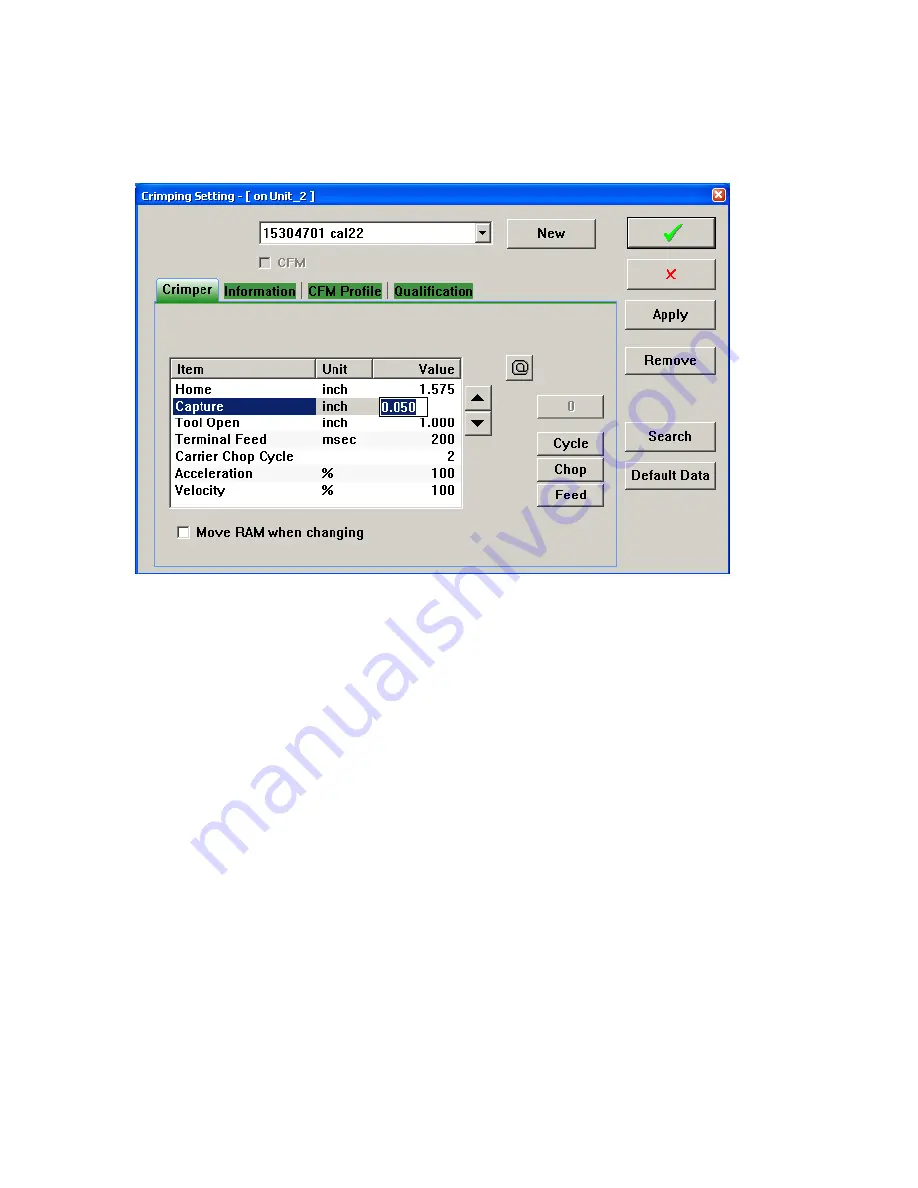
a. Type in the dimension that will work.
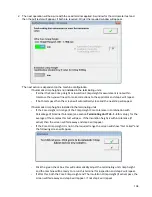
b. Press the jog button on the back of the crimping unit until the crimp tool is holding the terminal,
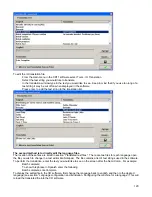
then with the capture position entry open, as shown below, click the @ sign. The position of the
ram will be automatically filled in.
For many terminal and wire combinations it is best to insert the wire very slowly into the terminal to avoid bending
strands back during insertion. To create this slow motion a new first step needs to be added to the Process. The
arm will swing to this first step and will depart with a slow velocity to the second step which is the crimp.
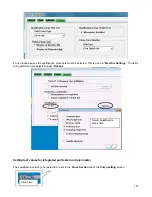
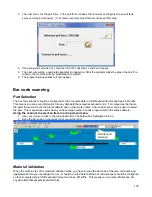
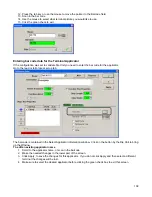
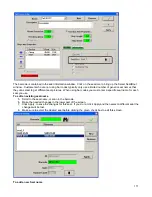
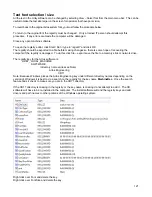
1. Add a new step by clicking the plus sign.
2. Move the step up to the first position by clicking on it to highlight it and then clicking the up arrow.
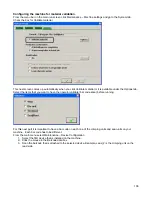
3. Go to the information tab and check the box for No device trip.
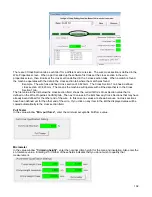
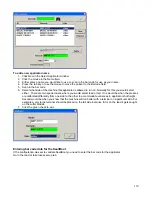
4. Click on the position tab and make the pivot position equal to the pivot position of the second step where
you actually do the crimping.
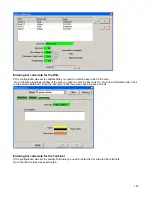
5. Change the Arrive, process and depart positions so they are equal to the arrive position of the second
step where you actually do the crimping.
6. Change the depart velocity to 25 percent or whatever speed works best to insert the wire into the
terminal.
Содержание CR.11
Страница 129: ...129 8M Sec guard Notice this transition ...
Страница 145: ...145 ...
Страница 174: ...174 Spacer block not installed Spacer block installed Spacer block ...
Страница 178: ...178 Installing the monitor Use the 4 screws provided to mount the monitor Plug in the cords UBS cord from computer ...
Страница 182: ...182 The wiring diagram in shows the main power connection coming into the machine ...

