


109
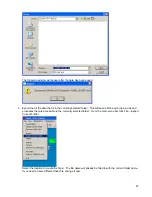
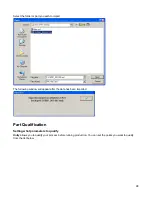
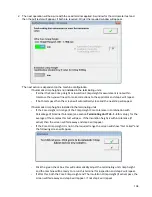
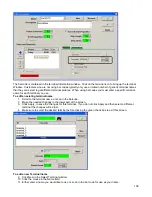
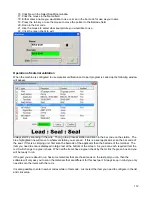
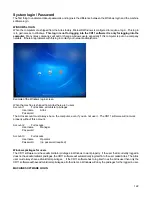
12. Press the tab key or use the mouse to move the pointer to the Barcode field.
13. Scan in the bar code
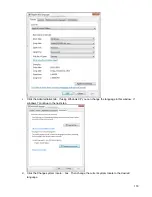
14. Use the mouse to select what terminal picture you would like to use.
15. Click the green check to exit.
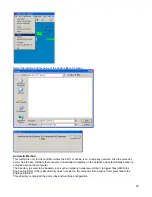
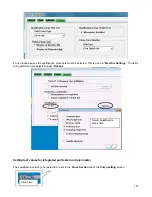
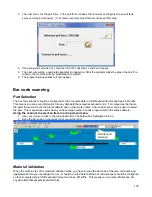
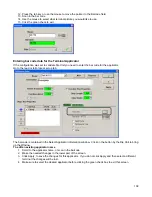
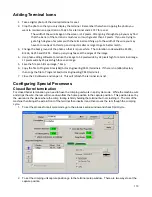
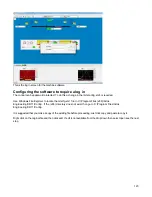
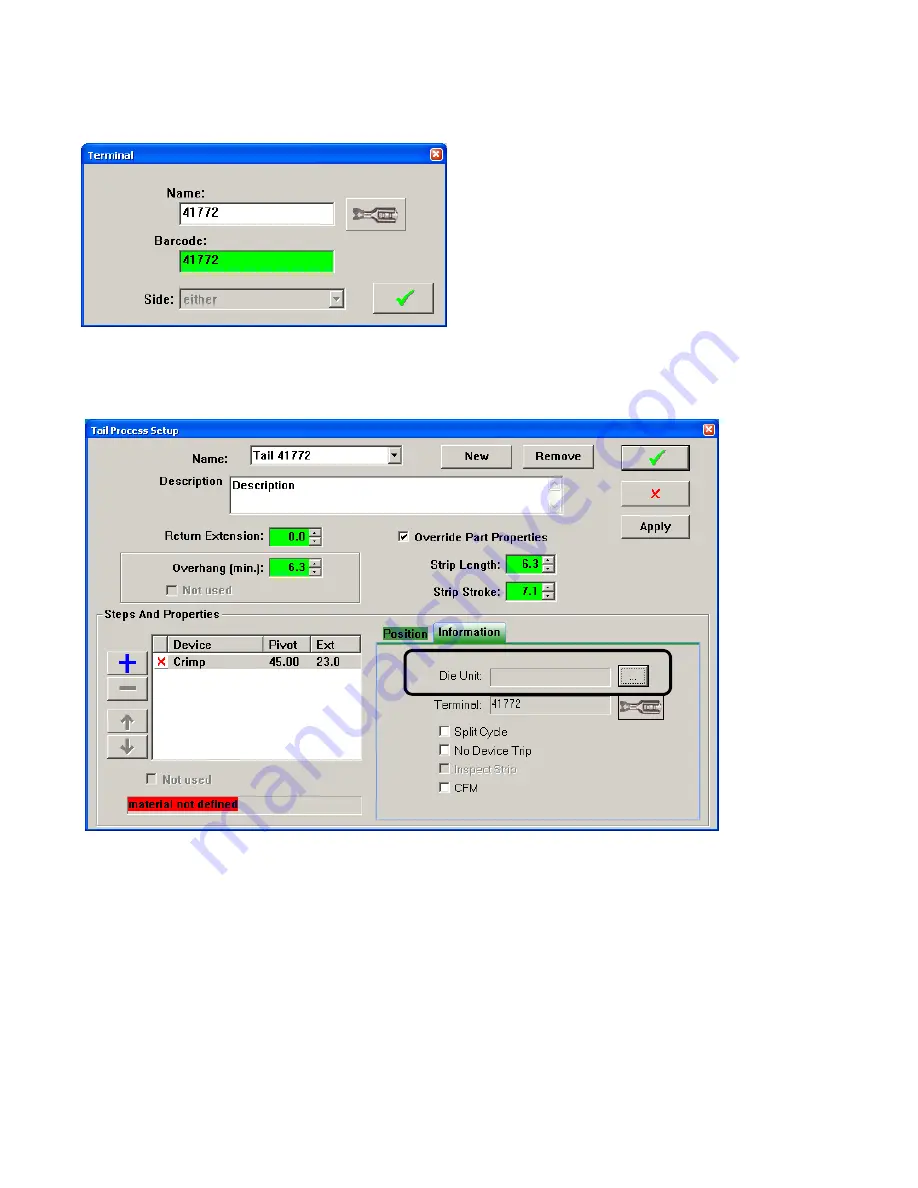
Entering bar code data for the Terminal Applicator
If the configuration was set to validate Die Unit you need to enter the bar code for the applicator.
Go to the lead or tail process setup tab.
The barcode is contained in the Select Applicator information window. Click on the button by the Die Unit to bring
up the Window.
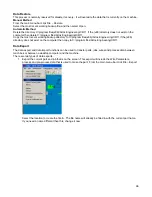
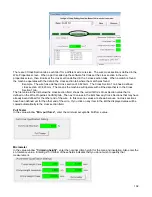
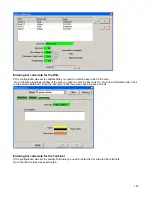
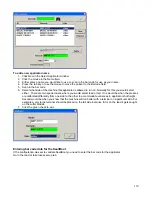
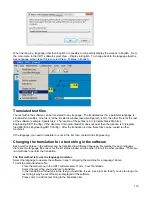
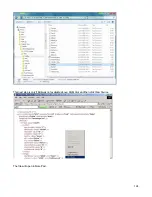
To edit an existing applicator name
1. Scroll to the applicator name, or scan in the barcode.
2. Make the needed changes in the lower part of the screen.
3. Click Apply, to save the changes for this applicator. If you do not click Apply and then select a different
terminal the changes will be lost.
4. Make sure to select the desired applicator before clicking the green check box to exit this screen.
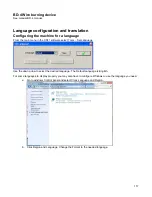
Содержание CR.11
Страница 129: ...129 8M Sec guard Notice this transition ...
Страница 145: ...145 ...
Страница 174: ...174 Spacer block not installed Spacer block installed Spacer block ...
Страница 178: ...178 Installing the monitor Use the 4 screws provided to mount the monitor Plug in the cords UBS cord from computer ...
Страница 182: ...182 The wiring diagram in shows the main power connection coming into the machine ...


