3-22
Measuring Valve Guide
(Inside Diameter)
1. Insert a snap gauge 1/2 way down into each
valve guide bore; then remove the gauge and
measure it with a micrometer.
2. Acceptable inside diameter range must be
within specifications.
3. If a valve guide is out of tolerance, the cylinder
head must be replaced.
CYLINDER HEAD ASSEMBLY
NOTE: If the cylinder head cannot be trued, it
must be replaced.
Cleaning/Inspecting Cylinder Head
1. Using a non-metallic carbon removal tool,
remove any carbon build-up from the combus-
tion chamber making sure not to nick, scrape, or
damage the combustion chamber or the sealing
surface.
2. Inspect the spark plug hole for any damaged
threads. Repair damaged threads using a
“heli-coil” insert.
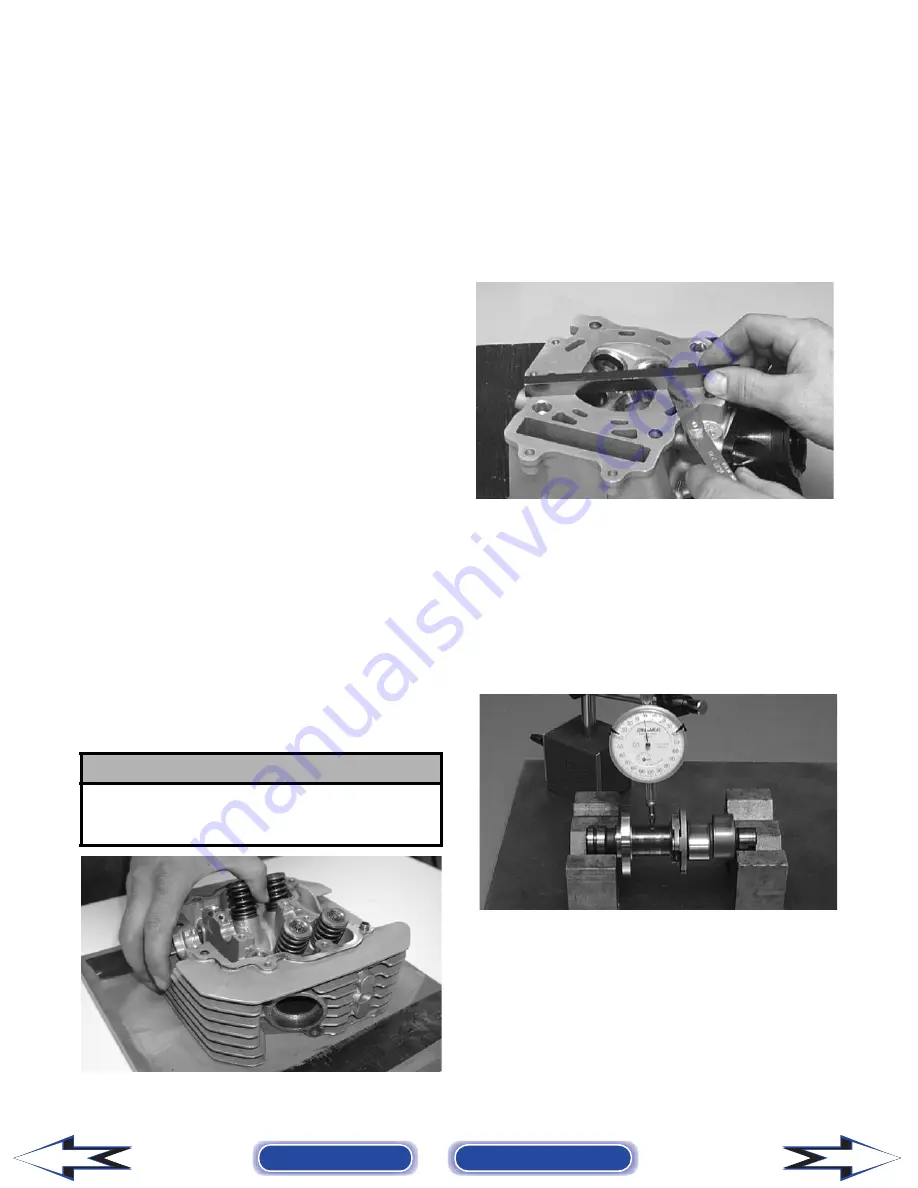
3. Place the cylinder head on the surface plate cov-
ered with #400 grit wet-or-dry sandpaper. Using
light pressure, move the cylinder head in a fig-
ure eight motion. Inspect the sealing surface for
any indication of high spots. A high spot can be
noted by a bright metallic finish. Correct any
high spots before assembly by continuing to
move the cylinder head in a figure eight motion
until a uniform bright metallic finish is attained.
CC996
Measuring Cylinder Head
Distortion
1. Remove any carbon buildup in the combustion
chamber.
2. Lay a straightedge across the cylinder head; then
using a feeler gauge, check the distortion factor
between the head and the straightedge.
3. Maximum distortion must not exceed specifica-
tions.
CC141D
Measuring Camshaft Runout
NOTE: If the camshaft is out of tolerance, it must
be replaced.
1. Place the camshaft on a set of V blocks; then
position the dial indicator contact point against
the shaft and zero the indicator.
CC283D
2. Rotate the camshaft and note runout; maximum
tolerance must not exceed specifications.
! CAUTION
Water or parts-cleaning solvent must be used in
conjunction with the wet-or-dry sandpaper or dam-
age to the sealing surface may result.
Back to TOC
Back to Section TOC
Next
Back
Содержание DVX 250 2007
Страница 1: ......


