User’s Manual
16
NOTE: The
Upgrade
button will be deactivated if the hard disk drive has not been formatted as it
requires the space for temporary files when upgrading the system.
CAUTION: The USB device must be FAT16 or FAT32 format.
y
Setup
: Imports saved DVR settings or exports the current DVR settings.
–
Import…
: To import saved DVR settings, connect the USB device containing the setup file (.dat) to
the DVR. Selecting
Import…
displays the
Setup Import
screen.
–
Export…
: To save the current DVR settings in .dat file format on the connected USB device,
connect the USB device to the DVR. Selecting
Export…
displays the
Setup Export
screen.
NOTE: Even after changing the DVR settings by importing saved settings, the time-related
settings (Date/Time, Time Zone and Daylight Saving Time) will NOT be changed.
CAUTION: The USB device must be FAT16 or FAT32 format.
y
Show System Log…
: Displays the System Log.
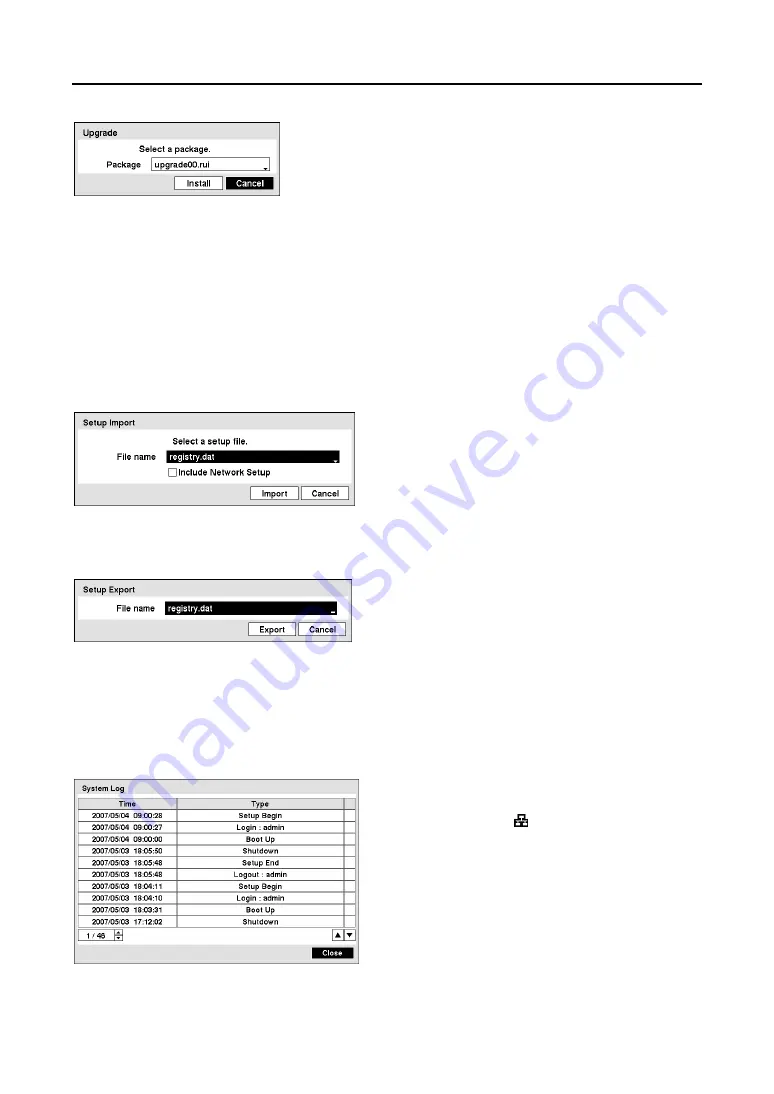
Figure 16
─
Upgrade screen
Choose the desired upgrade file. Available upgrade package file
names are listed in the drop-down list. The “
.rui
” indicates that the
file is for software upgrades and “
.ofi
” indicates that the file is for
optical drive firmware upgrades.
Selecting
Install
will install the
selected software package. If the upgrade package file is not
installed on the DVR properly, you will get an error message. The
system restarts automatically after completing the upgrade.
Choose the desired setup file. Then, change the DVR
settings accordingly. Select
Include Network Setup
if you do not want the network settings to be changed.
Figure 17
─
Setup Import screen
Enter the file name using a virtual keyboard.
Figure 18
─
Setup Export screen
The System Log screen lists system activities (up to
5,000 from the latest) that have occurred along with
the time and date. The icon will be displayed in the
last column for system activities of the remote site.
You can scroll through the log pages by using the
arrow buttons, or you can go directly to a log page by
entering the log page number in the box at the bottom
left of the screen. Selecting
Close
exits the screen.
Figure 19
─
System Log screen
Содержание RoadRunner MR2B Series
Страница 1: ......
Страница 2: ......
Страница 10: ...User s Manual viii...
Страница 62: ...User s Manual 52...
Страница 74: ...User s Manual 64...
Страница 81: ...Mobile Digital Video Recorder 71 Appendix H Map of Screens...


