Inserts
To assign Ports to Inserts in a Path select Insert In 1 from the drop down list. The In and Out columns will show
Insert In 1 and Insert Out 1.
The Insert In 1 column will be highlighted in green. Click in the Insert In 1 column for the path with the Insert then
click on the required Port in the Ports list and click the Assign button.
The Port name will be displayed against the Path in the appropriate column.
Click in the Insert Out 1 column for the path and repeat the Port selection and assignment as above.
If the selected Output Port was in use by another path then it will be de-assigned and then assigned to the insert.
This is because only one path or insert can be routed to an Output Port.
If the Path has a second Insert repeat the procedure by selecting Insert In 2 from the drop down list.
To Clear routing settings
Clearing a setting resets it to the system default and the entry will change back to -- or 0.
To clear a single setting click directly on the required entry and click the Clear button.
To clear all settings for a single port click on the System Name of the required port in the Ports column and click
the Clear button.
To clear multiple entries in a single column click in the column containing the entries to be cleared, click and
hold the trackball button on the first entry to be cleared, drag down the list until the last port to be cleared is
selected, release the trackball button and click the Clear button.
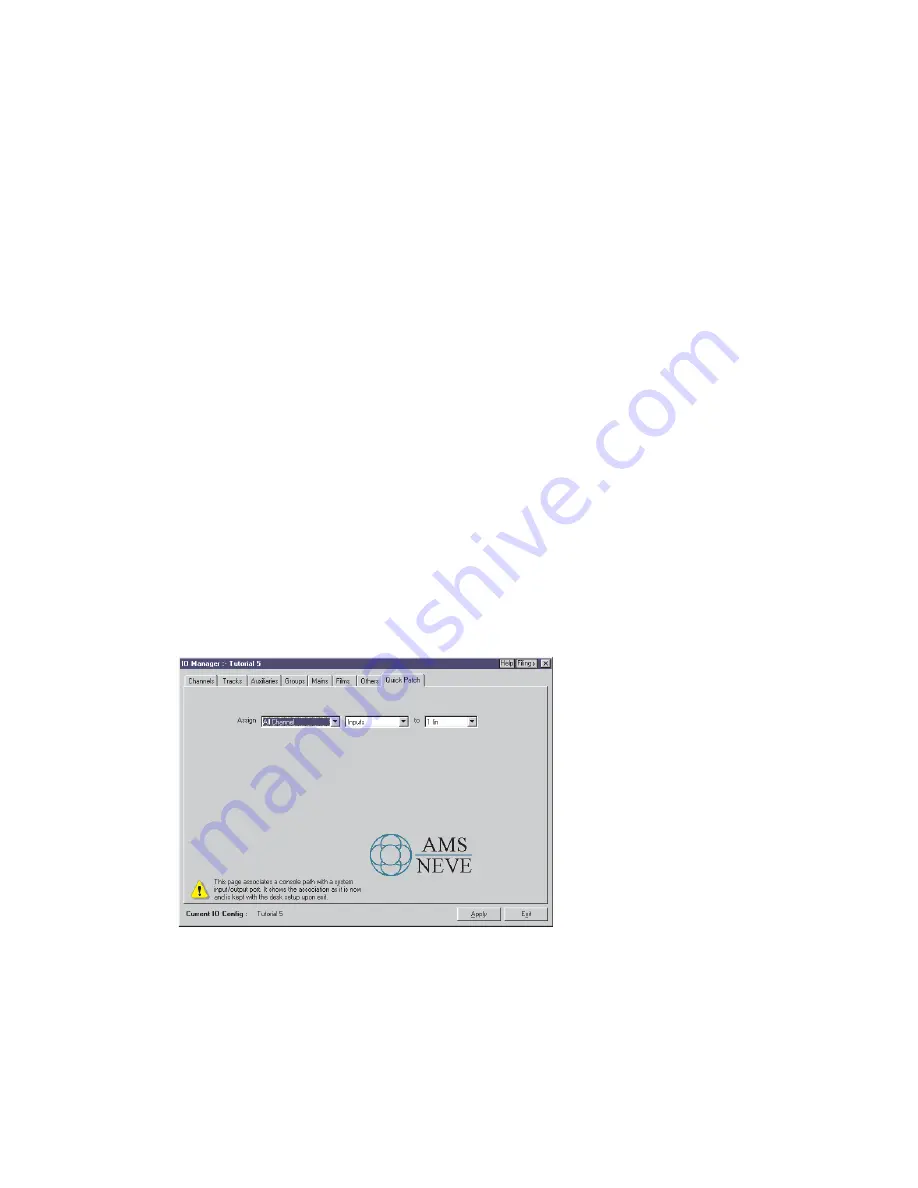
To use Quick Patch for I/O Routing
Quick Patch is used to assign all of the inputs or outputs for one path type to a sequence of ports.
Click on the Quick Patch tab.
Click on the drop down arrow next to the path type box.
Click on the required path type and click on the drop down arrow next to the port type box.
Click on Input or Output as required and click on the drop down arrow next to the port names box.
Click on the required port name and click the Apply button.
Tools Menu
I/O Patching
Issue 4
Page 24:15


