


BRIDGE NDI 3G Conversion Gateway Appliance v1.0 11 www.aja.com
Chapter 3 – Getting Started
NOTE: If you are setting up BRIDGE NDI 3G for the first time, please first refer to
7 System Setup and Configuration" on page 63
, then return to this Getting
Started chapter.
Starting the System
Accessing the BRIDGE NDI 3G Interface Locally
To Access the Unit Locally via the Kiosk Interface
1. Connect a monitor to the VGA monitor port on the rear panel.
2. Connect the unit to a keyboard and mouse using the USB 3.0 ports on the
rear panel.
3. Turn on power for the monitor.
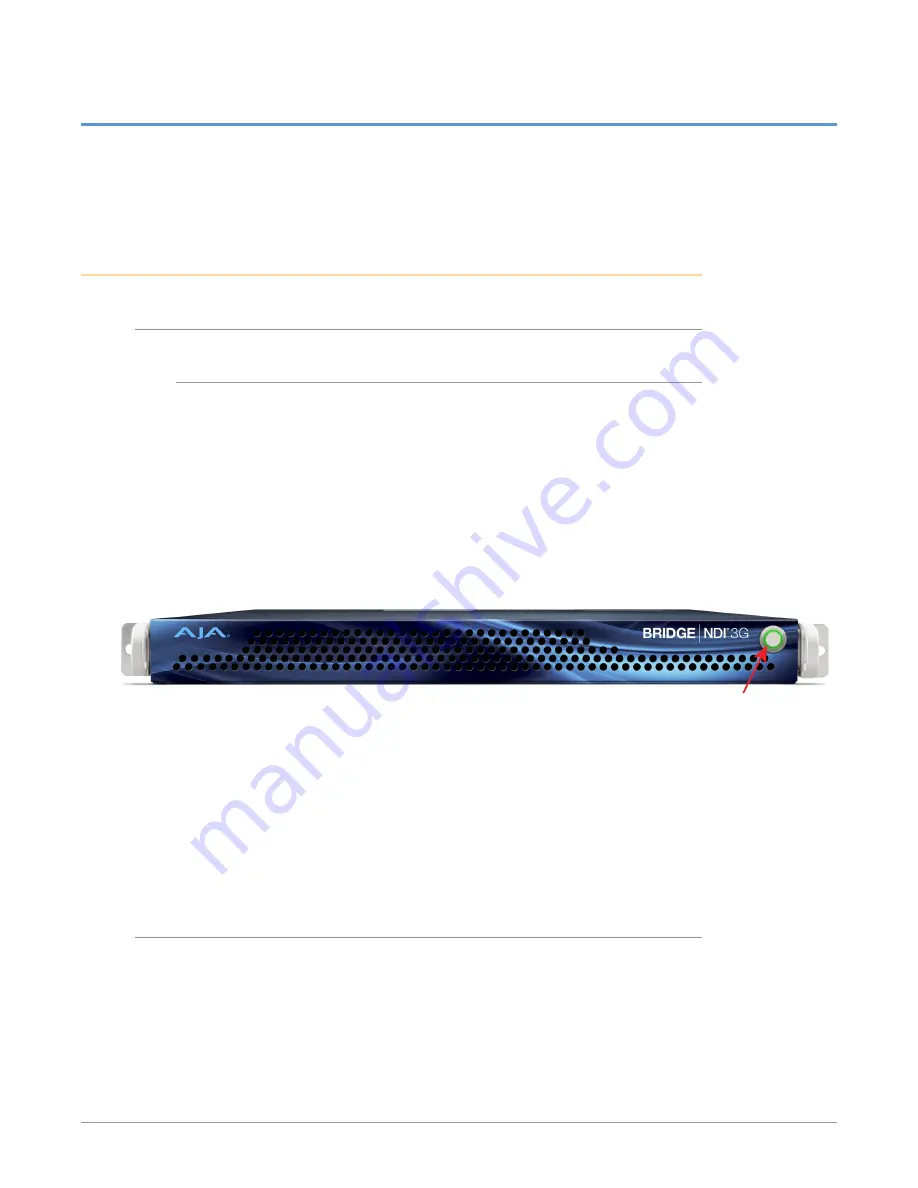
4. Press the power switch on the front panel. Once the monitor and the
BRIDGE NDI 3G unit are powered on, the unit will boot up and display an
initial splash screen. The message "Press Space Bar to enter BRIDGE | NDI
interface" displays.
Figure 3. BRIDGE NDI 3G Power Switch
Power Switch
5. Press the space bar on the keyboard. A sign-in window displays, prompting
you to enter a username and password.
6. See the Quick Start Guide that shipped with your unit for the exact login
credentials. If you are unable to locate the Quick Start Guide, contact AJA
Technical Support with the unit's serial number (see sticker on rear panel, to
the left of the 4 USB ports).
After logging in, the BRIDGE NDI 3G interface displays. From here, you can
perform all operations locally using this configuration.
Accessing the BRIDGE NDI 3G Interface Remotely
This section shows you how you can initially access the BRIDGE NDI 3G interface
remotely, before you know its IP address, through simple network discovery from
your remote system.
By default, the BRIDGE NDI 3G unit is shipped with DHCP enabled. DHCP is also
enabled following a factory reset.


