Chapter 4 HiveManager Examples
38
Aerohive
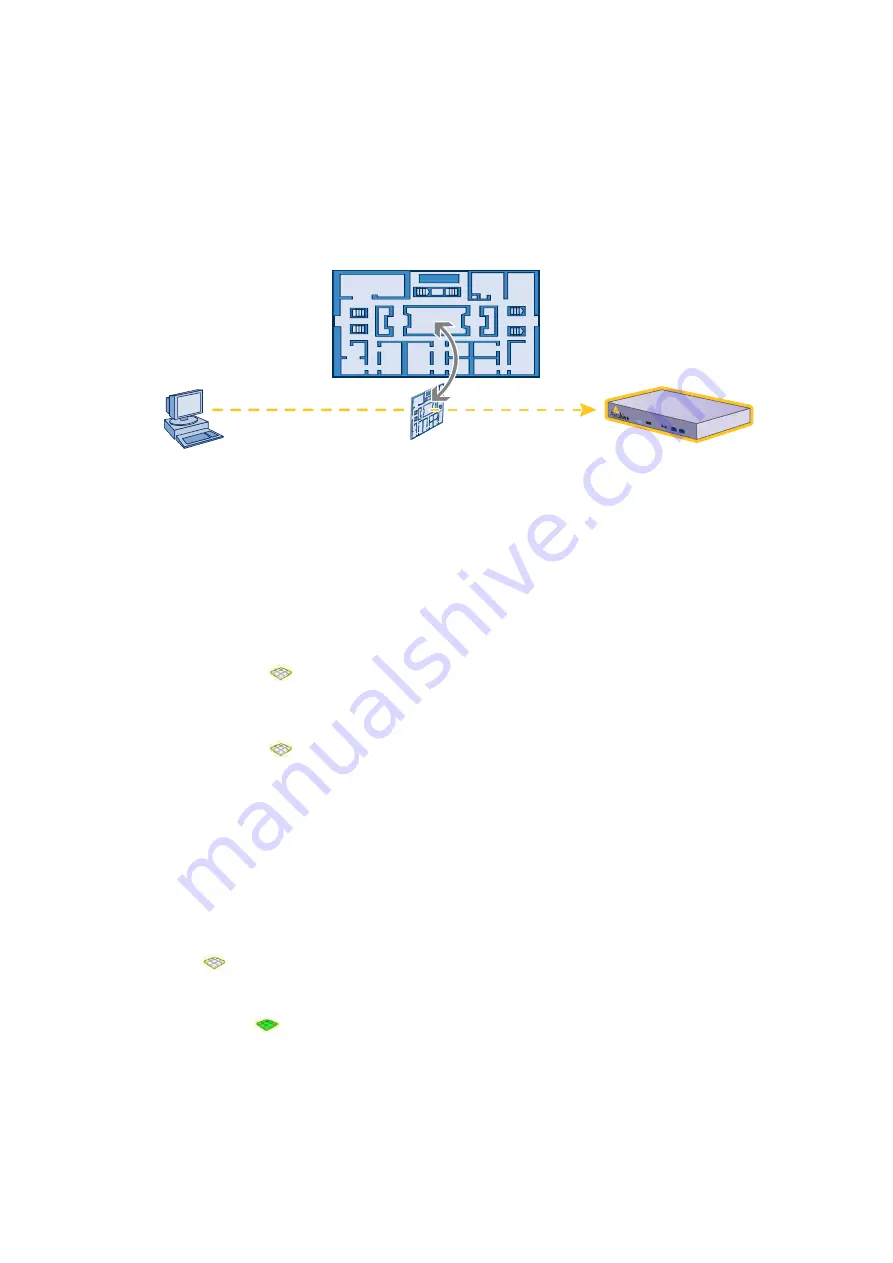
The selected .png file is transferred from your management system to the HiveManager as shown in
Figure 3
.
Figure 3
Uploading a Map of a Building Floor Plan
5. Repeat this for all the .png files that you need to load. In this example, you load 21 files:
•
8 maps for the eight floors in HQ-B1 (Headquarters Building 1)
•
8 maps for the eight floors in HQ-B2 (Headquarters Building 2)
•
4 maps for the four floors in Branch-1
•
1 file (named "corp_offices.png" in this example) that shows a picture of the three buildings
6. In the Map level setting section of the HiveAP Map Setting window, enter the following, and then click
OK
:
•
Total Level:
2
•
Level 1:
•
Level Name:
CorpOffices
(Note that spaces are not allowed in map level names.)
•
Default Icon:
floor
•
Default Map: Click
Browse
, select
corp_offices.png
, and then click
Select
.
•
Level 2:
•
Level Name:
HQ-B1-F1
(Note that spaces are not allowed in map level names.)
•
Default Icon:
floor
•
Default Map: Click
Browse
, select
HQ-B1-F1.png
, and then click
Select
.
After you click
OK
, a message appears explaining that you must restart the GUI client for the new settings take
effect.
7. Click
File
>
Exit
.
Naming and Arranging Maps within a Structure
1. Launch the GUI client again and log back in
2. Click
HiveAP Maps
>
CorpOffices
>
Topology
>
Add Submap
.
3. In the Add HQ-B1-F1 dialog box, enter the following, and then click
OK
:
•
Name:
HQ-B1-F1
•
Icon:
floor
•
Background Map:
HQ-B1-F1.png
•
Location:
HQ-B1-F1
A green floor icon (
) labeled "HQ-B1-F1" appears on the CorpOffices image, and a new entry named
"HQ-B1-F1" appears nested under "CorpOffices" in the menu tree.
Management System
HiveManager
Map showing one
of the floor plans
Uploads map to HiveManager
Содержание HiveAP 20 ag
Страница 1: ...Aerohive Deployment Guide...
Страница 6: ...HiveAP Compliance Information 6 Aerohive...
Страница 64: ...Chapter 4 HiveManager Examples 64 Aerohive...


