88
Chapter 3
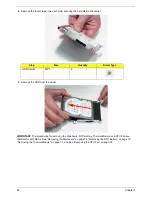
4.
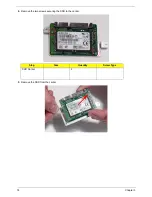
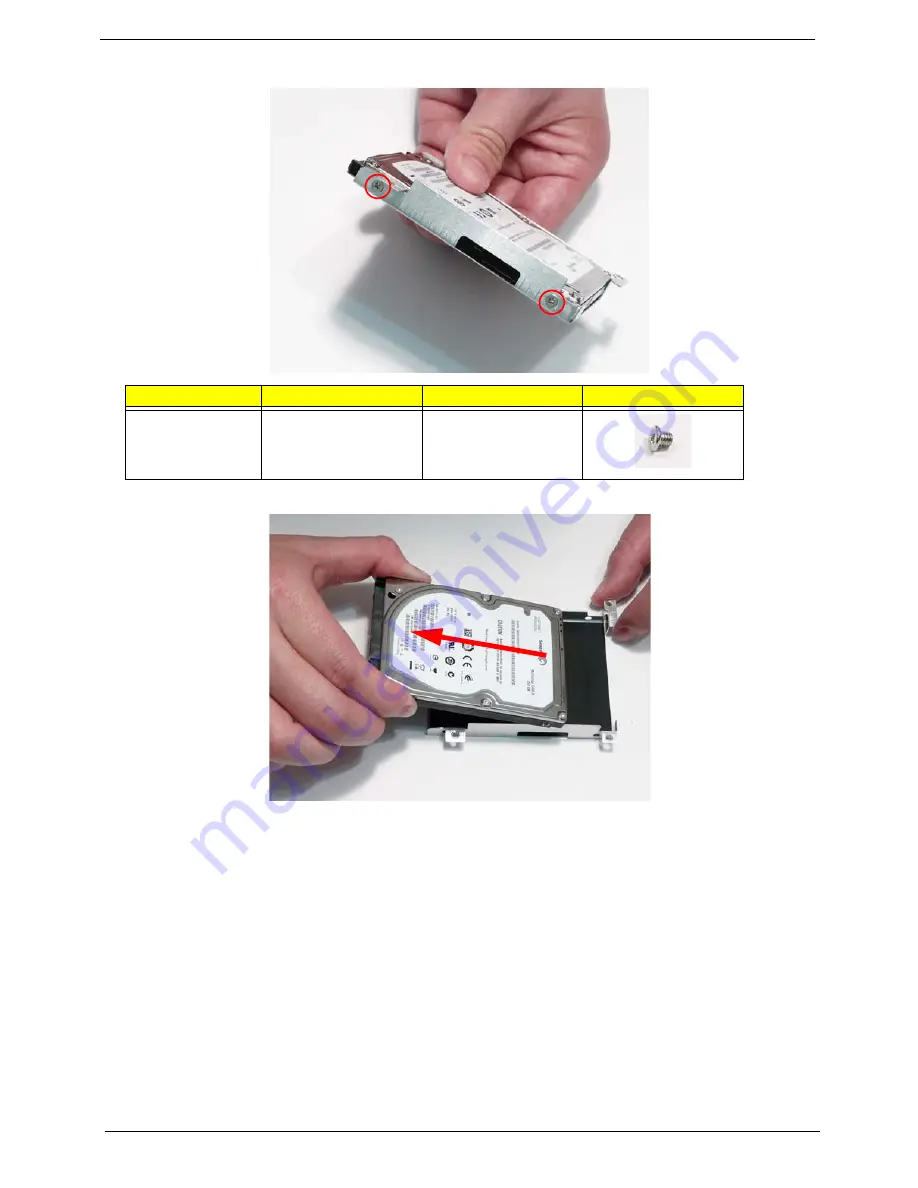
Remove the four screws (two each side) securing the hard disk to the carrier.
5.
Remove the HDD from the carrier.
IMPORTANT:
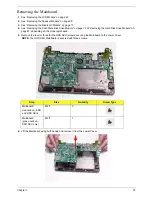
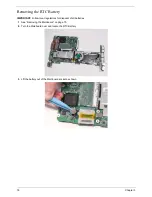
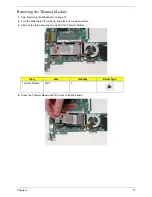
The procedures for removing the Mainboard, RTC Battery, Thermal Module, and CPU Fan are
identical for both SKUs. See “Removing the Mainboard” on page 75, “Removing the RTC Battery” on page 76,
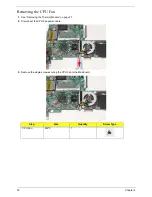
“Removing the Thermal Module” on page 77, and See “Removing the CPU Fan” on page 78.
Step
Size
Quantity
Screw Type
HDD Carrier
M3*3
4
Содержание Aspire One AO531h
Страница 6: ...VI ...
Страница 10: ...X Table of Contents ...
Страница 30: ...20 Chapter 1 ...
Страница 48: ...38 Chapter 2 ...
Страница 63: ...Chapter 3 53 8 Disconnect the FFC and remove the Keyboard ...
Страница 69: ...Chapter 3 59 4 Remove the board from the Upper Cover ...
Страница 82: ...72 Chapter 3 5 Disconnect the Bluetooth cable from the module ...
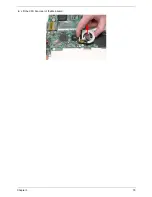
Страница 89: ...Chapter 3 79 4 Lift the CPU Fan clear of the Mainboard ...
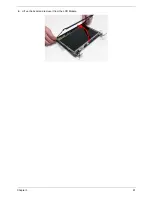
Страница 101: ...Chapter 3 91 4 Lift up the bezel and remove it from the LCD Module ...
Страница 107: ...Chapter 3 97 7 Disconnect the cable from the LCD panel as shown ...
Страница 120: ...110 Chapter 3 4 Press down around the edges of the bezel to secure it in place 5 Replace the six screws and screw caps ...
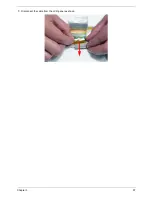
Страница 138: ...128 Chapter 3 6 Insert the FFC in to the Button Board and close the locking latch ...
Страница 202: ...192 Appendix B ...
Страница 204: ...194 Appendix C ...
Страница 208: ...198 ...

