Chapter 6
167
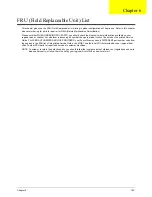
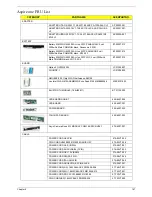
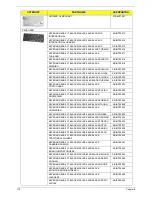
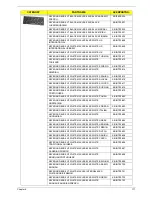
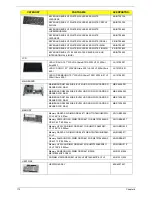
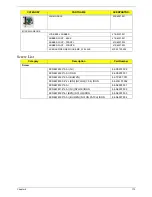
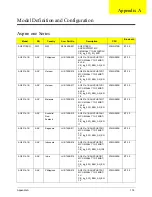
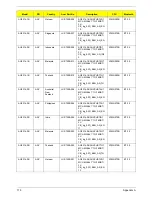
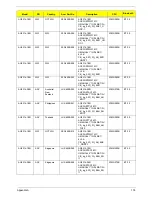
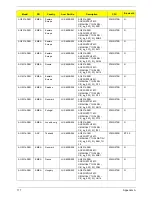
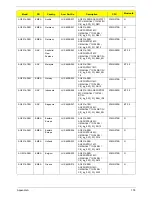
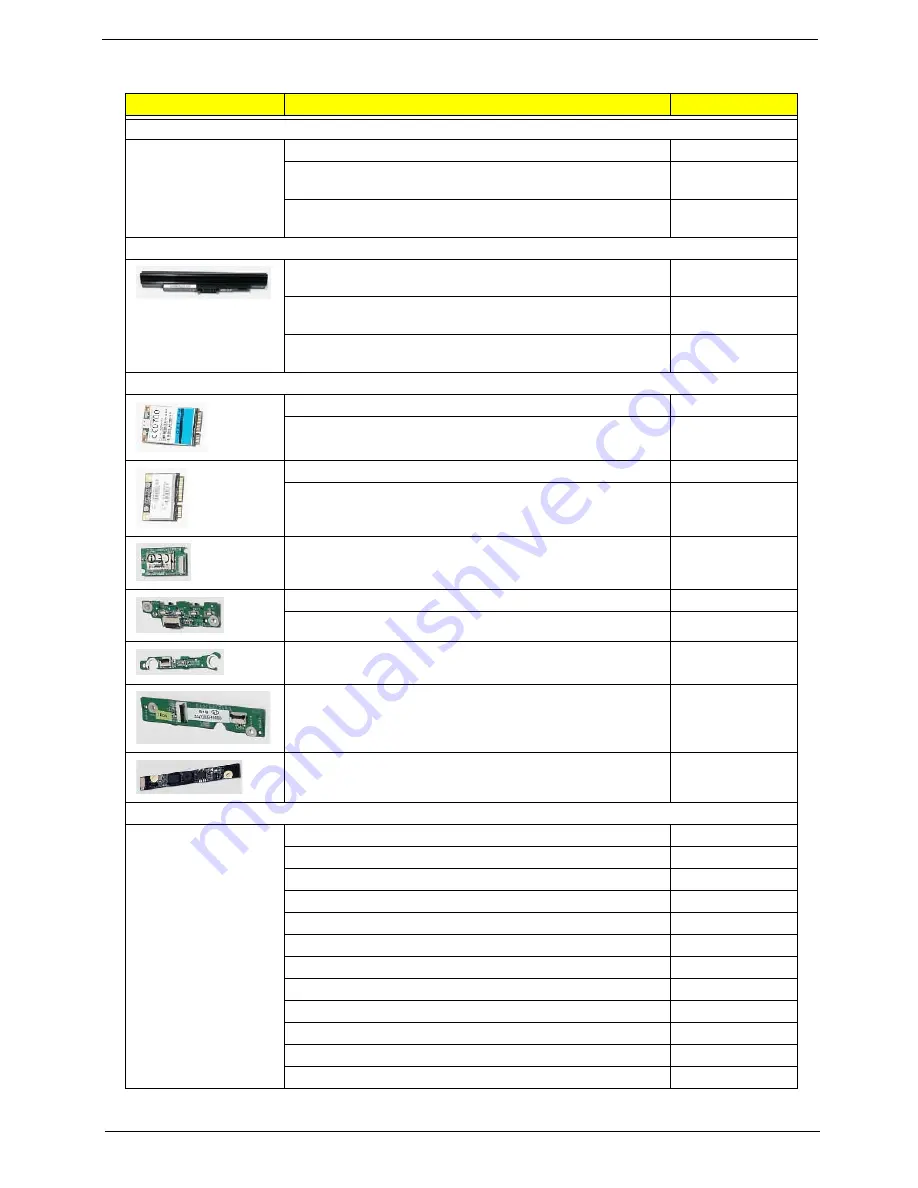
Aspire one FRU List
CATEGORY
PARTNAME
ACERPARTNO.
ADAPTER
ADAPTER LITE-ON 30W 1.7X5.5X11 BLACK PA-1300-04AC LF
AP.03003.001
ADAPTER DELTA 30W 19V 1.7X5.5X11 BLACK ADP-30JH BA
LF
AP.03001.001
ADAPTER HIPRO 30W 19V 1.7X5.5X11 BLACK HP-A0301R3
B1LF LF
AP.0300A.001
BATTERY
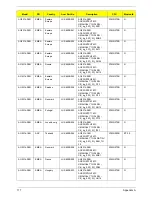
Battery SIMPLO UM-2009A Li-Ion 3S1P PANASONIC 3 cell
2200mAh Main COMMON black, Panasonic 2.2CG
BT.00307.013
Battery SIMPLO UM-2009A Li-Ion 3S1P SAMSUNG 3 cell
2200mAh Main COMMON black, SDI 2.2F
BT.00307.014
Battery SIMPLO UM-2009A Li-Ion 3S1P LGC 3 cell 2200mAh
Main COMMON black, LGC 2.2 S3
BT.00307.015
BOARD
Option 3G GTM382EL
LC.21300.007
3G UNDP-1
LC.21300.005
QMI IEEE 802.11b/g WLAN half-size no.EM108
Lan Intel WLAN 512ANXMMWG Echo Peak 5150 MM#895364
KI.EPM01.003
BLUETOOTH MODULE (T60H928.11)
BT.21100.005
LED BOARD NON BT
55.S6507.004
LED BOARD
55.S6507.001
POWER BOARD
55.S6507.002
TOUCHPAD BOARD
55.S6507.003
Suyin Camera Rosa 2G, MODULE CN0316-S30C-OV06-1
57.S6507.001
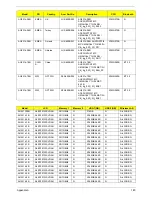
CABLE
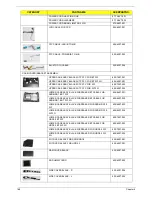
POWER CORD UK 3PIN
27.A03V7.004
PWR CORD V943B30001218008 DANISH 3P
27.A03V7.006
POWER CORD AF-S (INDIA)
27.A50V7.001
POWER CORD AU W/LABEL (3 PIN)
27.A50V7.003
POWER CORD US-110V (BSMI)
27.A99V7.002
POWER CORD SWISS 3 PIN
27.A99V7.004
POWER CORD ITALIAN 3PIN
27.A99V7.005
POWER CORD ARGENTINE 3 PIN BLACK
27.S0207.001
POWER CORD(S.A) 1.8M 3BLACK FZ010008-006
27.T48V7.001
POWER CORD(EU) 1.8M 3PBLACK FM010008-010
27.TATV7.001
POWER CORD PRC 3P Y536B30001218008
27.TATV7.004
PWR CORD(ISR)1.8M 3PBLK FZ0I0008-038
27.TATV7.005
Содержание Aspire One AO531h
Страница 6: ...VI ...
Страница 10: ...X Table of Contents ...
Страница 30: ...20 Chapter 1 ...
Страница 48: ...38 Chapter 2 ...
Страница 63: ...Chapter 3 53 8 Disconnect the FFC and remove the Keyboard ...
Страница 69: ...Chapter 3 59 4 Remove the board from the Upper Cover ...
Страница 82: ...72 Chapter 3 5 Disconnect the Bluetooth cable from the module ...
Страница 89: ...Chapter 3 79 4 Lift the CPU Fan clear of the Mainboard ...
Страница 101: ...Chapter 3 91 4 Lift up the bezel and remove it from the LCD Module ...
Страница 107: ...Chapter 3 97 7 Disconnect the cable from the LCD panel as shown ...
Страница 120: ...110 Chapter 3 4 Press down around the edges of the bezel to secure it in place 5 Replace the six screws and screw caps ...
Страница 138: ...128 Chapter 3 6 Insert the FFC in to the Button Board and close the locking latch ...
Страница 202: ...192 Appendix B ...
Страница 204: ...194 Appendix C ...
Страница 208: ...198 ...

