102
Chapter 3
LCD Module Reassembly Procedure
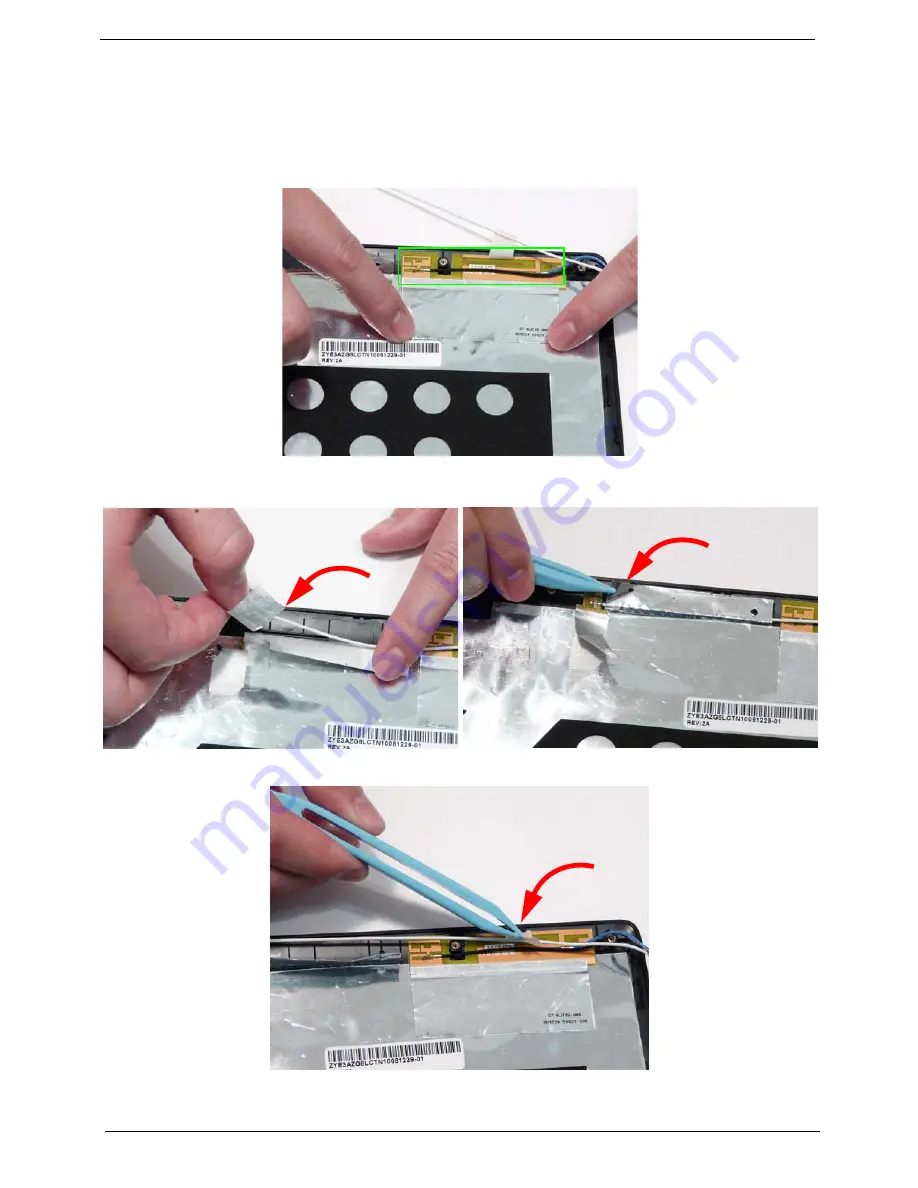
Replacing the Antennas
1.
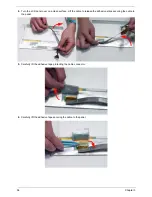
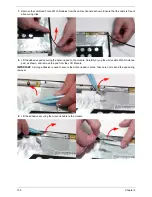
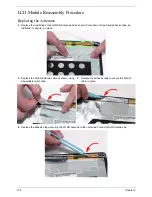
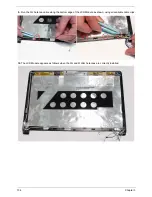
Replace the combined 3G and WLAN Antenna pad as shown. Press down the pad and adhesive tape, as
indicated, to secure it in place.
2.
Replace the WLAN Antenna cable as shown, using
all available cable clips.
3.
Replace the adhesive tape to secure the WLAN
cable in place.
4.
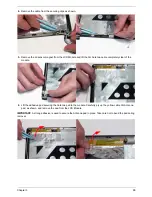
Replace the adhesive tape securing the WLAN Antenna to the combined 3G and WLAN Antenna pad.
Содержание Aspire One AO531h
Страница 6: ...VI ...
Страница 10: ...X Table of Contents ...
Страница 30: ...20 Chapter 1 ...
Страница 48: ...38 Chapter 2 ...
Страница 63: ...Chapter 3 53 8 Disconnect the FFC and remove the Keyboard ...
Страница 69: ...Chapter 3 59 4 Remove the board from the Upper Cover ...
Страница 82: ...72 Chapter 3 5 Disconnect the Bluetooth cable from the module ...
Страница 89: ...Chapter 3 79 4 Lift the CPU Fan clear of the Mainboard ...
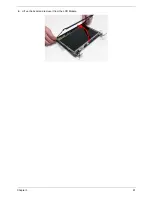
Страница 101: ...Chapter 3 91 4 Lift up the bezel and remove it from the LCD Module ...
Страница 107: ...Chapter 3 97 7 Disconnect the cable from the LCD panel as shown ...
Страница 120: ...110 Chapter 3 4 Press down around the edges of the bezel to secure it in place 5 Replace the six screws and screw caps ...
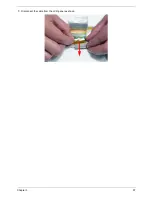
Страница 138: ...128 Chapter 3 6 Insert the FFC in to the Button Board and close the locking latch ...
Страница 202: ...192 Appendix B ...
Страница 204: ...194 Appendix C ...
Страница 208: ...198 ...

