LUN Mappimg
131
• LUN Selected: Click on the pull down next to the LUN Selected field. Unused IDs will be listed.
Select the LUN that is to be assigned.
• Group Name: This field permits a user to enter an appropriate group name.
• Host ID: This field should contain the WWN number of the HBA that will have access to the LD,
LV or partition that is being mapped. The WWN can be selected from the drop down box next
to the Host ID field. The WWN number can be added manually, to see how this is done please
see the next section.
• ID Mask: The default host ID Mask is shown. The ID Mask is a 16 bit hexadecimal number and
can be changed by the user.
• Filter Type: This field has two options, “Include” or “Exclude.” Selecting “Include” will enable
the HBA to access the LD, LV or partition that is being accessed. Selecting “Exclude” will
prevent the HBA from accessing the storage space that is currently being mapped.
• Access Mode: This field enables the user to select what access rights the HBA will have. If you
select “Read and Write” then the HBA will be able to both read and write information to the
selected LD, LV or partition. If you select “Read Only” the HBA will only be able to read the
contents stored on the selected LD, LV or partition. It will not be able to store any information.
5
Once all the extended LUN mapping parameters have been selected, click “OK.”
6
To continue to mapping other LDs, LVs or partitions, repeat Steps 3, Step 4 and Step 5 above.
7
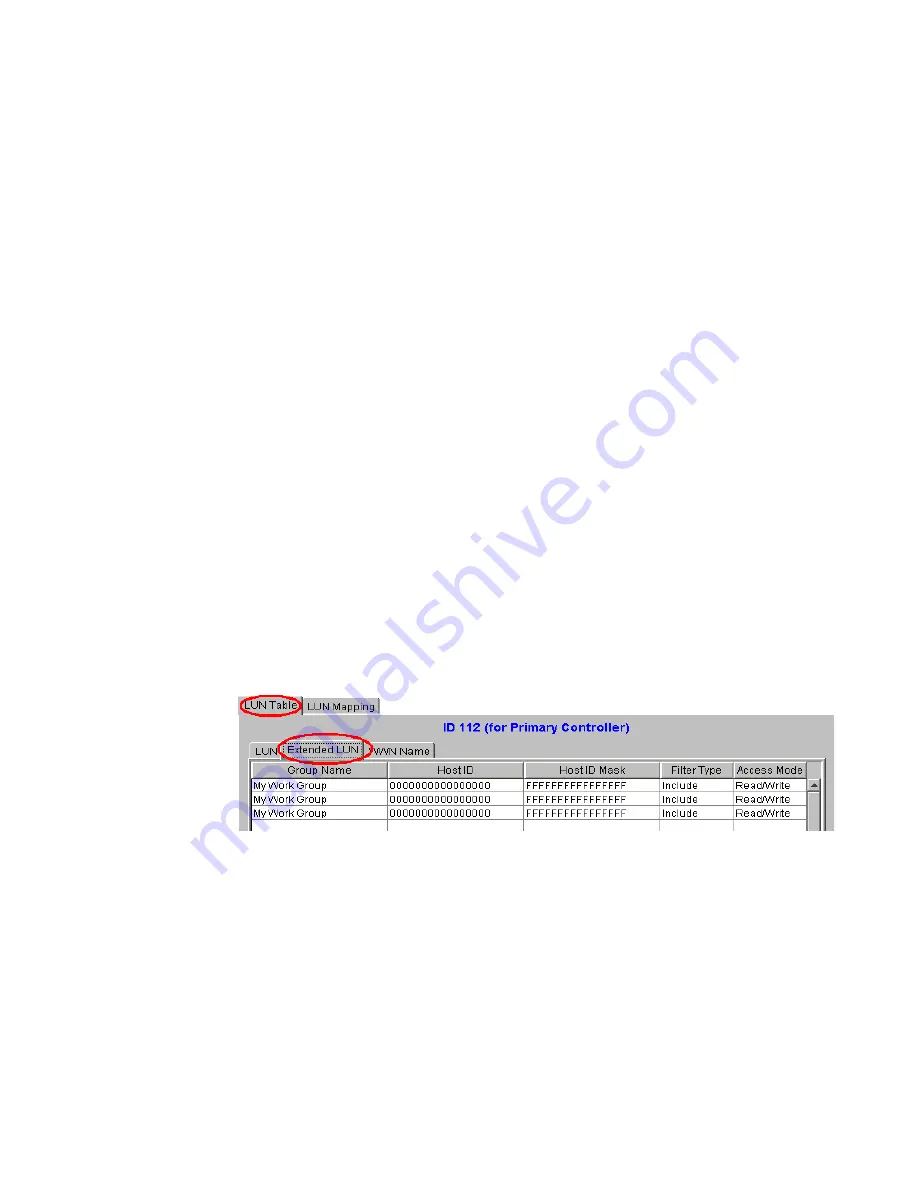
Once all the extended LUN mappings have been made, the extended LUN mappings can be viewed
in the Extended LUN Mapping Table shown in Figure 9–23. To view this table, select the LUN Table
tab at the top of the screen and the Extended LUN sub-tab.
9.3.3 Adding a WWN Name
1
To manually add a WWN Name, click on the WWN Name sub tab. Follow the steps listed in Section
1 above to access the LUN Map Table shown in Figure 9–3.
2
Select the LUN Mapping tab shown at the top of the LUN Map Table. A new screen will appear in
the content window. From this screen first select the Add sub-tab, and then click on the WWN Name
sub-tab. (See Figure 9–24).
Figure 9–23
Extended LUN Mapping Table
Содержание Altos RAIDWatch
Страница 1: ...Isssue 2 0 1 May 2004 ...
Страница 8: ...viii ...
Страница 13: ...Preface xiii ...
Страница 14: ...Altos RAIDWatch User Guide xiv ...
Страница 44: ...Altos RAIDWatch User Guide 30 ...
Страница 60: ...Altos RAIDWatch User Guide 46 ...
Страница 84: ...Altos RAIDWatch User Guide 70 ...
Страница 88: ...Altos RAIDWatch User Guide 74 ...
Страница 98: ...Altos RAIDWatch User Guide 84 ...
Страница 148: ...Altos RAIDWatch User Guide 134 ...
Страница 158: ...Altos RAIDWatch User Guide 144 ...
Страница 169: ...The NPC 155 2 Two levels Warning and Alert 3 Only the most serious events Alert messages ...
Страница 170: ...Altos RAIDWatch User Guide 156 ...
Страница 186: ...Altos RAIDWatch User Guide 172 ...
Страница 196: ...Altos RAIDWatch User Guide 182 ...
Страница 202: ...Altos RAIDWatch User Guide 188 ...
Страница 206: ...Altos RAIDWatch User Guide 192 ...
Страница 212: ...6 ...


