Drive Management
107
5
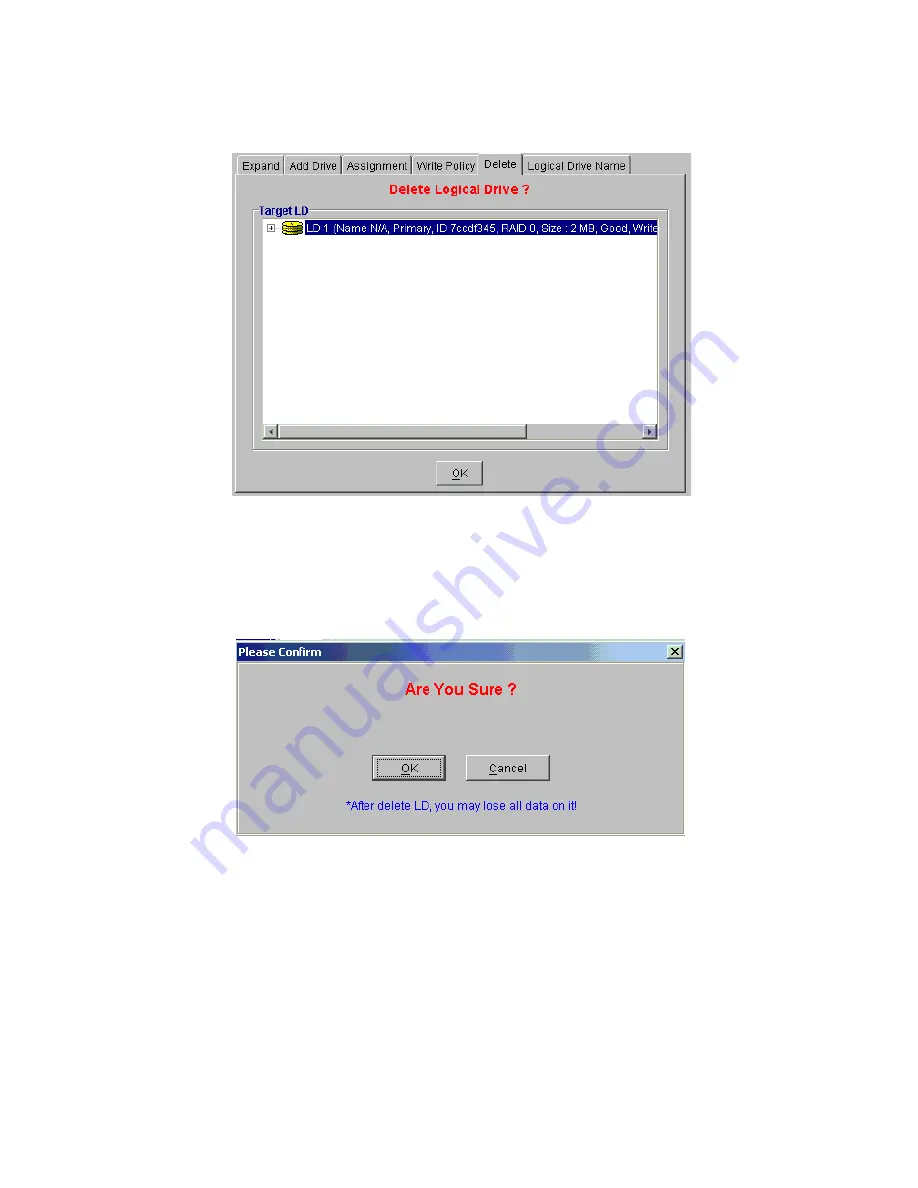
Once the LD has been selected, and if you are certain that you wish to delete the LD, press the “OK”
button. A confirmation screen similar to the one in Figure 8–36 will appear. If you are still certain
that you wish to delete the LD press the “OK” button. If you are not sure, click the “Cancel” button.
6
If you select the “OK” button, the LD will be deleted and you will be returned to the LD
Management window shown in Figure 8–2. If you clicked on the “Cancel” button, you will be
returned to the “Delete Logical Drive” screen shown in Figure 8–35.
Important
IMPORTANT: Deleting a logical drive irretrievably wipes all data currently stored on the logical
drive.
Figure 8–35
Delete Logical Drive
Figure 8–36
Confirm LD Delete
Содержание Altos RAIDWatch
Страница 1: ...Isssue 2 0 1 May 2004 ...
Страница 8: ...viii ...
Страница 13: ...Preface xiii ...
Страница 14: ...Altos RAIDWatch User Guide xiv ...
Страница 44: ...Altos RAIDWatch User Guide 30 ...
Страница 60: ...Altos RAIDWatch User Guide 46 ...
Страница 84: ...Altos RAIDWatch User Guide 70 ...
Страница 88: ...Altos RAIDWatch User Guide 74 ...
Страница 98: ...Altos RAIDWatch User Guide 84 ...
Страница 148: ...Altos RAIDWatch User Guide 134 ...
Страница 158: ...Altos RAIDWatch User Guide 144 ...
Страница 169: ...The NPC 155 2 Two levels Warning and Alert 3 Only the most serious events Alert messages ...
Страница 170: ...Altos RAIDWatch User Guide 156 ...
Страница 186: ...Altos RAIDWatch User Guide 172 ...
Страница 196: ...Altos RAIDWatch User Guide 182 ...
Страница 202: ...Altos RAIDWatch User Guide 188 ...
Страница 206: ...Altos RAIDWatch User Guide 192 ...
Страница 212: ...6 ...


