LUN Mappimg
125
7
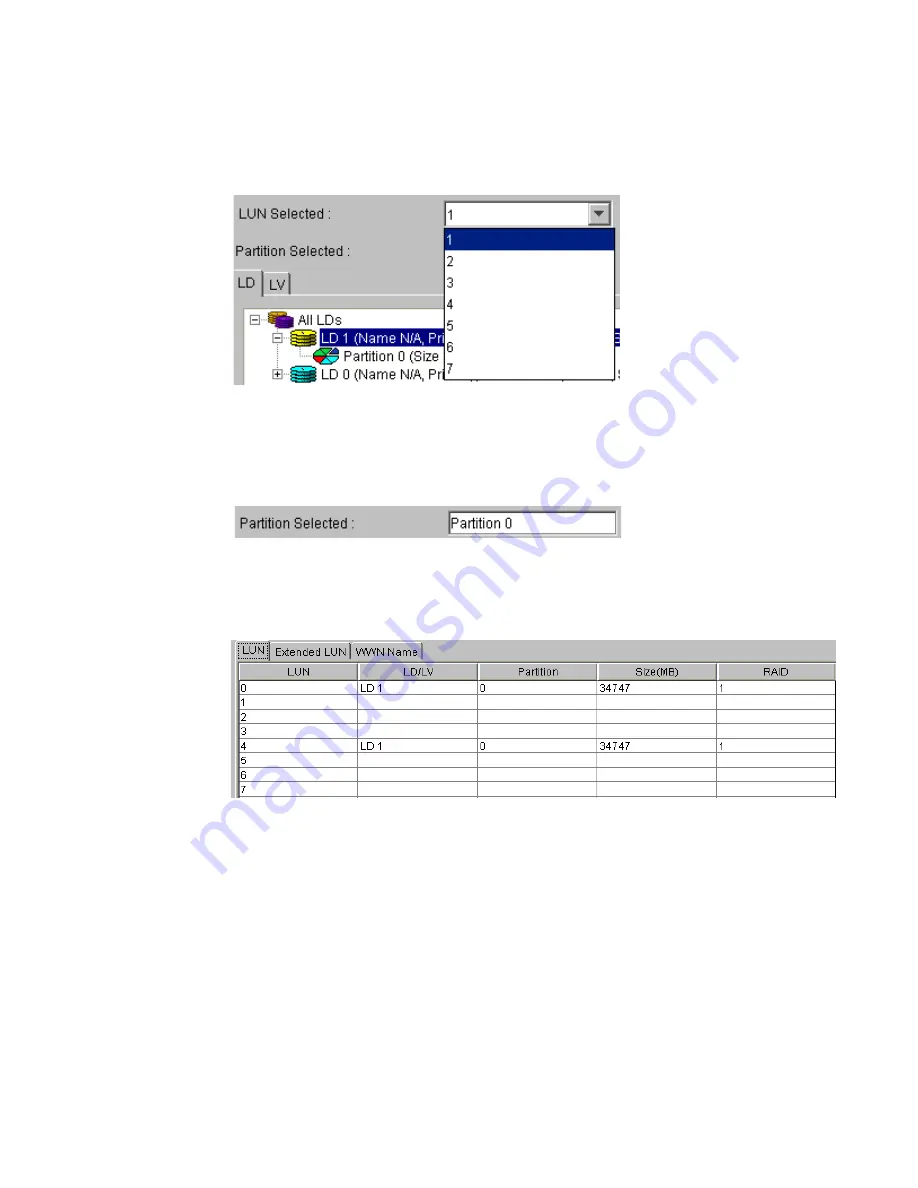
From the LUN Selected drop-box in Figure 9–8, choose the LUN ID that will be assigned to the LD
(or LV). Only unused IDs will be listed.
8
Next, click on the partition 0 icon. “Partition 0” should appear, as shown in Figure 9–9, in the
Partition Selected box. Click OK and enter the password when prompted.
9
If you choose the LUN Table, the newly mapped LUN should now be listed, as seen in Figure 9–10.
:
9.2.2 Map a logical drive or volume partition to a host LUN
1
First, partition the logical drive or logical volume.
2
Follow the steps listed in section 9.2.1 above to access the LUN Map Table shown in Figure 9–3.
3
Select the LUN Mapping tab shown at the top of the LUN Map Table. A new screen will appear in
the content window. From this screen first select the Add sub-tab, and then click on the LUN sub-
tab. (See Figure 9–11).
Figure 9–8
Available LUNs
Figure 9–9
Partitioned Selected
Figure 9–10
Listed LUN Mapping
Содержание Altos RAIDWatch
Страница 1: ...Isssue 2 0 1 May 2004 ...
Страница 8: ...viii ...
Страница 13: ...Preface xiii ...
Страница 14: ...Altos RAIDWatch User Guide xiv ...
Страница 44: ...Altos RAIDWatch User Guide 30 ...
Страница 60: ...Altos RAIDWatch User Guide 46 ...
Страница 84: ...Altos RAIDWatch User Guide 70 ...
Страница 88: ...Altos RAIDWatch User Guide 74 ...
Страница 98: ...Altos RAIDWatch User Guide 84 ...
Страница 148: ...Altos RAIDWatch User Guide 134 ...
Страница 158: ...Altos RAIDWatch User Guide 144 ...
Страница 169: ...The NPC 155 2 Two levels Warning and Alert 3 Only the most serious events Alert messages ...
Страница 170: ...Altos RAIDWatch User Guide 156 ...
Страница 186: ...Altos RAIDWatch User Guide 172 ...
Страница 196: ...Altos RAIDWatch User Guide 182 ...
Страница 202: ...Altos RAIDWatch User Guide 188 ...
Страница 206: ...Altos RAIDWatch User Guide 192 ...
Страница 212: ...6 ...


